How to Change Filament with a 3D Printer (Solidoodle) – Tutorial

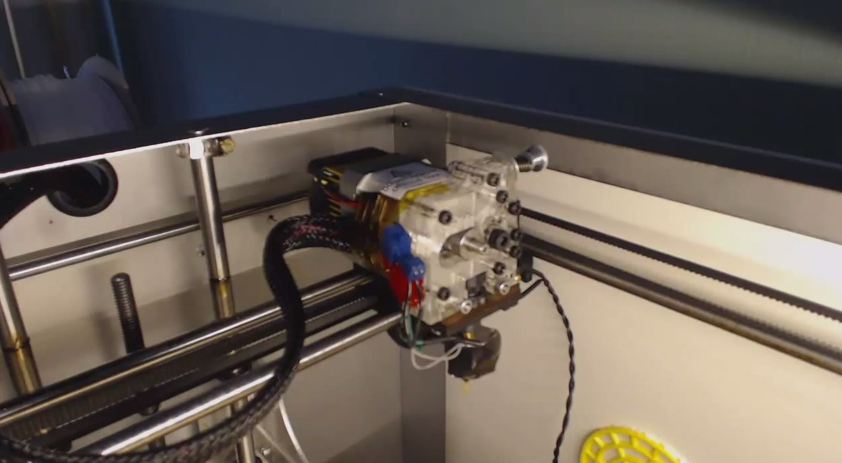
We’ve already shown you how to set up and get your first print with a 3D printer, but we left how to change and insert new filament into the printer. Most FDM/FFF based 3D printers are reasonably similar when it comes to changing the filament. A number of printers are now coming out with automatic filament detection and loading, simplifying the process. A Solidoodle 3 printer was used for this tutorial.
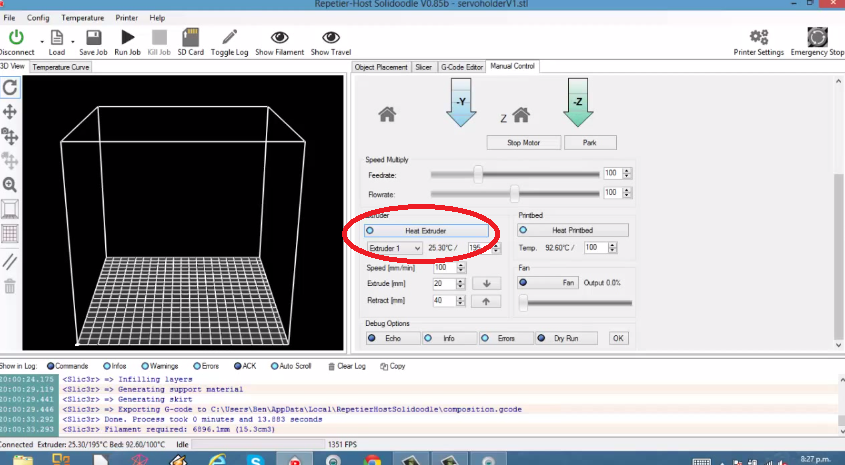
Step 1 – Heating up the Extruder
The first step is to heat up the extruder to around 190 degrees Celsius for ABS plastic (PLA plastic can be retracted and extruded at a slightly lower temperature).
Step 2 – Retracting Filament (Skip this if you don’t have filament already installed)
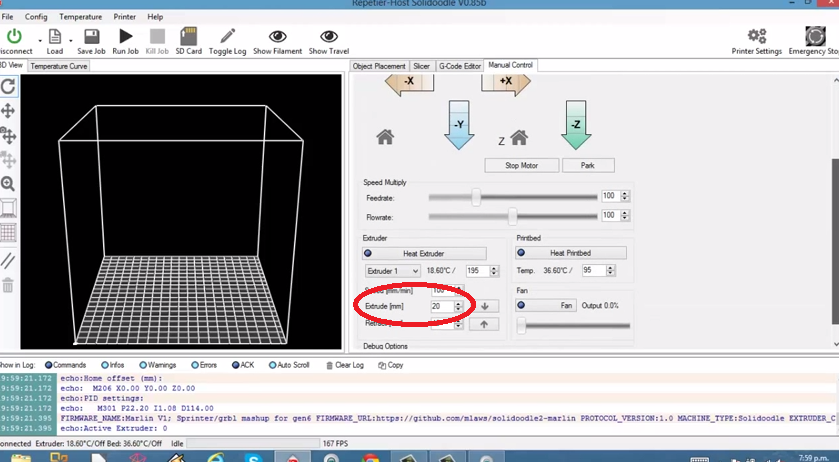
Once the extruder has reached the correct temperature it is now time to remove the filament from the nozzle and extruder. In the ‘Manual Control’ tab, you will notice a retract setting. Repetier Host is set to mm, so in the image below we can see that 40mm of filament will be retracted if we click on the up arrow on the right of retract. The amount of retraction or extrusion can be changed. Click on the retract button to remove the filament (may need to click several times to fully remove).
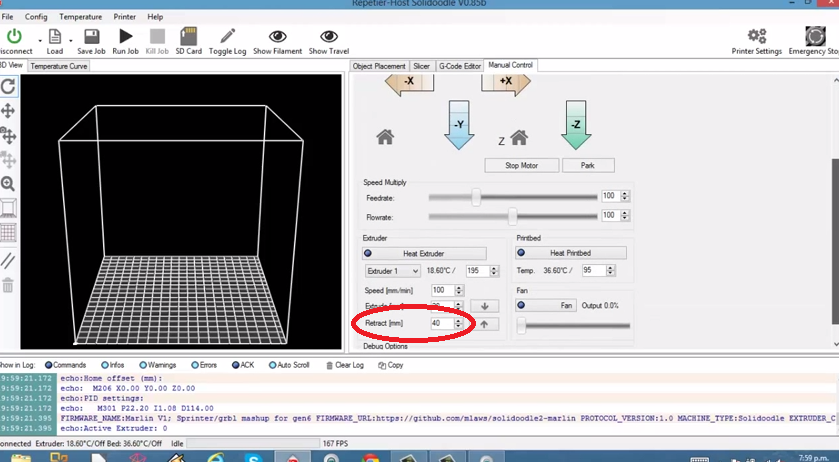
If the filament doesn’t fully come out you may need to give it a light pull while retracting to remove it. There should now be no filament in the extruder.
Step 3 – Inserting New Filament
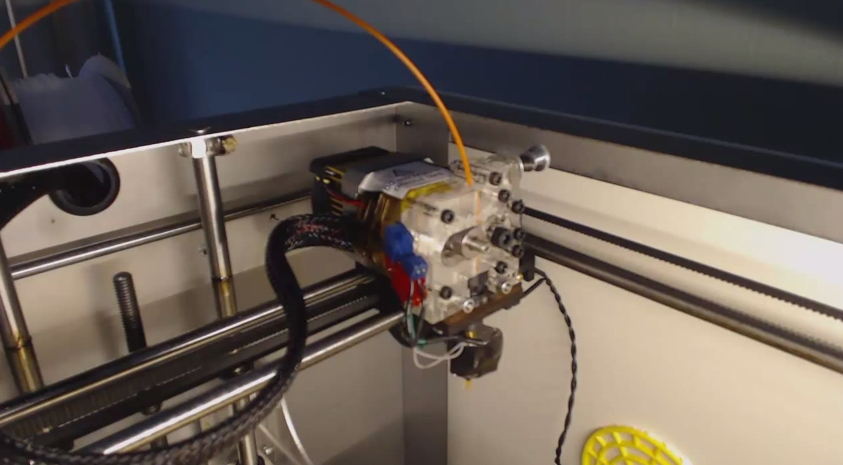
Now that you have removed the original filament, it is time to insert the new one. First, make sure you’re extruder is warmed up if it isn’t already (see step 1 above). Get the new filament you want to use and insert it into the extruder (different 3D printers will have a different location to put the filament in; the Solidoodle has a small hole at the top of the Acrylic case). Push the filament down until it won’t go any further.
You’re then going to have to extrude the filament. Hit the extrude button and gently push on the filament until it gets caught by the gears (should be able to feel this) then let the extruder do the rest. If you are changing colour, you may have to extrude a fair amount of filament before it completely changes colour.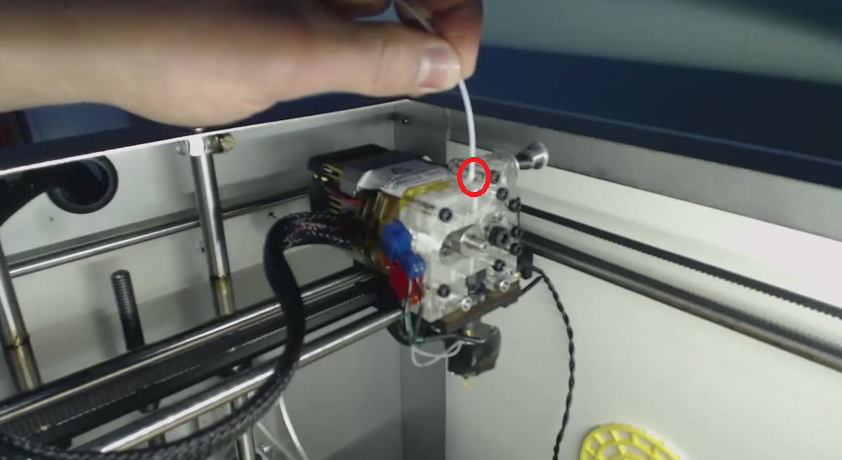
Conclusion
As I wrote above, changing filament can vary for different machines. This is for FDM/FFF 3D printers and does not apply to printers that use resins (SLA, DLP).