What is 3D Print Pillowing and How to Fix It?

Anyone who has tried 3D printing knows that there is no standard procedure or instructions to produce a high-quality print. Much of the process involves identifying problems with the print, investigating what is causing these problems, and coming up with the appropriate solutions.
For beginners, the fact that you will likely produce misprints can be both frustrating and disheartening. However, there is a massive community of 3D printing hobbyists that can provide useful tips on the most common problems encountered in 3D printing. One such problem is called pillowing. What is pillowing? What causes it and how can it be avoided?
What is 3D print pillowing?
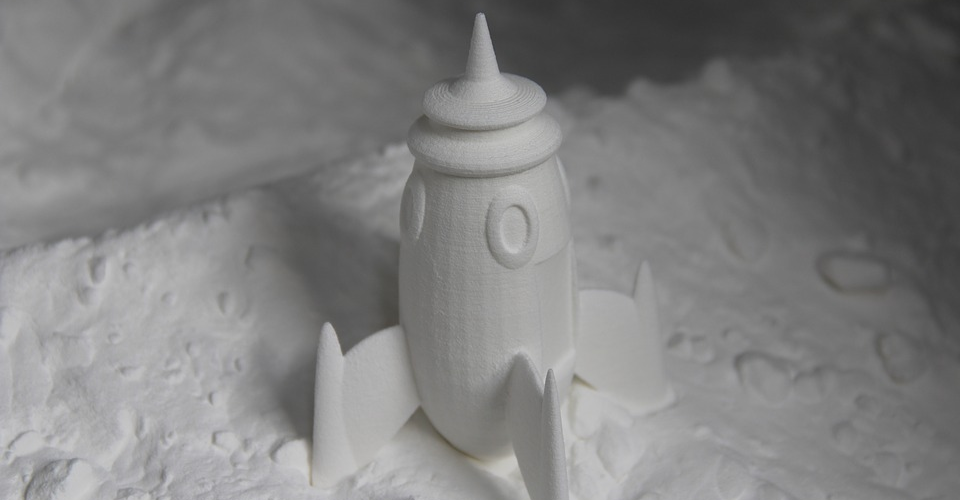
Pillowing refers to a problem in 3D printing when the top surface of the print comes out with uneven bumps, a rough surface, or even with small gaps. It’s one of the most common issues that 3D printing professionals can encounter. It can manifest in any filament or any type of FDM printer, although some types are more prone to pillowing than others.
Pillowing can be a particularly frustrating problem as it only comes up when a build is close to completion. Unlike warping, it is far too late to cancel a print by the time pillowing starts to appear. Without the proper precautions to avoid pillowing, you can end up with a bunch of misprints and a rapidly depleting filament spool.
What causes pillowing?
Pillowing is essentially caused by the same phenomenon that results in warping, except it happens on the top layer. Simply put, pillowing is the result of the top layer warping around the infill structure underneath, which results in the characteristic pillowing pattern. Understanding the mechanism behind pillowing allows us to come up with the most sensible solutions, as we have outlined below.
How to fix 3D print pillowing
The solutions to pillowing come down to a single objective: to strengthen the top layer. Depending on whether you prioritize printing time or the amount of filament the build will consume, coming up with a more robust top layer can be done in several ways.
1. Increase top layer thickness
One of the easiest fixes to warping is to increase the thickness of the bottom layer, giving it more mechanical resistance to the thermal stress caused by the cooling of the filament material. The same advice also applies to pillowing. By increasing the thickness of the top layer, it is more able to resist deformation caused by cooling.
A common rule of thumb is to print a top layer that is about five or six times as thick as the layer height of the rest of the print. Most slicer software allows the top thickness to be set easily, so you can play around with the settings to find what works best for you. If you are printing using a particularly thin layer height, you might even have to set the height of your top layer to more than six times the standard layer height.
2. Slow down the printing process
The holes that develop in the top layer can be caused by the top layer buckling under its own weight. This can be remedied by lowering the printing temperature for the top layer, allowing it to set and strengthen within a shorter time. The drop in layer adhesion due to a lower printing temperature is no longer as important since you will only be printing the top layer.
Take note that you will likely need to adjust your print speed accordingly if you decide to lower the printing temperature. This ensures that you will not have problems with under-extrusion or that your nozzle will end up jammed just when you are about to finish up your build.
3. Increase cooling
An alternative to turning down the printing temperature is ensuring that the top layer is receiving as much cooling as possible. By rapidly cooling the top surface of your print, it develops strength and rigidity right away, making it less prone to warping or buckling. To do this, make sure that the cooling fan of your printer is set to the maximum setting by the time you start printing the top layer.
In some cases, the printer’s cooling fan is not enough to provide the rapid cooling needed to avoid pillowing. If you are encountering this problem, there are plenty of mods available online that can optimize cooling. Even something as simple as a desk fan can be a great help.
4. Increase infill
Since pillowing occurs when the top layer cannot support its own weight and falls into the gaps created by the infill structure, one of the solutions is to reduce the gap space by increasing the percent infill of the build. The recommended infill percentage for any build is at least 12%. Any lower than this and the gaps between the infill simply become too large for the filament to bridge without failing. Depending on the filament you are working with, you might have to go as high as 25% infill to prevent pillowing.
This solution is very easy to do in any slicer software but has huge consequences in terms of total printing time and the amount of filament that you will be needing. Thus, many 3D printing professionals consider this a last resort when dealing with pillowing.
5. Increase separation of print head and build platform
Another way to make sure that the top layer cools down as quickly as possible is to set the print head as far away from the build platform as possible. The temperature of the nozzle itself tends to heat up its surrounding environment, including the top layer of the build. This is a rather complicated solution, as it can lead to a host of other problem such as poor layer adhesion.
Which filaments are prone to pillowing?
The severity of pillowing may vary depending on the type of filament you are working with. If you are using a filament that is particularly prone to pillowing, you may need a combination of the methods outlined above to ensure a problem-free top layer.
1. High-temperature filaments
Filaments that require a high printing temperature, such as ABS and Polycarbonate, also take a longer time to cool down and develop rigidity. The steep change in temperature that these filaments undergo as soon as they exit the hot end nozzle also make them exceptionally prone to warping. This one-two punch makes pillowing a particularly big problem in high-temperature filaments.
The most reliable solution to prevent pillowing in high-temperature filaments is to lower the temperature of your hot end nozzle as the print approaches the top layer. A cooling fan at maximum setting will also be necessary. Your goal is to cool down the filament as quickly as possible so that it will have a chance to droop into the spaces between the infill.
2. Soft filaments
Since pillowing is primarily a failure in the rigidity of the top layer, printing with particularly soft filaments such as TPU will compound the problem. If lowering the printing temperature for the top layer does not solve the problem, the next best thing would be to increase the infill of your build. By lowering the gaps between the infill, the chances of the filament buckling can be significantly reduced. Depending on the filament you are using, you might have to go all the way up to 25% infill.
Final thoughts
Developing expertise in 3D printing will involve a lot of misprints, false starts, tinkering of your printer parts, and adjusting of your slicer settings. In the case of pillowing, coming up with a solution involves having an understanding of what is causing the problem.
Pillowing is only one of the most common problems any 3D printing professional is bound to encounter. It’s also one of the most frustrating since it only comes up in the finishing steps of any build. Depending on the type of filament material you are working with, solving the pillowing problem may involve one or more of the methods we have listed above. Fortunately, these are all pretty easy fixes.