Tips on Setting the Best Wall Thickness for Your Next 3D Print

Getting the perfect 3D print often involves a game of numbers. We often find ourselves reacting to problems such as warping or stringing by adjusting one or two print parameters. When we make a switch to another filament or design, more adjustments will need to be made to account for the different requirements of the new print.
Wall thickness is one of the things that many 3D printing professionals tend just to eyeball. While there are no rules to setting a wall thickness as long as you come up with a successful print, there are still ways that you can optimize this setting. Read on for some of our tips on setting the best wall thickness setting.
Why optimize the wall thickness?
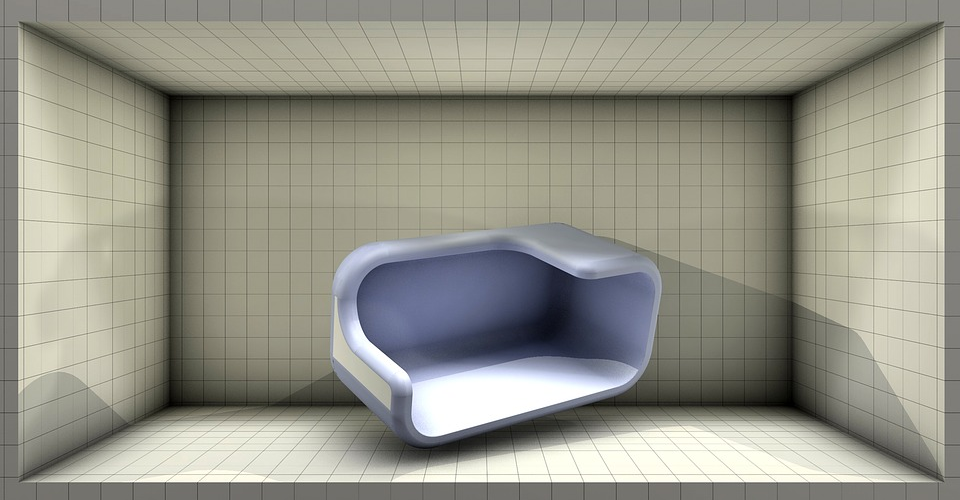
Wall thickness (also sometimes referred to as “shell thickness”) is simply the distance between one surface in your print and the opposite surface. It can be easily adjusted in any slicer software. You can also set your 3D printer to use different wall thickness settings for different parts of the prints, such as the first and the last few layers. How thick you set the walls of your print plays a big role in determining how durable the final print will be.
With that in mind, wouldn’t it be prudent to just set the wall thickness as high as possible? Some slicer software actually have built-in features that prevent you from going overboard with the wall thickness. A thick wall creates more internal stress, which may result in warping or failure at the point in your print where all the stress accumulates. Overly thick walls are also not recommended if you want your final printed item to have a little flexibility.
There’s also the small matter of conserving your filament and finishing your print as quickly as possible. A good 3D printing professional uses as little material as possible as long as the quality of the output is acceptable. This is especially important if you’re printing multiple copies of a design or if you’re offering your 3D printing services commercially. By saving time and money, 3D printing does not have to be a losing proposition for you.
The problem with walls that are too thin
It’s easy to imagine how setting your wall thickness too low can lead to a structurally weak print. In fact, you might not even be able to finish printing a design with walls that are too thin. Since FDM printing relies on layers being printed on top of each other, a thin wall that is yet to solidify fully can buckle under the weight of the succeeding layers.
Even if you do manage to finish your print, thin walls might not be able to survive the process of removing the print from the build platform, removing the support structures, and post-processing. Of course, the ultimate test of the durability of a 3D printed item is when it goes through its intended use. An object printed with thin walls will crack or deform easily – not a good look if you’re doing this professionally.
Tips on picking the best wall thickness settings
Now that we know the consequences of setting the wall thickness too high or too low, how can we get that “sweet spot?” Here are a few of our tips for you:
1. Consider your filament
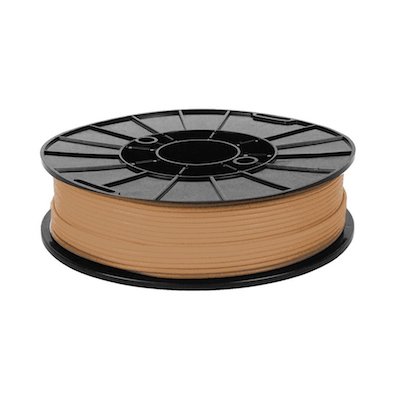
The primary factor to consider when setting your wall thickness is the type of filament you are using. For the usual filament materials such as PLA, ABS, and Nylon, a minimum wall thickness of 1.5 mm is recommended. Although many manufacturers state that it’s possible to print using these filaments with a wall thickness as low as 0.8 mm, we find that this isn’t something that works in all designs. We’d also rather play it safe.
If you’re printing using a filament that’s exceptionally flexible, like TPU, then you’ll have to ramp up that minimum wall thickness to 2.0 mm. The softer characteristic of flexible filaments means that they will more easily buckle under weight. This recommendation also applies any rubber-like filament.
2. Don’t forget supports
A lot of designs have overhanging features. It’s practically unavoidable once you reach a point where you’re printing complicated designs. Overhangs are always problematic since they can collapse during the printing process. While it’s possible to make overhanging features stronger by printing them with thicker walls, it also makes them heavier, which kind of defeats the purpose.
If you find yourself with this dilemma, there’s always a more reliable solution: support structures. With a good system of supports, overhanging features will not fail even when you print at the minimum recommended wall thickness. Of course, you may end up using more filament when you go this route, but at least you won’t have to start over with your print because your last one collapsed.
3. Consider the thickness of adjacent walls

When a layer is extruded from the hot end nozzle, it starts to cool down as soon as it hits the build platform. Ideally, this cooling down results in expansion. However, most edges and faces in 3D printed objects are bound by corners. While this prevents your prints from warping, it also creates a lot of thermal stress. The more material you print with, the more thermal stress is generated – this is the case with thick walls.
Because of this phenomenon, the accumulated thermal stress during 3D printing can result in the failure of any weak point. This means that you would want to keep the wall thickness fairly consistent throughout your whole print. The rule of thumb is not to have a segment with a wall thickness that is less than 60% of the thickness of the wall adjacent to it.
4. Use internal radius curves
Related to the previous point, the thermal stress in 3D prints as they cool down tend to accumulate the most on the corners and edges. An easy way to more uniformly distribute this stress is to use rounded edges instead of sharp ones. If your design allows for this revision, then we suggest you go for it.
However, we don’t live in a world where all objects have rounded edges. If your printed object really must have sharp edges, then there’s a small workaround that you can do. Instead of a fully rounded edge, you can instead curve the edge on the inside. This reduces the stress accumulation without forcing you to stray from your desired aesthetic.
5. Use the tools available in your slicer software
Some slicers offer quick settings that can help you do away with the guesswork involved in setting the wall thickness. For instance, Sculpteo has a Thickening tool that automatically assigns a wall thickness to each part of your design according to how fragile each feature appears to be. You can also use a 100% solid design and apply the Hollowing tool, which automatically creates an empty space inside the design.
As a last check, you can use the Solidity Check function, which shows you if there are still sections in your design that fall below the minimum recommended wall thickness. With intelligent features such as these, you won’t have to waste time doing trial and error on such a crucial printing parameter.
Final thoughts
We’ve said it often: developing expertise in 3D printing involves a lot of encountering problems and coming up with solutions to address these problems. When something goes wrong, it is always best to go back to the fundamentals. Wall thickness is perhaps one of the most crucial printing parameters – one that you’ll have to commit to as soon as your print is underway.
In our experience, it only gets a few runs to get the wall thickness right. You’ll have to learn to adapt a bit when you switch to other filaments, but the rules to follow are quite similar: remember the minimum wall thickness, use supports when necessary, and try to keep the wall thickness as consistent as possible throughout the design. If you stick to these basic principles, you shouldn’t run into too many problems.
Would you please tell me what sliding software you use?
Thank you !