What to Do When Your 3D Print Won’t Stick to the Bed

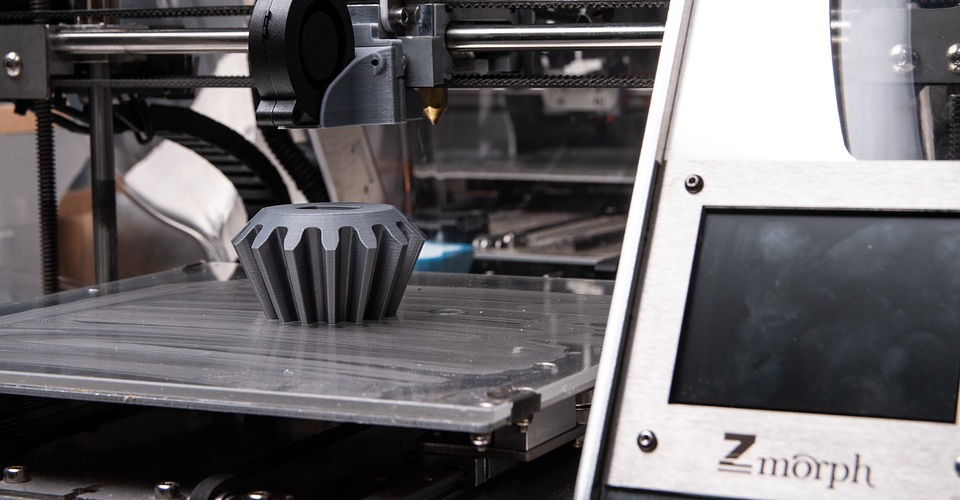
A successful 3D print starts with a good first layer. The first layer is the literal “base” for the rest of the print, providing stability for the whole project and establishing good layer-to-layer adhesion. Unfortunately, getting the first layer right can also be one of the hardest things to pull off in 3D printing.
One of the more common problems is in getting that first layer to stick to the print bed. There are a lot of factors that could affect this: the filament you’re using, the state of your print bed, or the lack of a suitable adhesion aid. Read on for our tips on how to get that first layer to stick.
Bed adhesion – a balancing trick
Bed adhesion is a somewhat strange problem to solve because of the fact that it’s possible to do it too well. Yes, keeping the base layer to stick to the print bed is essential to finishing a print with high quality. However, it’s also possible for your print to stick too well the print bed that it becomes too difficult to remove.
The key is to hit that perfect point of balance where your print is stable and dimensionally accurate, and yet is loose enough to be removed without causing any damage. This is a task easier said than done.
What could cause poor adhesion to the print bed?
For us to come to the most practical and suitable solutions to bed adhesion, we must first understand why it becomes a problem in the first place. Experienced 3D printing professionals know that one case of poor bed adhesion may be entirely different from another.
1. Warping of the filament material
The most common culprit to a ruined first layer is, unfortunately, something that can’t entirely be avoided. As hot filament exits the nozzle and hits the print bed, it automatically starts to cool down. As with any material, this cooling down process also makes the plastic shrink. This shrinkage factor may vary from one filament to another, so there are some filaments where bed adhesion is a particularly big issue.
The “thermal stress” caused by the shrinkage of the plastic wouldn’t be a problem if it were distributed equally along the whole surface where the print meets the bed. Unfortunately, this isn’t the case. If you have any sharp corners in your model, those corners act as points where thermal stress is concentrated. In most cases, this thermal stress accumulation is enough for the backpressure of a print to lift off the print bed.
2. Uncalibrated nozzle distance
Setting the right distance between the nozzle and the print bed can also help you with your bed adhesion problems. Take note that the filament rapidly cools down as soon as it exits the nozzle, leaving you a very small window where the filament is just molten enough to create adhesion. However, setting the nozzle too close can also result in extrusion problems as the filament does not have enough space to flow freely, which can create some “backpressure” on the nozzle and extruder.
3. Print bed needs to be cleaned
Oil and dust are the mortal enemies of bed adhesion. If you had to touch your print bed during leveling or calibration, then make sure to give it a quick wipe with some alcohol to remove all that oil that came from your fingers. Let the alcohol dry out before you start printing, of course.
4. Not enough contact surface between the print and the bed
How strongly the first layer sticks to the print bed is directly proportional to the surface of contact between them. If you’re still having bed adhesion problems, then there are a couple of ways to expand the area of contact. One way is to print a raft or a skirt, which basically provides a wider base for your print. It may also be possible to reorient your model to have as much contact area as possible. Most slicer software platforms come with a function that does this automatically.
5. Poor bed surface
Since there are filaments that inherently run into bed adhesion problems, there are times when a standard, non-heated printing bed simply won’t do. From heated printing beds to a bevy of adhesion aids, there are a lot of ways to modify your print bed to enhance adhesion.
Tips on improving bed adhesion
Just like in most of the problems you’ll encounter in 3D printing, there are several equally valid ways to deal with a print that won’t stick to the print bed. Once again, we’ll start with the solutions that are easiest to do.
1. Clean the print bed
This really doesn’t need any explanation. Every time you start a new project, take a few seconds to wipe down your print bed with some isopropyl alcohol to give the filament material a clean surface to stick to.
This is even more important if you use any adhesion aids on your print bed. Any residual adhesives, if not cleaned completely, can accumulate to a point where they can cause your print bed to become uneven. If alcohol can’t clean all that sticky gunk, then you might even have to use some soap and water on your print bed.
2. Calibrate the bed level
Whether or not you’re running into bed adhesion problems, it’s still a good idea to do a periodic calibration of your bed level. This ensures that the distance between the print bed and nozzle remains constant throughout. The specific steps of calibrating the bed level may differ from one 3D printer to another. Budget printers may have you do it manually, but more sophisticated models typically have more automated methods. If you haven’t done a bed calibration before, it’s best to consult your printer’s manual.
3. Reorient your design
Another easy way to improve bed adhesion is to simply change the orientation of your model so that you end up with a more extensive contact area between the print and the bed. Some slicer software platforms can automatically do this for you. Take note that resorting to this strategy will almost certainly require that your model be printed with support structures, which will consume more filament. You may have to play around with the orientation of your mode to strike an acceptable balance.
4. Use a heated print bed
If you don’t have a heated print bed, then the thought of having to get one might not seem very appealing. However, it’s also one of the best investments you can make if you’re heavily into 3D printing. A heated print bed opens up a lot of additional possibilities for the types of filament that you can work with. Some filaments, particularly those that print at high temperatures, are highly prone to warping and cannot be printed properly on a bed that is not heated.
A heated print bed reduces the thermal stress that the print experiences as it cools down. Each filament has a corresponding recommended setting for a heated bed – it must be hot enough to prevent warping, but still not too hot so that the plastic can develop rigidity. Not all heated print beds are created equally, so you might want to check the maximum attainable temperature of a print bed before buying it.
5. Apply an adhesion aid
For particularly problematic filaments, printing on a heated bed might still not be enough to completely eliminate bed adhesion problems. In these cases, it’s still possible to enhance bed adhesion via the application of an adhesion aid to the print bed. The choice of adhesion aid will depend on the filament you’re working with, and whether you have a heated print bed or a standard non-heated one.
For non-heated print beds, the most commonly used adhesion aid is a standard glue stick or blue painter’s tape. Heated print beds require adhesives that do not break down at high temperatures – Kapton tape and hairspray are some of the more preferred options.
Prints made with ABS, a particularly problematic filament when it comes to bed adhesion, work best with an ABS slurry adhesion aid. ABS slurry is simply ABS plastic dissolved in acetone.
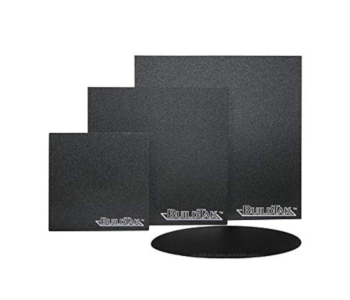
If you don’t want to go through the tedium of applying an adhesion and cleaning it up every time you work on a new project, you can also get a BuildTak surface. BuildTak is a special and reusable sheet that you can place on top of your print bed to an all-around adhesion solution. It is compatible with practically all 3D printing filaments and is available in all types of shapes and sizes. BuildTak is certainly a more expensive alternative, but it’s hassle-free and very reliable.
6. Print with a skirt or a raft
Related to increasing the area of contact between your print and the bed, you can also add a skirt or a raft to your model via slicer software commands. A raft adds an extra layer underneath your model’s base layer while a skirt merely expands the dimensions of the base layer. Either way, the purpose is the same – to increase the contact surface area between the print and the bed. This strategy also increases the amount of filament that you’ll be needing for the project, although not as much as the added support structures that will be necessary should you change the orientation of the model.
7. Print inside an enclosure
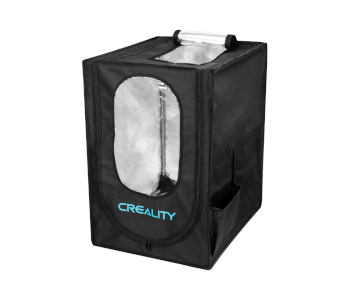
For filaments printed at high temperatures, rapid cooling is one of the main culprits behind warping. Even when you print without cooling, the natural draft from the environment may be enough to influence the quality of your finished product. A way to further slow down the cooling process is to print inside an enclosure.
Some 3D printers come with detachable enclosures. If yours doesn’t, then you can buy one, such as this foldable 3D printer tent enclosure from Sovol. It has an internal aluminum lining, which does an excellent job of keeping the heat in and is made with flame-retardant material.
If buying an enclosure is beyond your budget, then just make one yourself! There are a lot of DIY instructions online for making your own 3D printer enclosure using cheap PVC pipes and plastic sheets. The best thing about making your own enclosure is that you can customize it to perfectly fit the size of your 3D printer.
Final thoughts
Good bed adhesion is literally the foundation of a high-quality 3D printed project. We’ve heard enough horror stories of 3D prints coming off the bed in the middle of a print, resulting in a blob of strings that the community fondly calls a “spaghetti monster.”
Even if your print doesn’t get messed up that badly, you might still run into warping problems. It’s still possible to finish a print with a warped base layer, but it’s going to look terrible and will be simply unacceptable by any professional standards.
Hopefully, the solutions we have listed here will be enough to take care of any of your bed adhesion problems. Dealing with this problem becomes easier with experience, but knowing the fundamentals is still a more reliable starting point in solving the problem whenever it pops up.
very good information for me as i am new at this