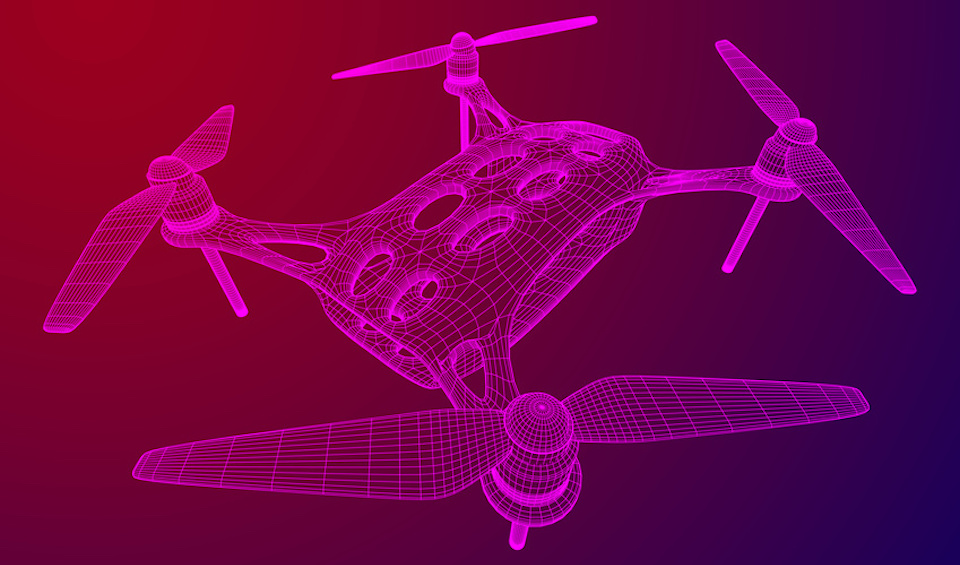
3D Printed Drone Parts Made Easy

It’s now possible to 3D print just about anything, including human body pieces. It should be no surprise that 3D printing drone parts and various accessories are doable. As the price of 3D printers and materials falls, the more possibilities become available. Now, you may be asking why bother? After all, drones and drone accessories are so affordable these days.
This guide looks at all the benefits of 3D printing drone parts from the comfort of home.
Practical Benefits of 3D Printing Drone Parts
This guide focuses on the favorite quadcopter design to keep things simple. The principles are the same for any multirotor craft, though. However, it’s not possible to 3D print every single component of every drone. That means you must buy various items to complete the project. Some of these include things like batteries, motors, electronics, and the guts of a transmitter, etc.
Below is a quick list of the drone parts you CAN 3D print:
- Frame and housing structures
- Propellers
- Camera mounts
- Drone landing gear
- Protective parts like prop guards
- Protective casings for battery packs and remotes
- Antenna holders
Crashing and breaking drone components is an inevitable part of the learning process. Even experienced pilots have occasional prangs. And accidents are all par for the course when it comes to racing quads. So, it’s quite common for pilots to order replacement parts that break.
3D Printers for Quadcopter Parts
Imagine the convenience of going to your 3D printer to create new pieces when you need them. It’s faster, cheaper, and educational too. I won’t go deep into 3D printers here as we have other guides specific to that. Here are three examples so that you can see the kind of machines available.
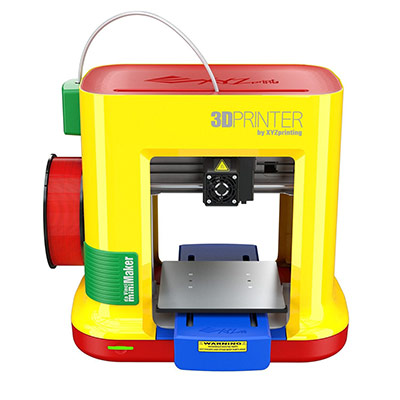
Best Budget: XYZprinting da Vinci Mini | This is an excellent beginner’s printer for those who want to experiment with simple drone projects. It’s easy to use, but the software needs improving.
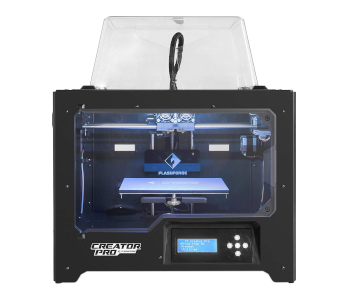
Best Value: FlashForge 3D Printer Creator Pro | The 3D print quality is impressive and the price reasonable. The only downside to this model is that it’s unusually noisy.
Top Pick: MakerBot Replicator+ 3D Printer | It’s quite an expensive model though it enjoys an excellent reputation. The MakerBot Replicator+ is fast and super simple to operate.
Take your time choosing if you don’t have a 3D printer yet. The technology is forever evolving. All 3D printers offer something unique that works better with specific materials and projects.
Glossary of 3D Printing Terms
Here’s a glossary of the main printing terms that every 3D enthusiast should know. I’ve arranged it in alphabetical order for easy reference:
ABS
This is a favorite 3D filament known for being hard yet flexible, and impact resistant. It’s harder to print with, though, when compared to PLA. That’s due to its high shrinkage property.
EXTRUDER
The extruder is a vital component of any 3D printer. It’s what determines the success or failure of the printed part. An extruder sends an exact amount of 3D printing filament to its hot end. Once melted, the filament extrudes (expels) via the nozzle where it lays down in thin layers to produce the part.
FILAMENT
3D printing filament is the material used to print 3D parts. It looks like wire and is usually sold coiled onto a spool. There are many kinds of 3D filament all with varying properties. The common types are ABS, PLA, PVA, PETT, HIPS, and Nylon. More exotic types are wood, magnetic, and sandstone.
FIRMWARE
Firmware is computer software code. It exists to run various electronics and controls for the printer’s hardware.
FUSED FILAMENT FABRICATION (FFF)
Fused filament fabrication (FFF)—also fused deposition modeling (FDM), is an additive manufacturing process. It’s a technology that lays down the heated 3D material (filament) in separate layers.
G-CODE
The G-code is the computer language used to print the piece after slicing (see below). It contains commands that instruct parts of a 3D printer how to move and when.
LAYER RESOLUTION
Layer resolution is also known as the layer height. It’s the thickness of each printed layer that determines the 3D printer resolution. The industry measures layer resolution in microns.
PLA
This is one of the more common plastic filaments used in general 3D printing. It’s a hard, odorless material that has a small environmental impact. It also has a low-shrinkage property.
POSITIONING PRECISION
This relates to extruder accuracy as it travels around the X, Y axes. The industry measures positioning precision value in microns.
PRINT SPEED
The 3D print speed refers to the rate at which the print head prints. Faster print speeds generally result in lower quality parts, especially above 150mm/s.
SLICING
This is the term used to convert a 3D model (drawing) into a printable file. A “slicer” is a software program that reads a 3D illustration in STL or similar file format. It translates the data into separate layers and generates the code needed for the 3D printer to print.
STL (STANDARD TRIANGLE LANGUAGE)
This is the most favored file format for 3D models and an industry standard. STL files work with all the modern Computer Aided Design (CAD) software programs.
TRAVEL SPEED
The travel speed refers to the rate in which the 3D print head travels when not extruding filament.
Educational Benefits of 3D Printing a Drone
Any DIY quadcopter project teaches you about the drone’s inner workings. The more you know of the aerodynamics and mechanics of a flying robot, the better you become at piloting. You get to see firsthand how the quad reacts to the parts you create. This gives you an opportunity to make small modifications to improve the bird’s performance further. It’s an incredibly rewarding experience.
Frustrations of 3D Printing a Drone
It sounds easy, but there’s more to 3D printing drone parts than first meets the eye. The printer takes care of all the physical work, but you must design the pieces. That takes expertise, and there are likely to be a few failed attempts as you develop new skills.
Another frustration is the time it takes to produce a 3D drone part. It can be several hours to print a tiny piece depending on its complexity. It’s doubly frustrating if you misjudged the design and must discard the new component. The good news is that you can reduce mistakes by embracing a little patience and persistence from the outset.
Help is at Hand
Fortunately, drone 3D printing is not a hobby without support. There are now vibrant communities full of like-minded folks. Most 3D printing fans are more than happy to share their experience, ideas, and tips with others. There are thousands of online tutorials to help newbies grow as well. You can also find free stereolithography (STL) files of printable 3d drone parts.
You don’t have to worry about design blunders if you can find ready-made STL files.
Quadcopter Anatomy
Every pilot needs to get to know their quadcopter. Unmanned Aerial Vehicles (UAVs) all look different between models. Even so, every multirotor craft shares similar components and electronic elements.
Here’s a breakdown of the anatomy of a typical quadcopter (4 rotors) in alphabetical order:
Camera: Aerial cameras capture stills and video. Some deliver First Person View (FPV) streaming.
Drone: any unmanned aircraft designed to fly autonomously.
ESC (Electronic Speed Control): ESC’s control motor speeds by regulating how fast they turn.
Flight Controller (FC): This is the drone’s brain. A flight controller “controls” electrical components with the help of a microprocessor and various sensors.
FPV (First-Person View): This puts users in the virtual pilot’s seat. FPV allows you to see what the drone’s camera sees—as it sees it (real-time transmission).
IFS: Integrated Flight Systems.
LiPo: Lithium polymer or lithium-ion polymer. These are lightweight rechargeable batteries with a high discharge rate and high energy density. They are an ideal choice for RC applications, including drones.
Motor: Drone motors come in DC brushed or brushless varieties. Their job is to convert electrical energy into the energy of motion called kinetic energy.
Multirotor: Any aircraft that uses two or more rotors to fly, e.g., tricopter, quadcopter, etc.
OSD: On Screen Display, typically used to show flight data for an FPV video feed.
PDB or Power Distribution Board: As the name suggests, the PDB distributes the battery power throughout the quad. It’s akin to the motherboard of a regular computer.
Propeller (Prop): propellers provide lift and thus propel the quadcopter during flight. A typical drone prop has two angled blades, and functions based on five variables. They are size, design, material, pitch, and configuration.
Radio Controller (RC): A drone’s RC directs the craft using radio signals. Most radio transmitters for drone pilots are of the handheld variety.
Video Antenna: In FPV terms, the drone’s video antenna exists to facilitate wireless communication between the quad’s video transmitter (VTX) and its receiver (VRX)
Video transmitter (VTX): A drone’s VTX is a sender device for a First Person View (FPV) system. It wirelessly carries video-only or audiovisual signals from point A to point B.
How to Build Your First 3D Quadcopter

The good news for first-timers is that you can start with a simple 3D drone kit. These projects should have all the parts in the box along with stepped instructions. They should also include the 3D printable files and the components you CAN’T print. Those who get the bug can progress onto more ambitious projects later. That’s when you design and 3D print a truly unique, modular quadcopter.
Novice builders can still design a quadcopter from scratch. It’s always a good idea to join an online community for project ideas, tips, and guidance.
You need a blueprint before you begin your project. Consider the following points before you start:
- The shape, size, and placement of the essential components
- Your power distribution board
- The 4 motors
- The 4 speed controllers
- The FM receiver (must be 100% secured to the quadcopter)
Decide on the items above before you design the frame. It would be frustrating to print your frame only to find that there’s no room to house and protect the parts inside. It’s not possible to give precise instructions here as each project is unique. These general guidelines can be helpful, though. There’s also a table further down the page that shows what size parts to use with what size frame.
A General Guide to 3D Drone Printing
The 8-point list below shows the order to follow for your 3D quadcopter project:
- Acquire all the non-printable components for your project (see next)
- Choose your 3D printing material (filament)
- Design the center of the frame
- Design the arms that attach to the frame
- Print out items 3 & 4 above and assemble the frame
- Connect the wiring
- Set up the propellers
- Check all parts are secure and take your bird for a test flight
OK, let’s now look at each point in a little more detail.
1. Acquire all non-printable components
Your 11 non-printable components include
- Flight controller
- Flight battery
- Compass Kit
- Remote controller (RC)
- Motors
- Power Distribution Board or PDB
- Power Module
- Propellers
- Radio Set
- RC Receiver
- Electronic Speed Controllers (ESC)
2. Choose your 3D material (filament)
It’s always a good idea to choose your material early on, but it’s not a prerequisite. Printable filament comes in many forms, but we can rule out some of the more exotic ones from the outset. One of the most significant considerations is weight. The heavier the material, the faster the flight battery drains. You don’t want anything too light either as that can result in a flimsy construction.
This section looks at the 5 most common 3D filaments, their pros, and any cons.
PLA (also poly, polylactic acid, or polylactide) filament
Pros: Affordable, super easy material to work with, odorless,
Cons: Not heat resistant, not UV resistant
Here are a few examples of quality 1.75mm PLA from reputable brands:
- HATCHBOX PLA 3D Printer Filament
- AmazonBasics Premium PLA 3D Printer Filament
- SUNLU PLA+ Filament 3D Printer Filament, 2kg Spool
ABS (acrylonitrile butadiene styrene) filament
Pros: Affordable, lightweight, stable, decent temperature resistance, widely available
Cons: Toxic fumes, needs a heated print bed for best results
Here are a few examples of quality 1.75mm ABS from reputable brands:
- Gizmo Dorks 3mm (2.85mm) ABS Filament 1kg
- HATCHBOX ABS 3D Printer Filament, 1 kg Spool
- AmazonBasics ABS 3D Printer Filament
Nylon filament
Pros: Lightweight, incredibly strong, high-temperature resistance
Cons: Not novice-friendly, challenging to print but rewarding results in the right hands
Here are a few examples of quality 1.75mm NYLON from reputable brands:
- eSUN EPA Nylon 3D Printer Filament, 1kg Spool
- HATCHBOX PA Nylon 3D Printer Filament, 1 kg Spool
- Filabot T6451 Taulman 645 Nylon Filament
PET (polyethylene terephthalate) & PETG filaments
Pros: Shockproof, stable, nice finish, no fumes while printing, odorless
Cons: Quite expensive, needs a heated print bed, can be slow to print
PETG is like PET at a glance, but it has the addition of an extra component called glycol. Glycol dramatically changes the chemical composition that makes it unique.
Pros: Easy to work with, smooth, glossy finish, almost odorless, good impact resistance
Cons: Poor bridging characteristics, stringing (hair) issues, not widely available
Here are a few examples of quality 1.75mm PET and PETG from reputable brands:
- LulzBot Taulman T-Glase PET 3D Printer Filament
- eSUN 3D 1.75mm PETG Black Filament 1kg
- Stronghero3D, 3D Printing PETG Filament, 1kg
- PINRUI PETG Filament 1kg Spool
The Conclusion
Printing 3D parts takes practice and persistence. It’s wise to start with PLA filament if you’re unsure or inexperienced. It’s the easiest of all the 3D materials to work with. You can move on to ABS and experiment with nylon once you become more adept in the art of 3D precision printing.
3. Design the center of the frame
This is an essential step as the center of the frame is where most of the components go. All parts must fit tight and have the best protection against those inevitable crashes. Think carefully about where each piece goes. A typical setup may have the flight battery and power distribution board at the bottom. The frame’s top has compartments for the Receiver and GPS. It sounds daunting, but it’s not.
Frame size also determines the size of the propellers and appropriate motors (see table below):
| FRAME SIZE (WHEELBASE) | PROP SIZE | MOTOR | kilovolt (kV) |
|---|---|---|---|
| 100mm | 2 inches | 1102 – 1104 | 6000+ |
| 120mm | 3 inches | 1104 – 1106 | 4000+ |
| 150mm – 180mm | 4 inches | 1306 – 1408 | 3000+ |
| 200mm – 220mm | 5 inches | 2204 – 2306 | 2100 – 2800 |
| 235mm – 280mm | 6 inches | 2205 – 2308 | 1600 – 2500 |
| 330mm – 350mm | 7–8 inches | 2208 – 2212 | 1500 – 1600 |
| 450mm – 500mm | 9-10 inches | 2212 – 2216 | 800 – 1000 |
4. Design the quadcopter arms
The arms must fit your frame center to precision and hold in place with appropriate screws. Frames with trusses keep the weight down and provide a stable structure. The motors have fixed mounts to house them at the end of each arm. Motors typically attach to the arms with screws from the bottom.
5. Print the frame and arms
You can design the frame center and arms from scratch or download readymade STL files. Either way, it’s time to 3D print these parts once you’re happy with the drawings. This is where it starts to get exciting. You need special software to open, edit, and prepare the files for printing. STL files work with most Computer Aided Design (CAD) programs (more on that soon).
You may need to tweak ready-made STL files if they don’t quite meet your requirements. Or, a file could lack some features or be corrupt. Novice printers should learn how to open and work with these files in an STL editor. There are plenty of free tools that fit the purpose.
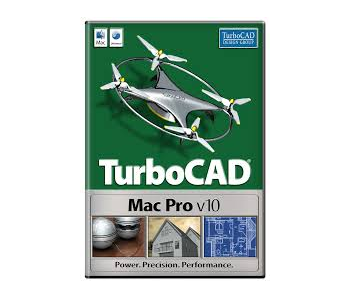
STL modeling software programs come in two types:
- CAD software (Computer Aided Design)
- Mesh editing tools
Excellent examples of free options for CAD tools include Blender, FreeCAD, and SketchUp. For mesh editing tools, there are MeshMixer and MeshLab. It’s beyond the scope of this guide to walk through each of these programs, but don’t worry. There are lots of easy-to-follow instructions and video tutorials online that make learning fun and exciting.
6. Connect the wiring
The drone’s wiring is a pretty straightforward affair. The secret is to take your time and make sure everything is where it should be and adequately secured. Here’s the basic procedure for that:
- Mount the Power Distribution Board or PDB (your battery plugs into the PDB)
- Mount the 4 motors onto the arms
- Mount the 4 Electronic Speed Controllers or ESCs
- Connect the ESCs to the motors
- Plug the receiver into the Ardupilot Mega or APM
Make sure you set all the various control components. You then need to attach them into the corresponding ports. It’s not a complicated procedure if you take your time and check all is as it should be. Wiring can be a tad awkward when working with smaller quads like Nano of Micro drones.
7. Set up the quad’s propellers
It’s better to buy cheap propellers rather than print them if it’s your first drone project. I suggest “cheap” as there’s a good chance you’ll break a few on those early test flights. You must set the four props up correctly. There are two sets for a quadcopter, 2 x clockwise (CW) and 2 x counter-clockwise (CCW). Readymade quadcopter blades should have clear markings.
You need to identify the leading edge if there are no markings. You’re then ready to fit them to the motors. Always be cautious when testing the fast-spinning propellers for the first time.
8. Do pre-flight checks and go for a test flight
This is the step that’s both exciting and nerve-racking. Don’t even try to fly your 3D printed quadcopter until you’ve been through all the pre-flight checks twice.
OK, that concludes this simple introduction to 3D drone printing. Good luck, and happy flying.