Best Heaters for 3D Printer Enclosure Heating

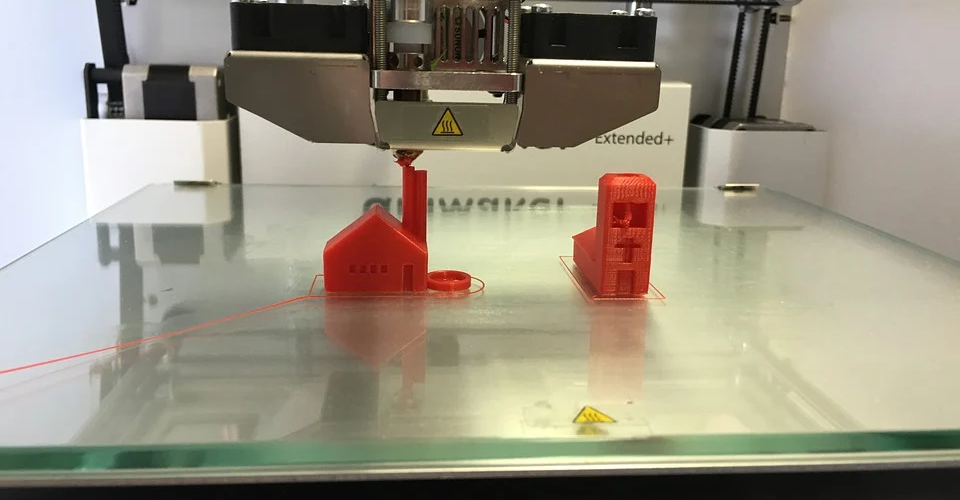
When 3D printing with challenging filaments like ABS and Nylon, you want to make sure that there is as little heat loss as possible. The usual solution to this is to use a 3D printer enclosure to envelop the heat and reduce the rate of heat loss to the environment. However, this may not be enough. If you live in a cold region, the heat loss even with an enclosure may still not be acceptable.
An enclosure heater is a way to provide active heating inside the enclosure. This is quite unconventional, so what’s the best equipment for this method?
Why use a 3D printer enclosure heater?
To preface this entire discussion, it’s worth mentioning that using active heating inside an enclosure is not something that is commonly done. This means that you’re not likely to find equipment that is specifically designed for this purpose. Instead, there will be a healthy amount of DIY involved.
Why go all the bother of building an enclosure with active heating? As with any heating solution, the ultimate goal is to prevent warping or improve layer adhesion. This is important when dealing with notoriously difficult filaments like ABS, Polycarbonate, or Nylon.
Normally, using an enclosure with a heated bed is enough to address any heating-related issues. More problems can come up if you’re trying a print a particularly tall model. If the heated bed is the primary source of heat, it tends to dissipate rapidly the farther away from the bed the layers are. This often leads to layer delamination and warping in the upper parts of a model.
The goal of an enclosure heater is to make sure that the temperature is constant at every point inside the enclosure. This eliminates the issue of heat localization and avoids problems in 3D printing large or tall objects.
The best heaters to use for enclosure heating
There isn’t really a single product that is specially designed as a heated for a 3D printer enclosure. Instead, we will have to make do with makeshift solutions.
The first order of business is a thermocouple for temperature monitoring. In case you go for an electronic heat source, it would be best to get an integrated temperature controller and thermocouple such as this module from Docooler. Not only does it provide a temperature readout but it can also regulate the output of a digitally controlled heat source.
As for the actual heat source, here are some options to consider:
Light bulb
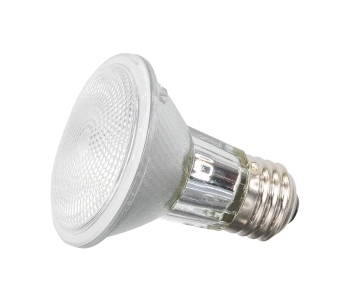
The cheapest and simplest option is a standard halogen light bulb. Make sure to get a light bulb that is compatible with a dimmer to allow for temperature control.
Take note that a light bulb isn’t exactly designed to generate heat. It would have to be positioned close to the print to make any difference. If your build chamber is small, then a light bulb would be perfectly viable.
The great thing about light bulbs being so inexpensive is that you can use several of them at the same time. Having problems with a “cold spot” in your print chamber? Then point another light bulb on that particular spot.
IR heating lamp
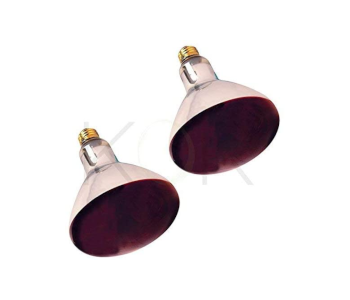
A step up from a halogen light bulb, an IR heating lamp was actually meant to give off copious amounts of heat. Typically used for spas, chicken coops, and reptile pet tanks, IR heating can keep a large space warm even in winter. They also aren’t expensive – this pair of heat flood light bulbs from the KOR brand cost less than $20.
The advantage of an IR heating lamp is that a single lamp is usually enough to provide heat even to a large build chamber. Just take note that the heat can get very intense near the lamp itself, so keep it away from any parts that can easily burn or melt. Using two IR lamps is also a possible option when printing in winter or if you have a very large printing chamber.
Hairdryer
This is an option for those who aren’t keen on buying an additional accessory for 3D printing. Since most households already have a hairdryer, then you might as well give this approach a shot.
To use a hairdryer for enclosure heating, simply cut a hole in your enclosure and stick the outlet of the hairdryer inside. Depending on your hairdryer, there should be some way to regulate its output, even if it’s just a low or high setting. This lack of adjustment is the major limitation of using a hairdryer, aside from the fact that they aren’t exactly built to run for several hours on end.
PTC fan air heater

A PTC (positive temperature coefficient) fan heater is a fan that is specifically designed to blow hot air into a small space. This is perfect for a 3D printer enclosure as the forced convection naturally encourages even heating at all points in the chamber. It also generates heat faster than a bulb or heating lamp.
This 12V PTC fan air heater from Mumusuki is a convenient option as it is already pre-wired for connection to a temperature controller like the one we have linked to above. This combination should help you maintain a constant temperature inside the chamber without having to readjust the position and intensity of the heat source periodically.
Portable space heater
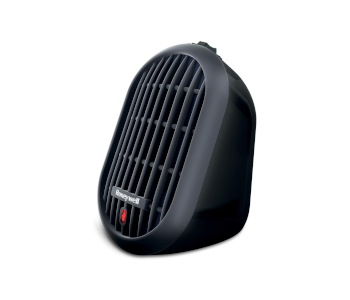
If you use a portable space heater for your car, then the same device can also be used to maintain heat inside a 3D printer enclosure. This compact heater from Honeywell would be a very good option.
Compared to a PTC fan, a commercial space heater isn’t pre-wired for connection to a temperature controller. Instead, you’ll have to take it apart and look for the wires that regulate its heat output. The benefit of the Honeywell space heater is that it comes in a ceramic case that protects its internal components from getting damaged because of the heat.
A few tips on maintaining enclosure temperature
Not all filaments need a heated chamber
If you’re printing with PLA or ABS, then you really don’t need to bother with a heated enclosure. In fact, you can get by without an enclosure at all!
Just as important as using a heated enclosure is hitting the proper temperature for the filament you’re working with. The smallest bit of added heat helps, even if you can’t hit the target temperature. Going over the recommended temperature for your filament would be a bigger problem, as your prints might start drooping ever so slowly.
Consider insulating your enclosure
Most 3D printer enclosures, particularly DIY ones, are made of clear material on all sides. While this is great for keeping an eye on your print, you don’t really need a 360-degree view of your project as it is printing.
Instead, consider adding a layer of insulation on a few sides of the enclosure. This will further minimize heat loss and reduce the power needed to maintain the temperature of your print chamber Make sure to use insulation material that’s fireproof, such as ceramic fiber.
Don’t blow cold air into a warm enclosure
When a 3D printer is enclosed, there needs to be a way for the air to vent out to remove any toxic fumes or microplastic particles. This means that you need to draw in air from the environment to maintain the pressure of the chamber. The problem is that you could be drawing in cold air, which is as good as not having an enclosure at all.
A good option is to build a mechanism that filters the hot vented air and recirculates it back into the print chamber. This means that you’ll also be blowing hot air back into the chamber, making it a lot easier to maintain the internal temperature.
Keep your printer’s electronics outside the heated enclosure
If you’re designing your own 3D printer enclosure, do it in a way that keeps your printer’s electronics outside the heated area. This includes your printer’s control boards and, more importantly, its power supply. Take note that the power supply already generates its own heat – it probably does not help to make it any hotter.
As a general rule, your printer’s control boards and power supply should not be exposed to temperatures exceeding 50 °C. Doing so makes them a lot more prone to breaking down prematurely.
Final thoughts
Providing active heating to an enclosed chamber is already quite extreme as far as 3D printing techniques go. It’s a measure that we would only recommend if you’ve already tried all the usual solutions to warping and delamination. It’s still a valid approach, though, especially if you’re working on an exceptionally large model.
The biggest issue with heated enclosures is that it requires quite a bit of DIY work. You’ll have to rely on makeshift solutions using heating lamps or space heaters. Even if you can’t get the heating to work perfectly, this is what you need to keep in mind – every little bit of added heat helps.
The kill-joy at the end of this article about the need for a warm air filtration system (to make a heated enclosure ‘safe’ ), with no mention of what such a filtration system would look like, effectively neuters the rest of the good info in the article.