3D Printer Filament Not Feeding – How to Solve

A filament feeding problem is often caused by a blockage in the nozzle or extruder, but there are also several possible extruder defects that can result in such an issue. In any case, resolving this problem will likely involve taking apart some parts of the extruder for cleaning or replacement.
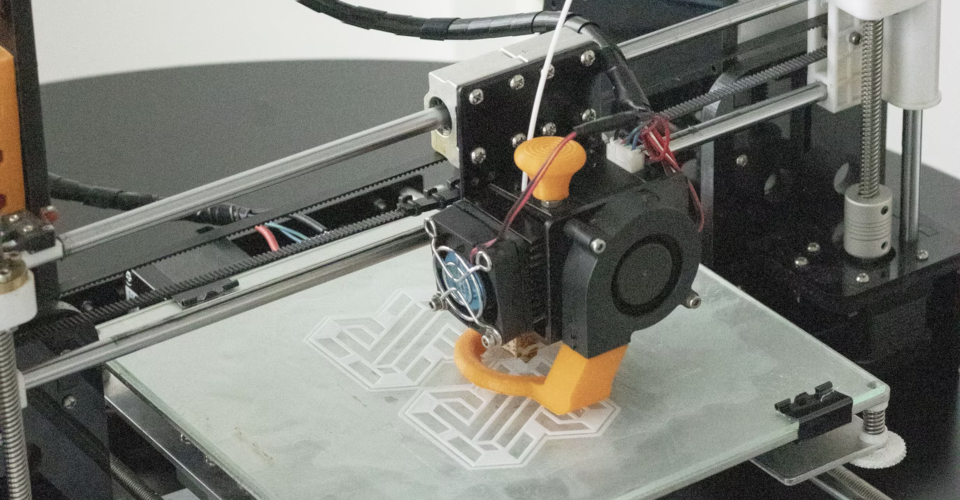
It’s one thing for a 3D printing project to go wrong in the middle of a print, but it can be even more frustrating if you can’t get it to start. If your filament is not feeding through the extruder, it’s best to take a step back and assess the problem systematically. Here’s a step-by-step guide to resolving a filament feeding problem.
Reduce tension on the filament
Let’s get the easiest thing out of the way first – check if the setup of your spool is causing too much tension on the filament. If so, the extruder gears may be struggling to pull the filament from the spool and through the extruder.
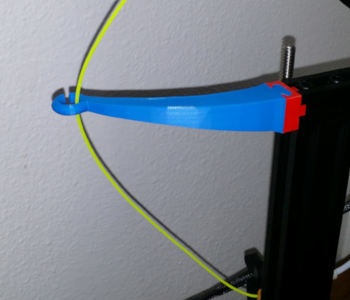
It should only take minor adjustments to make sure that the spool is almost slack as it exits the spool. Make sure that the path from the spool to the extruder is smooth and clear. You can also 3D print a simple filament guide to help with this objective.
Check your slicer settings
Next, make sure that your slicer settings are set to the proper values as recommended for the filament you are using. The most common culprits here are low printing temperatures, high printing speeds, and aggressive retraction settings.
Getting optimal retraction can be quite difficult, especially if you’re working with filaments that are prone to stringing. It would be best to do small test prints if you’re making small tweaks to these settings in your slicer.
Check for any blockage
If there’s a blockage at any part of the extruder, then it will naturally interfere with filament feeding. Unfortunately, there are so many spots along the filament path that can get obstructed. You will definitely want to check for blockages in the nozzle or extruder. If your printer has a Bowden tube, then that is one long segment that also needs to be checked for blockages.
To test if there is any blockage in your extruder, you can try manually pushing the filament through the extruder gears and nozzle. Before doing this, you will want to heat the extruder to the appropriate temperature for the filament.
When the filament comes in contact with the extruder gears, use your printer’s jog controls to try and extrude a short filament segment. If extrusion does not proceed smoothly, you can try pushing it through with your hands. This may not solve the problem completely – it only lets you know what the problem area is.
In case there are other clogged areas in the extruder, you can continue jogging the filament until the filament extrudes through the nozzle. If you are unsuccessful in pushing the filament through the extruder, you can try retracting it manually and pushing it again.
Clogged material often accumulates in the nozzle. There are several ways that such a clog can be removed, but the most reliable one would likely be the “cold pull” method. This involves pushing a high-temperature filament through the extruder at its proper printing temperature, cooling it down to its glass transition temperature, and yanking the filament out again.
This should ideally form a plug that will remove any hardened material inside the nozzle. The whole process can be repeated until the nylon filament comes out clean of any trace of clogged material.
Check the condition of the PTFE liner
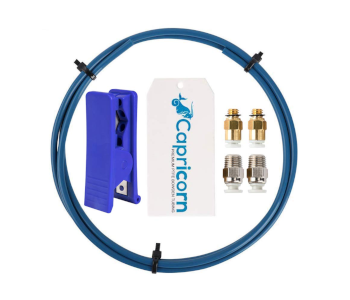
Located right before the heat break and heating element, the PTFE liner in the extruder helps reduce the friction as the filament passes through. The potential problem is that the PTFE liner can get worn out after some time, especially when exposed to the high temperatures of the heating element. This phenomenon can happen if the heat break of the extruder is not functioning as intended.
Wearing down the PTFE liner not only increases friction with the filament but can also create a blockage in the extruder. Unfortunately, the only solution to this is to just replace the PTFE liner. The best thing you can do is to use a high-quality PTFE liner that should last a bit longer. Lots of 3D printing professionals swear by the Creality Capricorn PTFE tubing.
Adjust the extruder spring tension
The mechanism that pushes filament through the extruder is the hobbed extruder gear paired with the idler. Ideally, the filament comes between these two components and the extruder gear “bites” onto the filament, pushing it forward as it rotates.
The tension between the idler and the hobbed gear is an essential component of functional filament extrusion. You want these two parts to be tight enough to snap onto the filament but not overly tight that they can cause filament damage.
You will have to do some trial and error to get the perfect extruder spring tension. This is something you will need to do periodically, as the extruder tends to move out of alignment after some time. This isn’t a difficult task – the bolts needed to adjust the spring tension are typically easily accessible.
Check the condition of the extruder gears
One of the possibly worst outcomes of an overly tight extruder spring tension is that it can result in the gear hobs grinding into the filament. When this happens, small plastic fragments can end up getting caught in the hobs of the gear. This process can repeat until the hobs of the gear become completely filled with plastic from the filament.
When this happens, the extruder gear can completely lose its ability to latch onto the filament. The end result is that the extruder motor continues rotating, but no filament is being fed to the extruder. This effect is fairly easy to spot.
If fouling of the extruder gear is observed, you have no choice but to take it out and clean it manually. The best cleaning pin is a small pin that you can insert through the individual hobs to push out the clogged material. Take note of proper spring tension when putting the extruder gear back again.
Other tips to avoid filament feeding problems
The saying that “prevention is better than cure” is highly applicable in this situation. Rather than resolving a filament feeding problem, it’s better to take measures to prevent such a problem from manifesting. There are several practices you can integrate into your regular routine to attain this.
Level your print bed
A level print bed is a key step to getting that first layer perfect. If the nozzle is too close to the print bed, it can also result in the nozzle getting clogged or damaged. The good news is this is a problem that is easy enough to avoid – just do a bed leveling procedure regularly.
This advice is a lot easier done if your 3D printer has an auto bed leveling feature. Other 3D printers have a guided feature instead that will take you through the steps needed to get a perfectly leveled bed.
If you have to do everything manually, you don’t need to worry as it is not that complicated. Just take an index card and insert it between the nozzle (at the zero position) and the print bed. You want to level the print bed such that there is very slight friction between the index card and the nozzle. Repeat this process on at least four different points in the print bed, adjusting the height of the print bed as you go along.
Keep your filament clean
Any dust in your filament that goes to the extruder burns when the filament enters the melt zone. This deposits as hard, carbon-filled material that can eventually build up to clog the nozzle and other internal parts of the extruder.
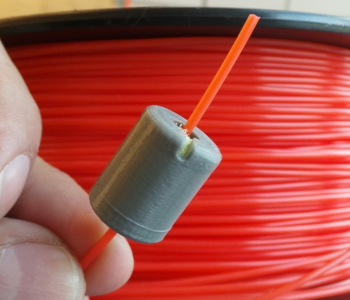
The solution to this is to place a cleaning module for your filament right before it enters the extruder. You can DIY this with a small piece of sponge and a holder design that you can download from Thingiverse.
The idea is that the sponge wipes the surface of the filament to remove any dust. You can also place a few drops of mineral oil on the sponge to help with filament lubrication. Remember to replace the sponge periodically or when it gets too dirty.
Final thoughts
It can be pretty annoying to want to start a 3D printing project and find that the filament just isn’t going to the extruder. When this happens, it’s good to take a step back and to go through all the possible causes methodically. Can you make changes to your slicer settings? Perhaps there is just too much tension between the filament spool and the extruder?
As with many 3D printing problems, getting to the root cause of a filament feeding problem is a lot easier when you understand the fundamentals of 3D printing. Running into these problems is just a natural experience in 3D printing and is precisely how you can be better.