3D Printed Super Stratos Glider Build

Finding quality 3D models to print can be a lot harder than it would seem. When you get tired of printing Yoda heads and miniature Eiffel Tower’s, what else is there to print. Well if you want something that can actually do something and will be a bit of fun, Thingiverse user, Exosequitur has you covered.
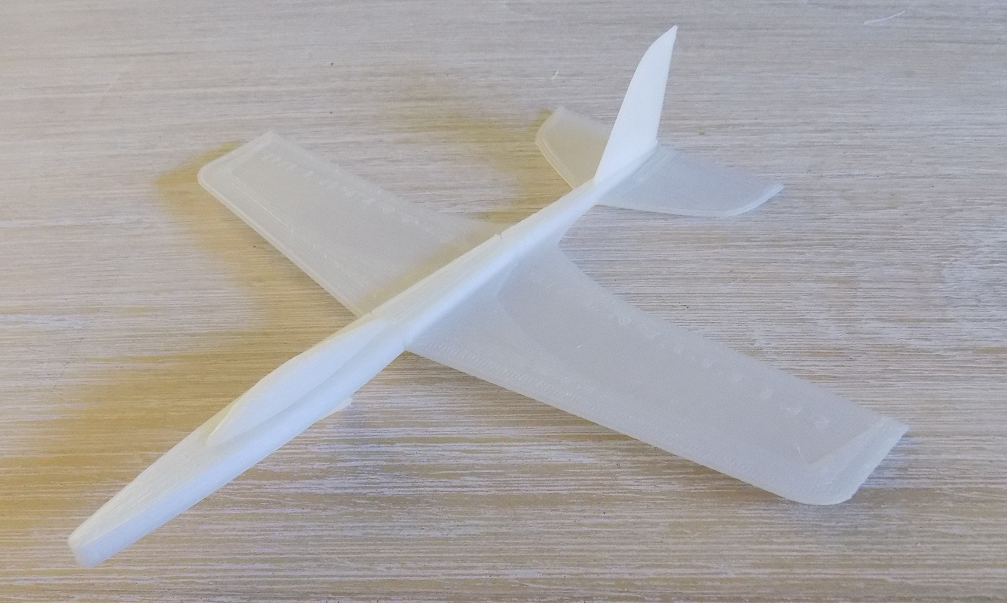
Exosequitur has been uploading quality 3D printed glider models to Thingiverse since August 2012 and they range from miniature dart gliders to massive gliders with a wingspan just under half a meter. Recently, we had a go at making Exosequitur’s tried and true Super Stratos 3D printed glider.
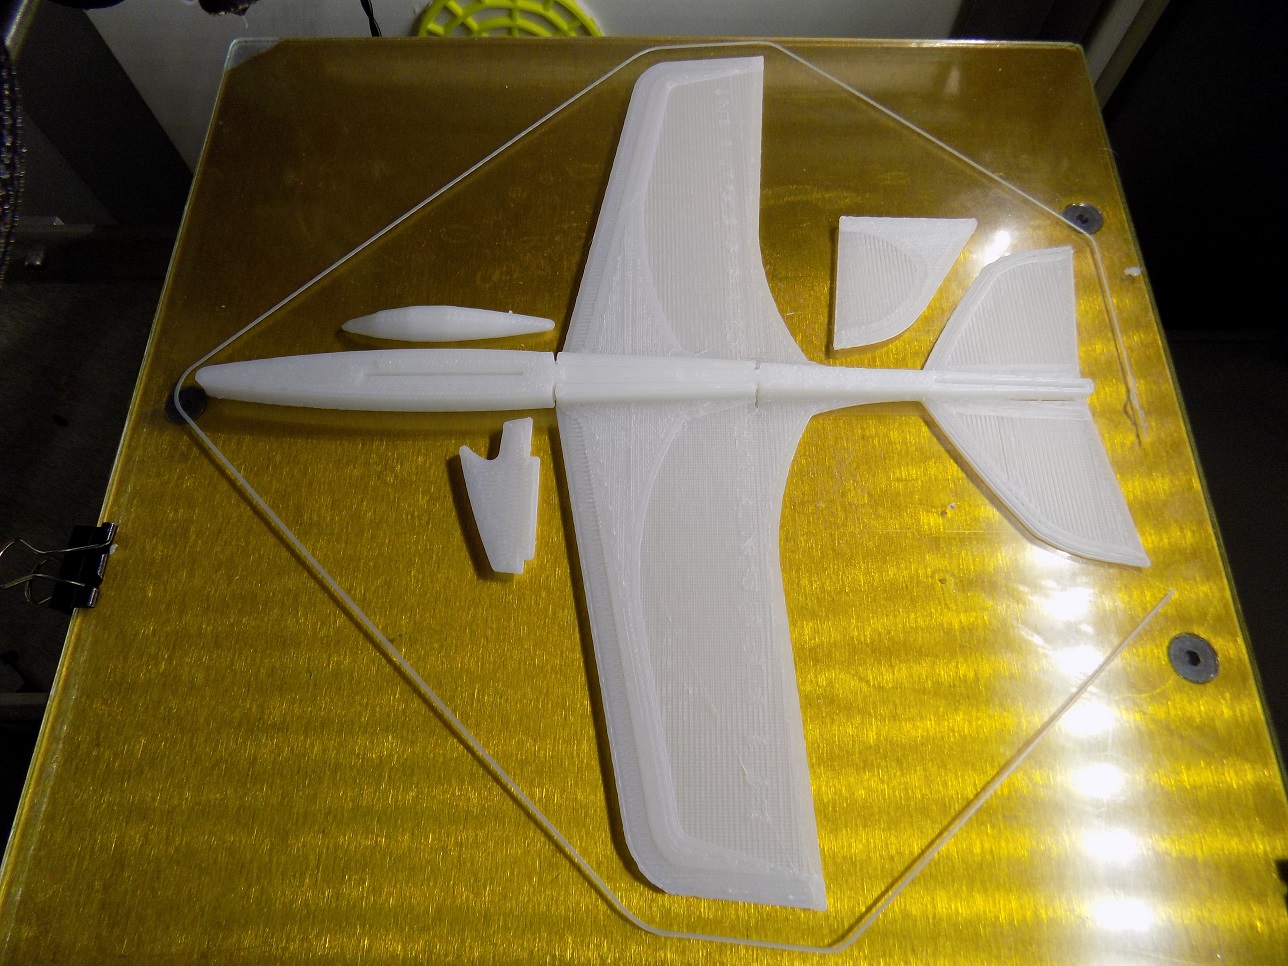 The Super Stratos is a revision of Exosequitur’s original Startos glider, “with dihedral hinges, washout wings, load dumping stress risers, an improved KF variant aerofoil, latch-up elevators, and a 3D canopy.” Overall, it takes around 1250mm of ABS plastic to produce and those with smaller build platforms can opt for the ‘cut up’ version.
Printing
Printing the Super Stratos is a relatively straight forward process; however your printer must be set up correctly and the following slicing settings recommended should be adhered to:
- Plastic: ABS
- Layers: .20mm
- Fill: 25%
- Perimeters: 2
- Solid Layers: 2
- Filament use / weight (3mm) : Approx 1250mm
- Orientation: Lengthwise (0 degrees for first layer) and alternating by 90 degrees for following layers.
Overall, we printed three Super’s, which took around 40 to 50 minutes apiece. The first didn’t slice quite right (didn’t realise till after it was printed), the second sliced properly but our printer was printing a tad too fast, and finally the last one printed properly. The gliders can also be hard to remove from the print bed and the delicate wings can be damaged easily.
Assembly
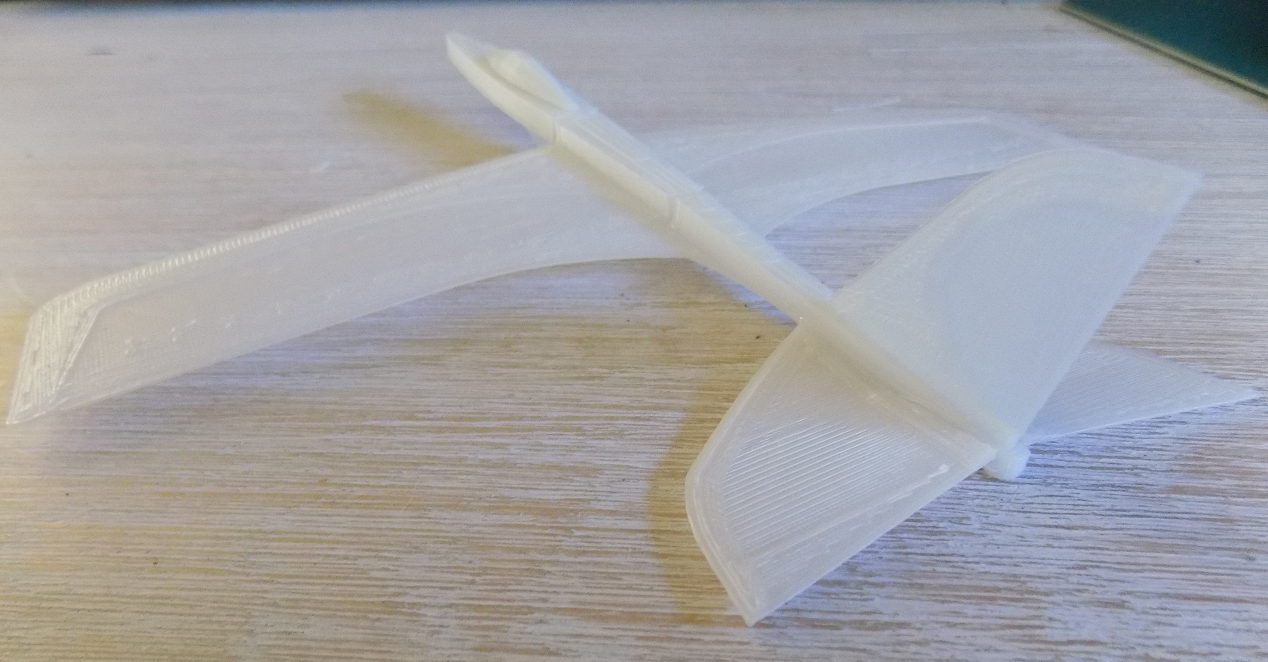
Assembly is a straight forward process, just simply glue the tail, canopy and hook part onto the main body. You’ll then have to set up the dihedral hinges by clamping along the top of the fuselage between the wings to get the right angle. Make sure the dihedral angles are symmetrical prior to gluing.
Testing & Flight
 Much of the testing should be done before you go ahead and glue the whole thing together. Small adjustments can be made at a later point, but once it’s glued you’re not going to get it apart. Be prepared to make multiple gliders as you probably won’t get it right the first time.
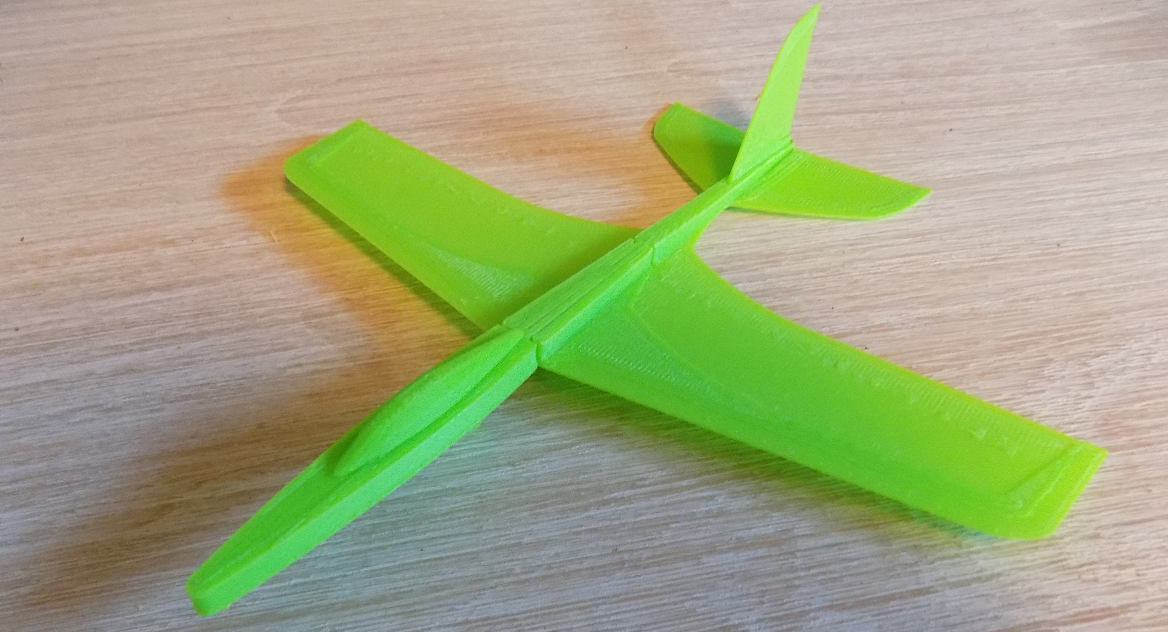
Launching the Super Stratos is achieved with a simple rubber band and an optional launcher. The Super Stratos flies extremely well if set up correctly and we wouldn’t recommend trying it out in your house or in a small garden like we did with our second glider (ended up at the top of a tree). Take the Super Stratos to an open park and try to avoid concrete areas.
Wrap Up
The Super Stratos can be a tricky we thing to set up properly, but once you get it right the results are amazing for such a simple, short print. It would be ideal for children to make for a school project and it is small and thin enough to be easily sent in the post. Additional, the Super Stratos also makes the best cat toy I’ve ever seen; just don’t get it stuck up a tree.
I’m looking for some glider dimensions. length, width, thickness, etc.