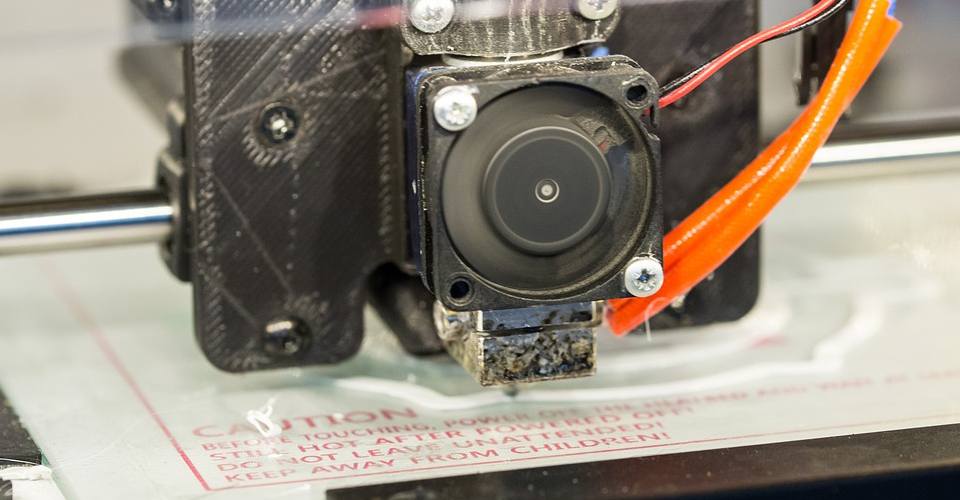
15 Best Tools and Accessories for Your 3D Printer

While it’s true that most desktop FDM printers come fully assembled, desktop 3D printing kits typically come with just the bare minimum of equipment to get you started printing. If you want to get the most out of your 3D printer, you will need to get the right set of tools and accessories. Some of these are optional, but most of the items on this list are essential if you want to be able to work with different filaments or if you want to produce high-quality 3D prints with a professional-grade finish. Listed below is our curated list of the very best tools and accessories to complement your 3D printer.
1. Blue painters’ tape
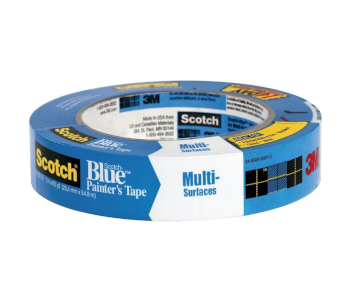
One thing that should be in the arsenal of any respectable 3D printing professional is a roll of blue painters’ tape. Painters’ tape is basically just a variety of masking tape that does not leave a residue when removed. It is the go-to option for bed adhesion even for seasoned experts and large 3D printing companies. Not only is blue painters’ tape cheap, but it also protects the build platform from scratches and can be easily removed from the bottom surface of finished 3D prints.
There are a couple of precautions to remember when working with blue painters’ tape. The first is that it’s not meant for high-temperature applications. If you are using a heated bed, painters’ tape will become practically useless. The second thing is that you will likely need to reapply a layer of painters’ tape on your build platform after every completed print. As anyone who has used painters’ tape for bed adhesion can tell you, applying the tape while ensuring that there are no gaps or overlaps can be a bit of a headache. To make this process easier for you, we suggest getting the widest strip of blue painters’ tape that you can find.
2. Glue stick

A glue stick is another of those things that an experienced 3D printing professional would probably just have lying around, if only because it’s cheap and incredibly versatile. An application of glue stick can be used to augment the adhesive properties of blue painters’ tape if you are still running into bed adhesion problems. The best thing about using glue stick is that you can even apply it directly on a heated glass bed and its adhesion will be just as effective.
Hair spray has been an oft-mentioned alternative for giving your bed adhesion that very slight upgrade, but using hairspray is often more problematic as it can get into the other moving parts of your 3D printer. We recommend using a glue stick, as it gives you much better control over where the glue ends up on. It will probably be more useful around the house than hair spray – unless you’re into hairstyling.
3. Kapton tape
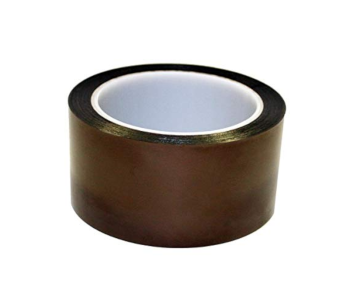
Kapton tape is great for all those times when blue painters’ tape just can’t do the job. Made with a polyimide adhesive, Kapton tape was especially designed for use in high temperature applications. It retains its adhesive properties up to 400 °C, way above any prescribed bed or printing temperature. The downside is that it’s a lot more expensive – about twice the price of blue painters’ tape.
Aside from the higher price as a consequence of better heat resistance, using Kapton tape is subject to the same set of benefits and drawbacks as blue painters’ tape. It’s still a cheap solution to bed adhesion but allows you to easily remove the finished print. However, much like blue painters’ tape, you will probably need to apply a fresh layer of Kapton tape every time you start a new print.
Due to its better heat resistance, Kapton tape is commonly used when working with ABS filaments. If you have a heated printing bed, you should always have a roll of Kapton tape on hand in case the heated glass surface proves insufficient to ensure bed adhesion.
4. BuildTak print surface
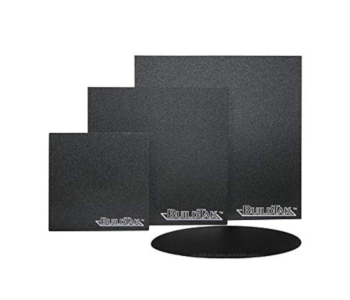
BuildTak is a specially made printing surface that should be the answer to any of your bed adhesion problems. Available in a variety of shapes and sizes, each BuildTak surface is comprised of a single piece that you can stick right into your build platform. It can be used on both heated and non-heated printing beds and exhibits good bed adhesion for practically all types of filament materials.
Using a BuildTak surface may seem to be more expensive initially, but you can get value for your money by maximizing the useful life of each print surface. According to the manufacturers, each BuildTak surface can last up to 150 hours of printing in a non-heated bed. Depending on the size of your models, this could be enough for up to 10 prints. In the long run, buying a pack of BuildTak print surfaces will turn out to the more cost-effective option.
Keep in mind that you will have to take good care of your BuildTak surface to make the most out of it. Take care when removing your finished print, and only use a spatula with a rounded corner. Also, don’t ever let the hot end nozzle come into contact with the BuildTak, as it will burn a hole right through the print surface.
5. Signstek borosilicate glass plate
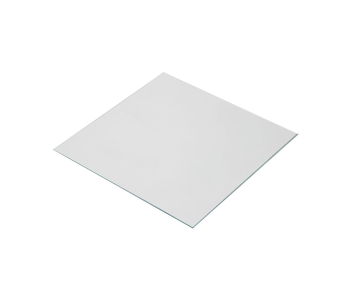
When it comes to choosing a printing bed, using a borosilicate glass plate is unquestionably the best option. It allows you to create high-quality prints even with filaments that are notorious for warping, such as ABS or Nylon. In case you still encounter bed adhesion issues, a borosilicate glass bed is also compatible with many bed adhesion enhancements, such as Kapton tape or glue stick.
Another benefit of printing directly on a glass plate is that prints come out with perfectly smooth bottom surfaces. If you are in the habit of finishing your 3D prints, this will be much less work for you. Surprisingly, a borosilicate glass plate is also very cheap. Getting one now is a great value, as you will surely be reusing the same glass plate for dozens of prints.
6. Glowgeek Electronic Digital Caliper
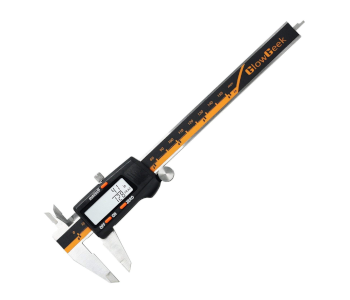
A good digital caliper is one of the most useful items you can have in your 3D printing toolkit. It provides a quick and accurate way to check the diameter of a filament that you just bought, just so you’re sure that it will work with the printer settings you have dialed in. A digital caliper is also great for post-printing assessment, so you can check if you have accurate layer heights, or if your final print measures up to your model.
Aside from measuring the opening of the caliper clip, this electronic caliper can also make external measurements. This feature can be extremely useful when calibrating the print head’s initial z-coordinates, or for checking if your build platform is level.
7. Titan tools scraper and putty knife set
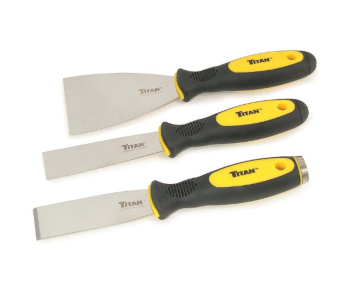
One of the tougher steps in 3D printing is removing the finished print from the build platform, exerting just enough force to pry it loose without damaging the print. Most 3D printing experts will agree that the best tool for the job is a palette knife.
Depending on the size of your print and how well it has stuck to your build platform, you may need palette knives of different shapes and sizes. For this reason, we recommend this 3-piece set which should cover all your needs. With varying lengths and rigidity, you should not need any other tool to remove your print from your build platform. The set is also quite cheap, especially considering how it should last a couple of years.
8. Steel Tweezers 4-Piece Set
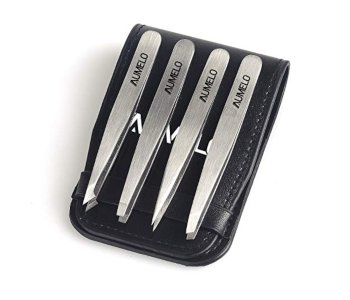
When it comes to fiddling with the small parts of your 3D printer, your fat fingers just won’t do. A high-quality set of tweezers is invaluable when 3D printing. You might need to fish out a small piece of leftover filament from your nozzle, or some plastic may have gotten stuck on the hobs of your extruder gears. These spaces are way too small for your bare fingers but can also easily get damaged if you start stabbing into them without finesse. Tweezers give you just the perfect mix of dexterity and firmness, allowing you to get into those tight spots and remove any jammed material.
A strong pair of tweezers might even be useful for high-precision removal of small imperfections on the finished print. After all, prints can get really small and detailed, so it’s better to be ready. Also, this set of tweezers costs next to nothing.
9. X-Acto X5262 Double Knife Set
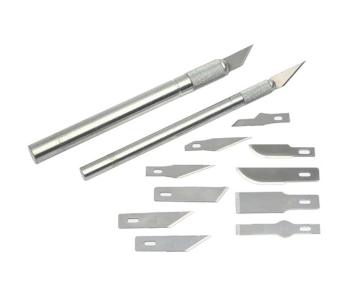
Finished prints will inevitably come out with unwanted strings and blobs which you’ll need to slice off to get that professionally finished look. For highly precise cutting and slicing, we have always been partial to an X-Acto knife with a set of several blade assortments. This double knife set should cover all your cutting needs – from small blobs to full removal of support structures.
The blades that come with the set are extremely sharp and are custom-shaped to fit into all the curves and edges of your print. The swiveling head gives an unequaled degree of control, so the X-Acto knife should cut exactly where you want.
10. 3M 9” x 11” Sandpaper with Assorted Grit Sizes
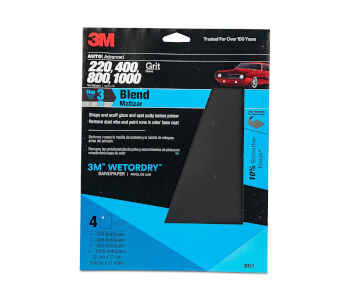
The most basic and cheapest of all finishing tools, the humble sandpaper plays a crucial role in starting the finishing process of your 3D prints. High-Quality sandpaper will remove all the rough edges of your finished print, making it easier to apply polishing solutions and paints on your print’s surface.
The sanding process for 3D prints starts with higher grit sizes and moves to smaller grit sizes to achieve that perfectly smooth look. Instead of buying several packs to get several grit sizes, we recommend this assorted pack from 3M. This sandpaper is also waterproof, making them suitable for wet sanding which draws particles away from the print’s surface.
11. ORIA Screwdriver Set and Tekton Hex Key Wrench Set
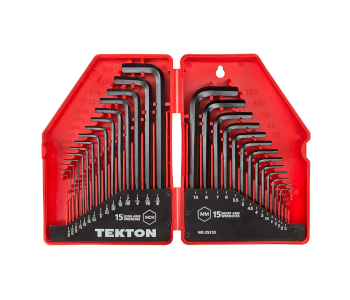
If you don’t have a complete set of screwdrivers and hex wrenches yet, then having a 3D printer is the perfect excuse to finally get one. You’ll likely spend a lot of time tinkering with your 3D printer and disassembling several parts for troubleshooting. Perhaps you’re just curious about what lies under the hood. In any case, it will be comforting to know that you have all the tools you’ll need to pull the printer apart and put it back together again. You might even need the set of tools before you start any printing, as these 3D printers typically require a small amount of set up before they can be used.
Even if you don’t end up using these toolkits for your 3D printer, they will undoubtedly be invaluable around the house. We suggest that you don’t wait until you need them – get these tools as soon as you can.
12. Sharpie Permanent Marker
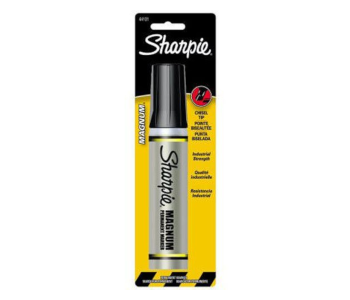
Having a simple permanent marker on hand is incredibly useful, especially when you’re doing trial prints trying to come up with the perfect printer settings. It’s a cheap and simple tool, and we’re sure you can find other ways of using it in the course of your 3D printing career. Even if you don’t, a permanent marker is still useful to have around in the house, so there’s really no reason not to get one.
13. Pack of 50 Silica Gel Packets
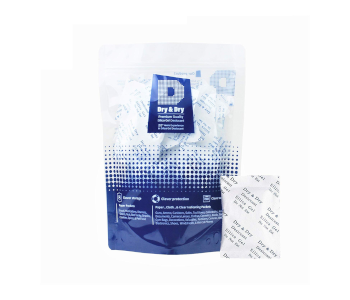
3D printing filaments are incredibly prone to capturing moisture from the air, which can result to print quality and jamming issues if they are used. For this reason, filaments should always be stored in air-tight vacuum bags. To make sure that they do not pick up any moisture while in storage, we recommend throwing in a few packets of desiccant. We recommend this pack of 50 silica gel packets that are incredibly cheap but very reliable. Just two or three packets of these should keep your filament moisture-free for several months.
14. Gorilla Super Glue
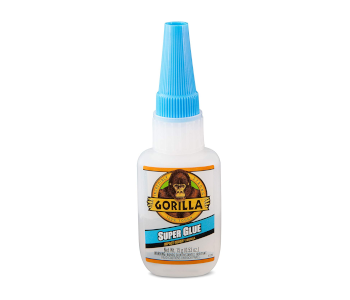
A bottle of super glue is just one of the things you’d like to keep on hand, just in case you might need them. Super glue has an endless number of applications in 3D printing, from repairing errant prints to gluing together several pieces to form a super-sized build. We recommend the Gorilla Super Glue because of its thickness, making it a viable material for filling in unintended gaps and holes in your final print. It is also incredibly strong and sets in just a short time.
15. Acetone
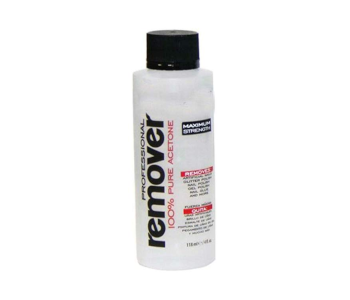
There are a couple of ways to get a perfectly smooth finish in your 3D prints, but none of these techniques is as easily done as an acetone vapor bath. Particularly suited for ABS prints, an acetone vapor bath is a passive technique that results in a consistent, professional-grade finish. You also only need a very small amount to finish a print, so a bottle of this volume should be enough for quite some time.
You should be able to do an acetone vapor bath with items you have around the house but remember to do it in a well-ventilated place. Short bursts of acetone inhalation have no ill effects on humans, but the smell can quite nauseating. Acetone vapor can also easily catch fire, so make sure there are no open flames or source of electrical sparks nearby.
Final thoughts
Whether as a hobby or profession, 3D printing is an incredibly fun activity where you can easily lose several hours tinkering with parts and adjusting settings. However, as with any piece of machinery, you will need to have several tools on hand to really maximize the potential of your 3D printer. From bed adhesion aids to smoothing and finishing implements, the right set of tools will help you achieve truly professional-grade prints.
Fortunately, most of the essential tools that we have included in this list are very cheap. These tools will also last you a good couple of years, so don’t feel bad about splurging just for this time. 3D printing does not need to be an expensive hobby. In fact, the low costs associated with 3D printing is one of the factors that makes it an attractive outlet for creativity and crafting. Even with all the embellishments we have listed here, 3D printing is still one of the more affordable hobbies you can have.