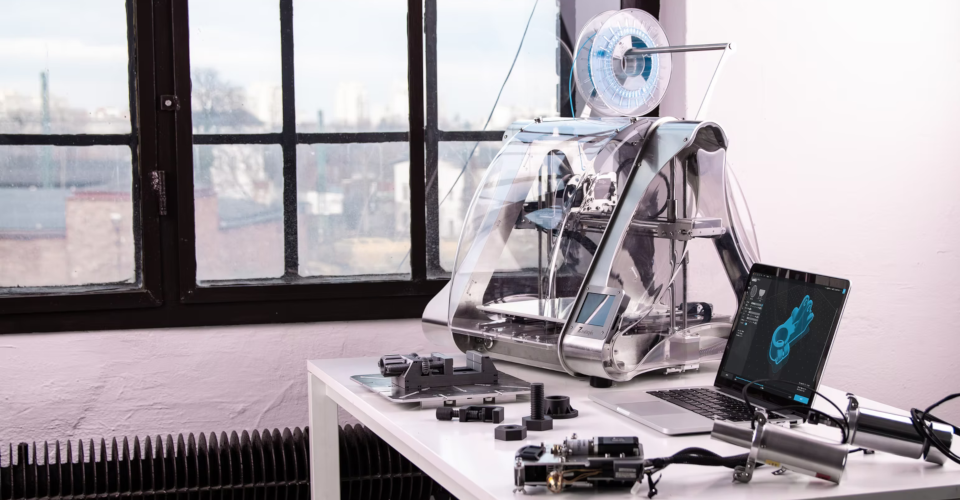
Tips for Running A 3D Printer During Winter

If your workshop’s temperature goes below 59 degrees F, then you could run into warping issues even when printing with PLA. The best way to avoid this problem is to print with an enclosed or heated chamber. When it gets extremely cold, you might have to use an active heating source such as a space heater or IR lamp.
As winter creeps up on us, it is time to start running the heaters inside our home and taking the heavy jackets out of storage. We can usually adjust well to cold temperatures, but the same cannot be said of our 3D printers. What issues should you expect when 3D printing during winter? How can you avoid running into these problems?
How cold is cold?
3D printing in winter can be problematic especially if you have your 3D printer situated in a room that people don’t usually stay in. This likely means that the room does not have very good heating or insulation. This is the case for most basement or garage workshops, or even in spare rooms.
If the temperature in your room is enough for you to be uncomfortable, then it almost certainly is too cold for 3D printing without making any enhancements. As a rule of thumb, temperatures dipping below 60 degrees F can already cause more than the usual number of 3D printing issues. This is more so the case if you print with filaments that print at high temperature such as Polycarbonate, Nylon, or ABS.
What issues to anticipate
So, what’s the big deal if you 3D print during winter? For the most part, you will be dealing with issues that you have probably already encountered. However, they will be a bit harder to control because of the markedly low temperatures. Cold temperatures and 3D printing simply does not go well together. Here are just some of the potential issues you can encounter when 3D printing in winter:
Warping
Problem number one, as you would expect is warping. This is already an issue that you can typically encounter for filaments like ABS or Nylon. Warping happens because of the accumulation of thermal stress in the filament as it cools down rapidly from very high temperatures. In winter, this cooling happens even faster, thereby promoting warping.
For most of the year, the warping problem is almost exclusively experienced for filaments that print at very high temperatures. However, winter temperatures can cause warping even when 3D printing with the typically reliable PLA.
According to most PLA manufacturers, this material develops a tendency to warp at temperatures below 59 degrees F. This means that you will need to do all the usual tricks to avoid warping, even if you’re just printing with PLA.
Filament cracking
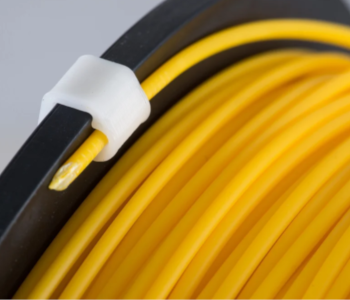
At low temperatures, polymers like those used for 3D printing tend to become less flexible and more brittle. This means that they are more likely to snap if they are not handled carefully. This problem becomes worse if your filament was not stored in a manner that would have protected it from moisture uptake.
Increased power use
When temperatures are very low, it also means that your printer will have to work extra hard to maintain the temperatures of the hot end and heated bed. Although we have already established that 3D printers are not very power-intensive, just expect the power draw of your 3D printer to spike during winter. You might need to consider this if your 3D printer is connected to a breaker with a low amperage rating.
Temperatures below the minimum
Most 3D printers have a minimum temperature to run that is integrated into its G-Code. For FDM printers, this temperature is typically set at 50 degrees F. If you leave your 3D printer in a cold room, you might find that you need to pre-heat it to even get any project started.
The simplest solution to all these problems would be to use space heating to increase the temperature in the room where you have your 3D printer. However, this may not always be an option. Space heating is expensive, and not all rooms are equipped with a heater. The next best option would be to build a mini-environment where you can more easily control the temperature – an enclosed chamber.
Building a winter-proof 3D printing heated chamber
If you want to keep 3D printing over the winter, then you may need to build an enclosure around your 3D printer. Depending on how cold it is, you can also consider adding an active heat source inside the enclosure to regulate the temperature. Below is a basic guide that we have come up with to help you build an enclosure using inexpensive materials.
Build the frame
Let’s start by building a frame for the enclosure. You will want to measure the dimensions of your 3D printer including the spool holder. Plan to build the enclosure around the whole 3D printer while leaving about a foot of clearance in all directions.
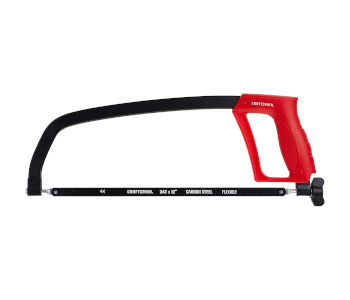
The cheapest material you can use for the frame is PVC pipes. A 10-pack of 1/2-inch or 3/4-inch PVC pipes should be enough for any size of 3D printer. You should also get a pack or two of three-way PVC connectors. A hacksaw to cut the PVC pipes into the optimal sizes would be handy if you don’t already have one in your workshop.
Using the PVC pipes and connectors, simply build a box around your 3D printer.
Build the insulation

Since 3D printing involves very hot parts, it would be prudent to use insulation material that is also fireproof. The best option for this would be ceramic fiber. This is a little more expensive than the standard foam core insulation but is much safer. It is also easier to handle than fiberglass.
Pre-cut the ceramic fiber into panels that will fit onto the walls of the frame that you just built. These can then be secured in place with standard cable ties. You can try to seal in any openings on the walls, but a few small gaps will not matter so much. Remember to leave the front side of the 3D printer open as we will be using it as a viewing panel.
Make a display panel

To help you monitor the status of your project, we will be installing a clear acrylic panel in front of the enclosure. We recommend using a 1/4-inch thick acrylic panel that you can cut to the desired size using a hacksaw or router.
At this point, you can just rest the clear panel in front of your frame and move it out of the way if you need to do something with your 3D printer. Attaching it rigidly to the frame is also an option but seems to be more trouble than it’s worth.
Install a thermometer or temperature sensors
With your new insulated enclosure, you can be sure that most of the heat generated by the 3D printer is retained inside it. The print chamber also won’t cool down so quickly because of the winter temperatures. While we can be assured of improved performance, it’s still better if we can keep track of the actual temperature inside the enclosure.
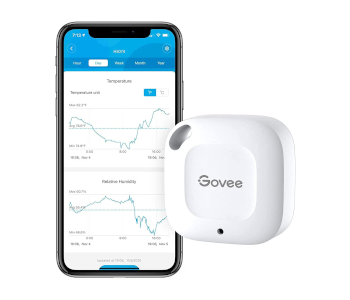
You can install a standard thermometer with a digital readout inside the enclosure. This should be good enough for doing a quick check if more heating is needed. However, it’s much more convenient to use a wireless temperature sensor that you can monitor remotely. Whichever option you go for, make sure to use a thermometer that can safely record temperatures between 60 to 80 degrees C.
Add a heater
When it gets extremely cold, you may need to add active heating to an enclosure. This may be necessary if you’re dealing with filaments that are particularly prone to warping.
There are several ways to create active heating. The simplest one would be to use a portable space heater. This type of product typically some with two to three heat levels and provides good air circulation inside the enclosure.
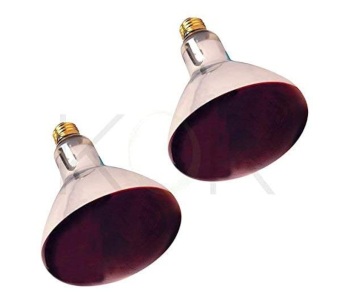
If you need a lot of extra heat, then you might want to consider getting some IR heating bulbs. These can get hot really quickly, making them ideal for dealing with extremely cold temperatures or filaments that are suffering from poor bed or layer adhesion. Heating bulbs create more significant increases in temperature, but their effects are more localized than dispersed.
The great thing about using modular pieces to build an enclosure is that you can easily take it apart when springtime comes and temperatures are more favorable for 3D printing. When winter hits, you can just build the enclosure again using the same materials.
Final thoughts
Many enthusiasts may be keen on taking advantage of the lull in work in winter to do more 3D printing, but the cold temperatures present a couple of unique challenges. Brittle filaments, more power usage, and higher warping tendency are things you will need to deal with if you wan to 3D print in the winter.
Thankfully, building a DIY enclosure is easy and quite inexpensive. You can even add active heating to an enclosure if you really need it. We suggest building an enclosure that can be easily disassembled so you can put it away and reuse it for the coming years.