3D Printer Z-Offset: What It Is and How to Use It

The Z-offset setting of your 3D printer is the distance between the Z home position and the hot end. Calibrating this setting is a key element of attaining the perfect first layer. The Z-offset can also be manipulated to add extra print bed material or to a model on top of another.
The Z-offset of your 3D printer is only one of more than a dozen settings you will need to fiddle with on a filament-based printer. It is also one of the more important ones, especially if you’re trying to make your prints as close to perfect as possible. Check out this primer on what the Z-offset is and how you can use the setting to your advantage.
What is the Z-offset?
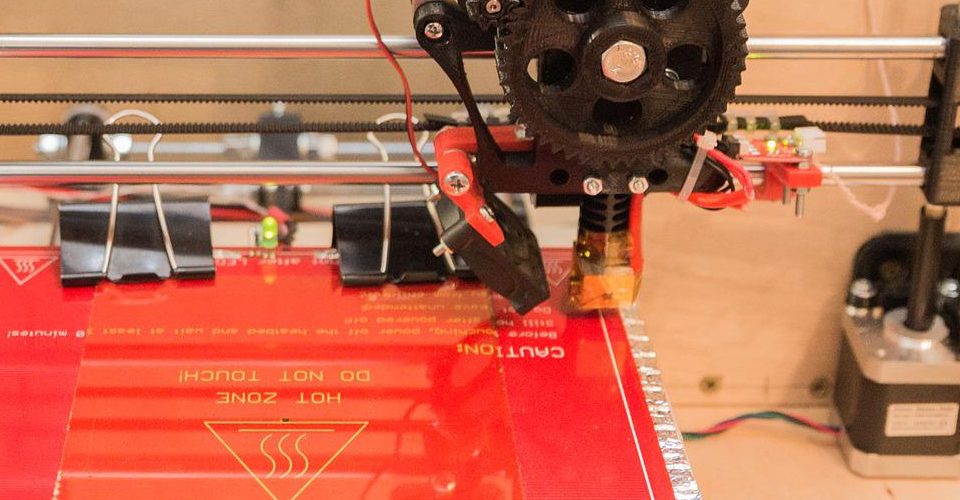
Simply put, the Z-offset is the distance between the nozzle and the print bed when the build plate is at the Z home position or when the Z-axis limit is triggered. Setting a Z-offset value protects the build plate from damage, while also ensuring that the first layer of a project is printed correctly.
There is an optimal Z-offset setting that will result in a perfect first layer. If the nozzle is too high, the filament might not stick to the bed. If the nozzle is too low, it may result in under-extrusion issues or even cause damage to the print bed. At just the right level, there is just enough pressure on the filament to make it stick to the bed.
The ability to adjust the Z-offset of a 3D printer can also come in handy if you’re adding another material on top of your standard print bed, such as a glass bed or a magnetic PEI plate. It is also possible to start printing on an object atop the print bed or continue a project that had to be paused mid-print.
How to calibrate the Z-offset
Calibrating the Z-offset of your 3D printer is something that you will need to learn eventually. It is absolutely necessary whenever you manipulate the print bed in any way, or even as part of regular maintenance. Depending on the brand and model of your 3D printer, there may be several calibration methods available to you. In this section, we will be running through all these methods.
One requirement that applies to all these methods is that you have to heat the build plate first before calibration. Regardless of the material of your build plate, it will expand upon heating. By calibrating with a hot plate, you will be working with a more accurate simulation of the actual operating conditions of the 3D printer. If you work with different types of filament, just heat the print bed to the highest temperature that you will need.
With that aside, we can start discussing the Z-offset calibration methods.
Manual calibration
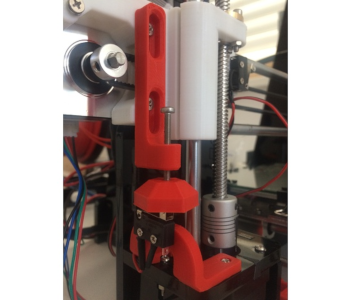
Some printers have physical limit switches located along the axes that prevent damage to the print bed by limiting its movement. These are screwed onto the axes and can be moved up and down as necessary. This is an option if you can locate the limit switches on your 3D printer. Do not attempt to do this if you don’t know what you’re doing.
Manual calibration by the movement of the limit switch isn’t the appropriate method if you want to make small and precise adjustments to improve the quality of your first layer. However, it’s a good option to give your print bed more room for later adjustments.
G-Code calibration
If you can edit the G-Code of your 3D printer, you can do this to shift the printer’s entire z-axis. This effectively changes the Z home position of the print bed.
To do this, start by executing the following commands:
- G28 Z0
- G92 Z0.1
In this sequence, the G28 command moves the printhead to the default home position. The G92 command then assigns the value of 0.1 mm. to the printhead’s current position, thereby also shifting the home location downward by a value of 0.1 mm. If you want to shift the home location upward by 0.1 mm, adjust the parameter of the G92 command to the negative value (G92 Z-0.1).
Slicer settings
If you’re using a slicer like Cura, then you can adjust the Z-offset quite easily through the slicer settings. This method currently only applies to the beta of version 5.0. To start, you will need to go to the Marketplace, and download and install the “Z Offset Setting” plugin.
Once installed, just head over to the print settings and the Build Plate Adhesion section. Here, you should already see the “Z Offset” setting with the option to input a value in millimeters. This method makes it a lot easier to experiment with Z-offset settings until you find the setup that works perfectly for your 3D printer.
Calibrating from the printer display
Some of the more advanced 3D printers that run on Marlin firmware even let you change the Z-offset settings directly from the printer’s display panel. The Ender 3 and Ender Pro are just two examples of 3D printers with such features.
The exact location of the Z-offset option may vary depending on which version of Marlin your printer is running, but it should not be hard to find. Adjusting the Z-offset here is even easier than doing it in your slicer, and also lets you experiment with different settings.
Print an endstop
It may seem like a rudimentary solution, but you can place a physical end stop on the Z-axis to adjust the Z-offset. There are several 3D printable models of these end stops. Good examples include this end stop for the Creality Ender 3 and another one for the ANET A8. These replace the standard limit switch that can be found in these printers.
There are slight variations in the various end stops available out there, but they all have similar objectives – adjustment of the Z-offset by simple knob adjustment. This makes it possible to make precise Z-offset adjustments, even just by visual approximation. Those who are more experienced in working with their 3D printers and are very familiar with their performance will likely have fun playing around with this contraption.
No matter which method you go for, getting the Z-offset just right will always involve a healthy amount of trial and error.
Final thoughts
It’s often said that getting the perfect first layer is the key to making a perfect 3D print. A lot of work goes into this first layer – getting the Z-offset value just right is an essential part of that process.