Tips in Improving Dimensional Accuracy in 3D Printing

Some people may think of 3D printing as this magical technology that can turn anything in a computer screen into a real-world three-dimensional object. This is far from the truth, as any 3D printing professional would know. Translating a digital design into a 3D printed object is a process that requires a lot of tweaking, trial and error, and knowledge of many scientific principles.
Dimensional accuracy is something that many 3D printing projects struggle with, particularly in FDM printing. After all, any plastic material will naturally expand or contract when exposed to extreme temperatures. How can one improve the dimensional accuracy of a 3D printed project?
What is dimensional accuracy?
In a nutshell, dimensional accuracy refers to how accurate the dimensions of the 3D printed project is compared to those of the digital model. In a lot of cases, dimensional accuracy isn’t even that important. If you’re 3D printing a project meant just for display, then an error of a fraction of a millimeter hardly matters.
Dimensional accuracy becomes more critical when designing functional parts that have very tight tolerances. These can include replacement components for industrial equipment or functional prototypes of a product being developed.
One thing to note about accuracy is that it is a relative variable. A 3D printed project that is off by 1 millimeter (a large deviation as far as 3D printing goes) still may not look as bad if it measures a few feet across. This means that dimensional accuracy becomes more important when working with small models, such as miniatures and figurines.
What factors affect dimensional accuracy?
Before jumping into ways to improve dimensional accuracy, we must first look at the factors that affect it in the first place. The unfortunate characteristic of 3D printing is that these factors are virtually unavoidable. However, they can be controlled to minimize their effects.
Warping
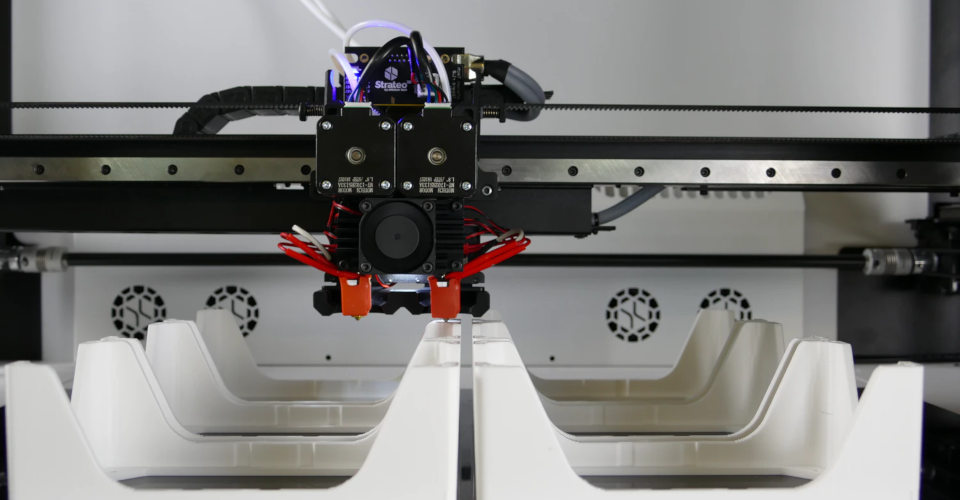
Filament is in a molten state when it exits the nozzle. As soon as it is exposed to the environment, it rapidly starts cooling. This is the physics from which the concept of FDM is based on. However, it is also one of the major causes of dimensional accuracy.
As the material cools down, it starts to contract. However, the hardening of the material and its adhesion to the previous layer counteracts this thermal stress. The goal is to keep this thermal stress from overcoming any of the forces that oppose it, thus helping the material keep its original appearance.
Weight
When molten material is first laid down on the print bed, it is in a form that cannot support its own weight. For this reason, it relies on the strength of the previous layer to supports its weight while it cools down and develops strength. This tendency of the material to collapse under its own weight also contributes to dimensional inaccuracy, particularly in the z-axis.
Machine accuracy
The movement of the print head of a 3D printer is dictated by a set of commands called the G-Code. This code is created by the slicer software based on the 3D model that you want to print.
However, 3D printers are still limited in how refined the movement of the print heads can be. After all, these are driven by stepper motors. One “step” of rotation of the motor will dictate the minimum distance that a print head can move. Printing any detail smaller than this minimum can be problematic.
Post-processing
If you plan to do any post-processing on your finished print, then it will inevitably alter its dimensions. This applies whether you plan to do manual sanding or smoothing via vapor bath. It’s fairly easy to compensate for this effect with just a bit of planning.
Tips on achieving better dimensional accuracy
1. Run a calibration test
When you’re using a 3D printer or filament that you’ve never used before, it will be almost impossible to predict how well it satisfies you dimensional accuracy requirements. There are a couple of factors to take into account here, most notably the thermal contraction of the material and the printer’s movement accuracy limitation.
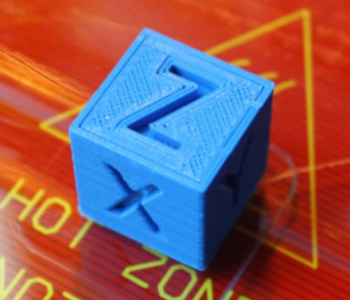
To gather relevant information, the best option would be to print a small calibration cube. By comparing the actual dimensions of the cube versus the dimensions you were expecting, you can recalibrate your 3D printer’s G-Code. A good rule of thumb is to recalibrate if the difference between the two dimensions variables is greater than 0.5 millimeters.
The only drawback of this step is that it really only works if you know how to manipulate G-Code. More specifically, you will need to change the number of steps that the motor runs through per millimeter of movement.
The good news is that this step is likely unnecessary if you’re using a 3D printer that is fairly new. Unless you have several months of service under that 3D printer, there really shouldn’t by any need to do a calibration.
2. Reduce printing temperature and flow rate
If you’re trying to refine the accuracy of your print, then small signs of stringing or blobs can really ruin the finished product. To avoid this, try reducing the printing temperature by 5 °C and the flow rate by 5% increments. This should also reduce the effects of thermal contraction and make warping less likely to happen.
3. Check tension belts and linear rods
Improper print head movement can be a huge contributing factor to poor dimensional accuracy. If you observe that the movement of your print head is erratic, then it’s time to check all of its motion components.
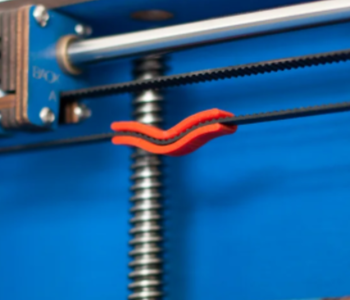
There are two things worth looking into in this situation – the tension belts and linear rods. The tension belts translate the rotation of the stepper motors into the linear movement of the print head. You want these tension belts to be taut but still loose enough to resonate when you pluck them. You can even print your very own belt tensioning tool if this becomes a recurring problem.
The linear rods are the rails in which the print head moves along. While these rods aren’t likely to be deformed easily, you would still want to look out for signs of wear and tear. At the least, make sure that the rods are well-lubricated and are free of grime and excessive dust.
4. Use support structures
Adding support structures to your 3D printing project can be bothersome. Yes, a lot of post-processing work will have to be done to remove the supports. However, increasing supports generally has a positive effect on dimensional accuracy.
By using supports, you can prevent semi-solid molten material by collapsing or drooping under its own weight. This is particularly important for overhangs, even if they follow the 45-degree rule. If you have the option of using a soluble support material (either HIPS or PVA), then you can get the benefit of using supports without the added work of support removal.
5. Compensate during designing
Most of the reasons we have mentioned as causes of reduced dimensional accuracy are natural parts of 3D printing. This includers thermal contraction, warping, and the need for post-processing. If you already expect these issues to come up, then why not tweak your design to account for them?
If your model has features that are too small for your 3D printer to handle, then just scale up those details. If you’re planning to sand and polish the finished print, then you may want to increase the shell thickness on the slicer settings. If shrinkage is expected during cooling, then simply increase the size of the model across the relevant axes.
Perfecting this step requires quite a bit of practice and a lot of trial and error. However, this is the most effective approach for those who need perfect dimensional accuracy. Make sure to have a digital caliper on hand, as well.
6. Use good quality filament
This advice may seem obvious – who would not want to use good filament? The real question is this – what makes a 3D printing filament good, at least as far as dimensional accuracy is involved?
First off, you want to use a filament with good diameter consistency. This ensures consistent extrusion, creating complete layers that do not delaminate or collapse. You will also avoid even more headache-inducing problems such as clogged nozzles.
Under no circumstances should you print with a filament that has been compromised by excess moisture. If a filament has been left out in the open for several hours, there’s a good chance that it has absorbed enough moisture to compromise the quality of your print.
Again, this is a matter of consistency of extrusion. A filament that pops and hisses because of moisture evaporation will inevitably layers with visible gaps and holes. The issue than becomes less of dimensional accuracy and that of overall visual appeal.
Final thoughts
Not many users of 3D printers give a lot of thought to dimensional accuracy. If it’s just aesthetics you’re going for, the half-millimeter shrinkage probably does not matter at all. However, if you need a functional part to be assembled precisely, you will want to 3D print at a very low tolerance.
Perfect dimensional accuracy is hard to pin down, but it is not impossible. By studying the behavior of a filament as it cools down and ensuring that the printer is well-calibrated, it is perfectly reasonable to get the exact dimensions for a 3D printed object that you are looking for.