How To Make Support Removal in 3D Printing Easier

Most of the work needed to make support removal easier has to be done before the actual printing. There are several slicer options that can be adjusted to help towards this goal. You will also want to have a set of the proper tools for support removal.
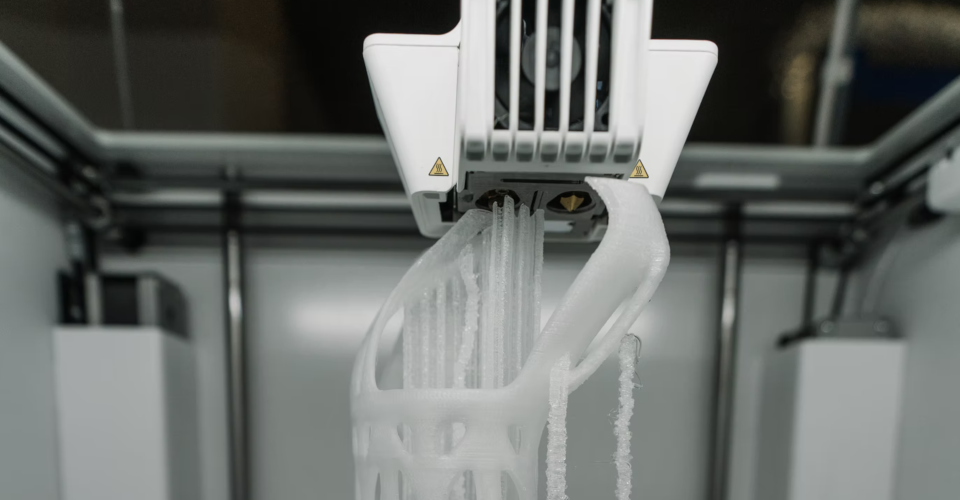
3D printed supports can be annoying, but they are necessary. If you’re printing a design that has a complex geometry, the best that you can do is to design your supports so they can be easily removed. Check out these tips on how you make the support removal step a little easier.
Play around with orientation
The best way to reduce the difficulty of removing supports is to not use them altogether. This isn’t always possible. We then have to go to the next best thing – to use as few of them as possible.
The easiest way to do this is to play around with the orientation of your model in the 3D space to hopefully reduce the number of necessary supports. Take advantage of the 45-degree rule for determining when and where a support is needed. If you can reduce the number of supports by even 10%, then that’s already a win in our book.
Reducing the number of supports also offer a few other benefits. Since you will be printing fewer supports, you will inevitably also be using less filament. This translates to less waste and a shorter printing time.
Use soluble filament
If you have the option to print your supports with soluble filament, then go ahead and do it. There is no easier support removal step than simply submerging your finished print in the appropriate solvent. It takes virtually no effort and is less likely to cause damage to your print.
There are several conditions for this option to be available. First off, you will need to have a 3D printer with a dual-extruder setup. This allows for automatic and seamless switching between two different filaments. It is possible to switch filaments manually, but this will probably be more trouble than it’s worth.
There are two options for soluble filaments – Polyvinyl Alcohol (PVA) and High Impact Polystyrene (HIPS). Based on their printing temperatures, PVA is an appropriate co-filament with PLA, while HIPS is for ABS. If you’re using a filament that prints at temperatures close to either PLA or ABS, then there is probably room for some experimentation.
Reduce support infill density
Let’s say that printing with soluble filament is not an option and that you have already reduced the number of supports to as low a number as possible. At this point, your goal is to design the supports in such a manner that they can be pried away easily but can still maintain the structural integrity necessary to prop up your print. Let’s go to the slicer settings to do this.
The first option we can play around is the support density or support infill density. This acts quite similar to the infill density – it controls just how much filament goes into the printing of the support. You might need to dig around in the advanced options of your slicer to find this setting.
The good news is that you can set the support density to a very low value without having to worry that the supports will fail. We recommend starting at 10% and try to reduce this value gradually while watching out for any problems. If you’re lucky, you can print at a support density of 5% and still get good results.
There have even been accounts of users going well below 5% in this setting. You can try this out if you’re feeling particularly adventurous.
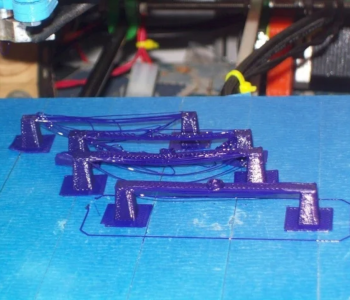
Use an optimal support structure
Slicers offer the option of changing exactly how supports will be printed. This is quite similar to infill patterns except that they have a much smaller footprint. Certain support types lean on more strength at the cost of more difficult removal. This usually isn’t necessary unless your supports are propping up exceptionally large parts.
The most common support structure patterns are lines, grid, zigzag, and triangle. Of these four, the lines and zigzag patterns are the easiest to remove but also have the lowest strength. The grid and triangle options are at the opposite side of the spectrum – they are very strong and consequently hard to remove.
For some slicers like Cura, you also have the option of using Tree supports. As the name implies, these are supports that branch out from relatively larger bases. The main benefit of Tree supports is that they have fewer points of contact with the print, therefore making them easier to remove.
Tree supports are also highly customizable. Through the slicer, you can adjust the diameter of the branches and how far apart they are. This allows you to very precisely control how stable the support structure is and how easily they can be removed.
Whenever you make changes to your supports, take the time to slice your model so you will know exactly how parameters like printing time and filament consumption change. Setting up supports is an art that takes a lot of practice and patience. Understanding how printing parameters respond to support settings is key to being able to set them up quickly and optimally for your next projects.
Increase Z-distance and XY-distance
Support structures are not actually placed flush to the surface of the main project. They are separated by a very small gap that prevent these structures from fusing with the 3D print but still provide mechanical support. This distance be controlled in all directions through slicer settings.
The Z-distance is the distance between the supports and the model along the Z-axis. By default, this Z-distance is equivalent to the layer thickness that has been set for the model. It can be increased, by only in increments that are multiples of the layer thickness value. If you find that the default value results in supports that are hard to remove, then you can try increasing it to twice of the layer thickness.
There is also an XY-distance setting that controls the XY separation of the supports and the model. This is typically not as critical in determining the stability of the model as it is being printed unless there are very small overhangs that will end up not being supported. Increasing the XY-distance helps avoid any unwanted marks on the surface of your model from support removal.
As with all slicer settings, picking the best Z-distance and XY-distance settings is a matter of balance. You want them to be large enough to make support removal easier, but not too large that they can no longer support the model.
Remove supports with the right tools
Doing a bit of post-processing work to remove supports is inevitable. If you’re lucky, you have dialed in your support settings just right that the supports can be removed by hand. In most cases, however, you will be needing some tools. This is especially true for smaller supports and tight spaces. Having a proper toolkit for support removal will help make this process a lot easier. Here are some tools we suggest you have ready:
Safety goggles
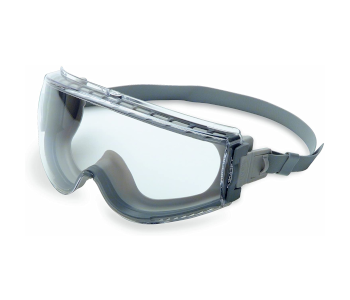
Safety first! Whenever you’re cutting or snipping away at supports, you will inevitably have small pieces of plastic flying around. These can get anywhere, but one of the worst places it could end up is near your eyes. Make sure to keep your eyes protected with these standard safety goggles.
Wire cutter
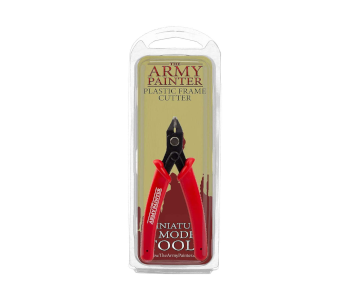
The wire cutter is probably one of the most versatile tools you can use for post-processing. You can use it cut supports, pull them away, or as a lever to peel away thinner layers. If you’re printing with a raft or brim, a wire cutter can also be handy these more stubborn extraneous bits of plastic.
X-acto knife
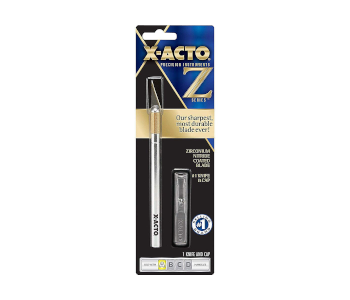
We like to have an X-acto knife for doing precision work. If there are small residues from supports or very tight spaces in the print, a sharp and small knife is usually the best tool for support removal. Just be very careful when using an X-acto knife, as you can also easily make cuts into the surface of your print.
Metal spatula
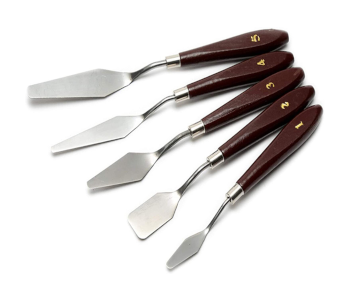
A metal spatula isn’t just for lifting the finished project from the print bed. In some cases, wedging a spatula between the support and the print is the best way to pry the supports away. For this job, we like to use smaller spatulas. It’s also nice to have different tool shapes for unique situations.
Sandpaper
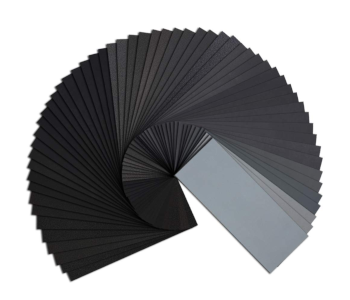
You may be extra careful with support removal, but you will likely still end up with rough surfaces or very small leftover nubs of plastic from the supports. The best way to deal with these is to sand them smooth.
Sanding has always been a big part of post-processing and smoothing in 3D printing. This is particularly true for filaments that cannot be smoother by solvent. The great thing about sandpaper is that it’s very inexpensive – you can get an entire set for less than $10.
Final thoughts
Support removal can be a lot of work and can be one of the more frustrating steps in 3D printing. It cannot be avoided entirely but it can be made easier by making good decisions in setting up your slicer. It also does not hurt to have the proper set of tools for support removal.