How to Estimate 3D Printing Time
3D printing offers a lot of advantages as a manufacturing process, but a quick turnaround time is not one of them. Building something layer by layer typically takes longer than cutting a design out of a single piece of solid material. This is something that needs to be considered when designing a manufacturing process around 3D printing technology.
If the printing time for a specific 3D model matters to you, then here are some of the best ways to come up with estimates. Take note that these methods only yield estimates – they may not be 100% accurate.
Method 1: Using your slicer
The most convenient option would be to rely on the estimate given by your slicer software. Take note that not all slicers may have this feature. However, you should be fine with popular brands like Cura and Simplify3D.
This method is great for when you want to tweak with your slicer settings and see how these change the estimated printing time. For instance, you may need to balance printing time with the precision of details by playing around with layer height settings. This instant feedback mechanism may come in handy during the initial stages of your 3D printing project.
Method 2: Estimate using G-Code

When a slicer comes with an estimate for the 3D printing time, it does so not by looking at the 3D model. Rather, what is more important is the G-Code.
The G-Code is the “machine language” of the 3D printer. It is composed of commands that the 3D printer simply needs to follow. The G-Code is generated by the slicer by considering both the source 3D model and the slicer settings that the user has provided. This means that the G-Code also contains information about printing parameters such as layer height, printing speed, printing temperature, and bed temperature.
Slicers that can estimate printing time also use the G-Code as a reference. If your slicer does not have this feature, then you can use online tools instead. The G-CODE analyzer site (https://gcode.ws/) is an excellent website that you can use for free. After uploading a G-Code file to the site, it will then estimate parameters such as printing time, amount of filament used, and display which slice of the model corresponds to each G-Code command.
Take note that this G-Code analyzer does not take into account the specific 3D printer model that you’re using. You should expect a higher margin of error for printing time estimates from this website. The usual margin of error is within 40 minutes to an hour, with higher error values expected for larger prints.
Which factors influence 3D printing time?
In most cases, a shorter printing time is ideal. You don’t use as much power and you don’t have to keep watch over the project for too long. More importantly, this means that you can print more projects within the same period. For these reasons, shaving off even just a few minutes of printing time is worth the effort.
This is the importance of using a good 3D printing time estimator. By making a few changes in printing parameters, you can massively boost the productivity of your 3D printer. However, knowing which settings to change is also as important.
If you want to reduce the printing time for your project, here are some changes you can consider making:
1. Increase layer width
Increasing the layer width could be the single biggest change you can make to your slicer settings if you want to reduce the printing time. Printing each layer thicker means that your model can be printed with a lower number of layers.
There are some drawbacks to this method, of course. If your model has fine details, you might lose out on detail precision because of the thicker layers. You may also need to swap your stock nozzle for one with a larger diameter. The general rule of thumb is that the layer width must be maintained at around 80% of the nozzle diameter. Otherwise, you may end up running into layer adhesion issues.
2. Reduce infill density

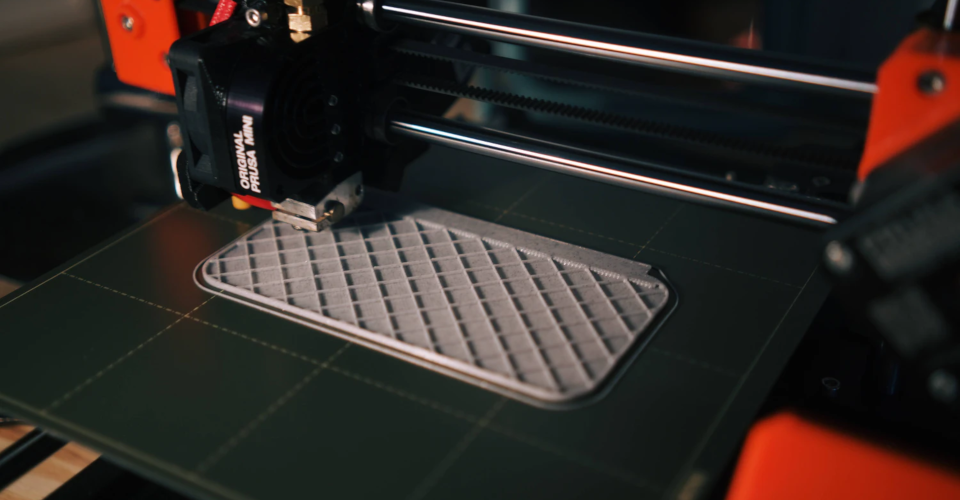
The infill is the structure within the shell of the 3D print. This provides mechanical support and weight to the finished product. Although essential, the infill can also be lessened to reduce filament consumption and printing time. Naturally, this reduces the mechanical strength of the 3D print, making it an ideal solution for projects that are not weight-bearing.
Infill density can range from 0% to 100%. For most projects, a value between 20% to 35% provides enough mechanical stability. This can be ramped up to 50% for more heavy-duty applications. Increasing infill density above 50% is still beneficial, but the marginal benefits become much less significant.
3. Reduce shell thickness
The shell is the outer wall of a 3D print. Just like the infill, the shell of a 3D print gives it mechanical strength and stability. The thickness of the shell is expressed in terms of multiples of the nozzle diameter. This means that the nozzle simply passes through the entire perimeter of the 3D print to increase shell thickness.
In most cases, two or three times the nozzle diameter works well enough for the shell thickness. This can be increased to four or five for more heavy-duty applications. Reducing the shell thickness even by just one layer will have a huge impact on the total printing time for your project.
4. Reducing supports
Supports are a necessary evil in 3D printing. As their name implies, they provide support so that overhanging features do not collapse. This becomes a necessity when printing very complex designs.
Although essential in many cases, the actual number of supports for your 3D printing project can be reduced. This will obviously reduce printing time, as well as the amount of filament that goes into printing these support structures.
There are several ways to reduce the support structures, but the easiest is to simply reorient your model. The goal is to keep the overhanging features at or less than 45 degrees of inclination so that they can be self-reinforcing. Reducing supports also reduces the amount of filament that goes into your print as well as the work needed for post-processing.
Final thoughts
Printing time is an important parameter in 3D printing, particularly for those who do this on a commercial scale. This influences the throughput of the process, as well as how much power 3D printing consumes.
The good news is that it’s pretty easy to estimate how much time a 3D printing project will take. Whether it’s through your native slicer software or an online tool, getting just a rough estimate of the printing time can be very useful for planning. Just keep in mind that these estimates can still be partially off, so some calibration will be needed.

