3D Printing in Vase Mode – How It Works and Best Tips

3D printing is considered nowadays the go-to manufacturing method for designs with a high level of geometric complexity. However, it’s not exactly known for being a quick process. 3D prints can take 12 hours or more with more time needed for more complex models.
One way to speed up printing is by doing it in “vase mode.” This is a print mode available in most slicers that greatly cuts down on printing time and filament usage, but those are not the only benefits of vase mode. Check out this guide on how to make the most out of 3D printing in vase mode.
What is vase mode?
Different slicers may have different terms that pertain to a “vase mode” but they all work practically the same way. When printing in vase mode, the 3D model is simplified to just its outlines. The nozzle follows this outline continuously by moving in a spiral-like manner. This process results in several implications in terms of both the printing performance and quality of the finished print.
When printing in vase mode, the outline of the finished print is printed with the width of exactly one wall. The nozzle traces this outline with no breaks, drastically reducing printing time. This means that the model is printed with no infill and that it will not work in models that have prominent overhangs.
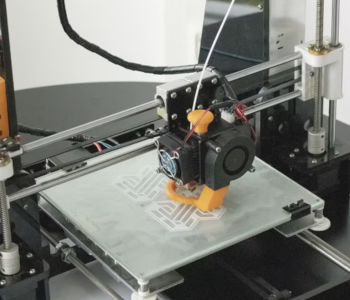
As the name implies, printing in vase mode works best for models that resemble that of a vase – with fairly simple geometry, an empty internal chamber, and an open top. The slicer can automatically determine if vase mode will not work in your particular model. Problems are commonly encountered in models with large flat surfaces or multiple anchor points.
Vase mode does a good job of preserving the aesthetic quality of a 3D print. Depending on your slicer settings, the finished product can still be functional in limited applications. There are a couple of ways to tweak your slicer’s vase mode but do not expect the finished print to be substantially strong or mechanically robust.
Benefits and drawbacks of printing in vase mode
Vase mode is a unique printing mode that offers a very different workflow to typical 3D printing. In vase mode, the nozzle moves continuously along the outline of the model rather than lifting after finishing each layer. This provides a couple of nifty benefits:
No z-seam
The characteristic benefit of printing in vase mode is that it completely eliminates the problem of the finished print having a visible z-seam. This is because of the unique workflow of vase mode where one layer seamlessly transitions to the next. This gives prints made via vase mode an exceptional level of visual appeal. If you’re printing any model meant to be displayed, then printing with vase mode should be worth considering.
Very fast
Without the need to stop and start with every finished layer, prints made via vase mode can be completed very quickly. This is great for when you need to print multiple copies of the same model, or if you just need to make a quick prototype. The workflow of vase mode also gives you more room to reduce the layer thickness, creating more detailed prints.
Low filament use
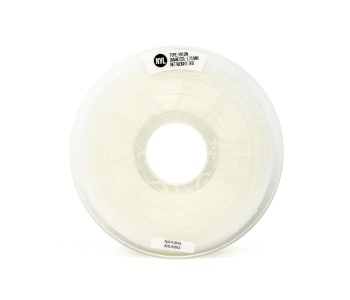
Printing in vase mode eliminates the need for infill and multiple walls. This has obvious consequences in terms of mechanical stability but also drastically reduces the amount of filament needed to print the model.
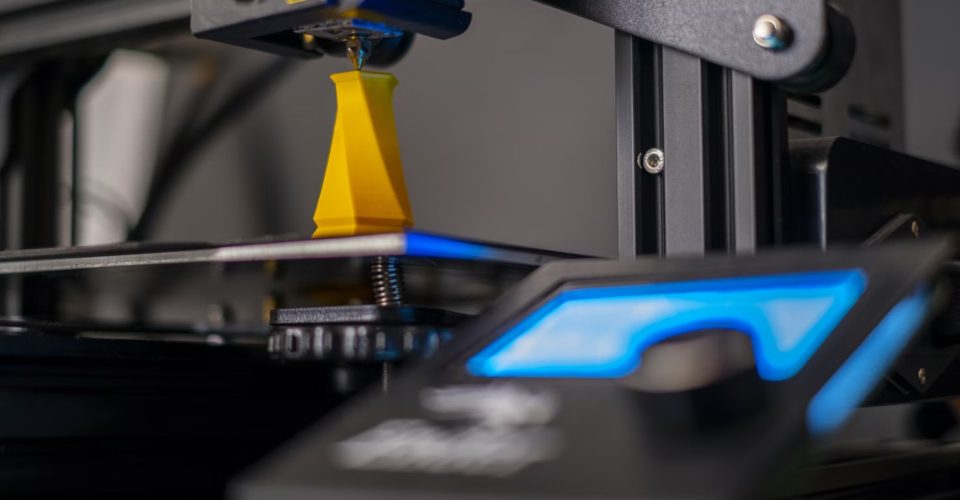
Fun to watch
This has nothing to do with the quality of the finished print, but a 3D printer printing in vase mode is just visually enchanting. It is only in this mode that you will see the nozzle of a 3D printer moving around smoothly and without the usual jerky changes in direction. If you want to convince someone that 3D printing is a worthwhile technology, making them watch a vase mode might just be the best thing you can do.
All the benefits of vase mode aside, this is not a printing mode that you should consider using for all your products. There are disadvantages to printing in vase mode that cannot be overcome even with the best slicer settings.
Poor mechanical stability
With no infill and only thin walls, vase mode prints are highly unsuitable for withstanding any substantial mechanical load. They have poor robustness and generally also lack any rigidity. For this reason, prints made in vase mode are usually for those only meant to be displayed.
Very picky printing mode
Not all models are made to be printed in vase mode. Those with overhang features, large flat surfaces, and multiple anchor points will be problematic. You also cannot print multiple models at the same time, as the printer will have no ability to start and stop on multiple layers. Fortunately, the slicer should make it perfectly apparent when vase mode isn’t going to work with your model.
Tips on setting up a vase mode print
Vase mode does not give you a lot of room for customization as it’s a very restrictive printing mode. However, there are a few tweaks you can make in both the hardware and software components of the 3D printer to make up for the deficiencies of vase mode.
Print slowly
Printing with vase mode already drastically reduces the printing time for any model. You don’t need to double down on this advantage by speeding up the extrusion or print head movement.
In contrast, vase mode prints benefit highly from a slow printing rate. Since the layers will be printed seamlessly, you will want to give each layer enough time to cool down and solidify before the next layer is extruded. Printing slowly should also improve detail accuracy and resolution, especially for prints with intricate designs.
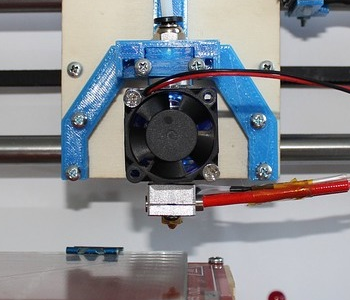
Use a larger nozzle
A limitation of vase mode is that it allows you to print at a thickness of only one wall. Naturally, this thickness is also limited by the opening of your printer’s nozzle. Swapping out for a larger nozzle lets you print with thicker walls, resulting in vases that are significantly sturdier.
Print at a smaller layer height
Layers printed in vase mode may be seamless, but it does not mean that they are no longer visible. Visible layer lines can still be problematic when printing in vase mode, especially if you want to reduce printing time by printing with thicker layers. The solution here is simple – print at a smaller layer height if you want them to be less visible. If visible layer lines work well with your vase design, then go ahead and use the maximum recommended setting for your nozzle opening.
Increase printing temperature
Playing around with printing temperature is a good alternative to swapping out your nozzle if you want thicker walls. By increasing the printing temperature, the filament becomes more fluid and is more prone to compression via the pressure of the nozzle. This results in thicker walls and thinner layers – factors that are beneficial to both visual quality and mechanical strength.
This is a tactic that lets you hit two birds with one stone. However, hitting just the right printing temperature to get the best results is difficult and will likely take a healthy dose of trial and error.
Final thought
Vase mode is one of those things that anyone who has been into 3D printing has dabbled with at some point. Some may dismiss it as a printing mode that creates quick but flimsy projects. However, printing with vase mode can be done in a way that makes fairly rigid prints, as long as you know which slicer settings to play around with.
Still, it is worthwhile to recognize the limitations of vase mode. It is still just a mode that makes a print with just a single wall and no infill. Don’t expect to make a functional part with it, but it’s perfect for making vases, garbage bins, and any type of empty container.