Autodesk Inventor Beginners Tutorial – Extruding a Simple Cube

3D modelling software is an important tool which can enhance your 3D printing experience, letting you create your own designs rather than downloading someone else’s. Autodesk Inventor is a professional 3D modelling software and in this tutorial we show you the basics.
Step 1: New File
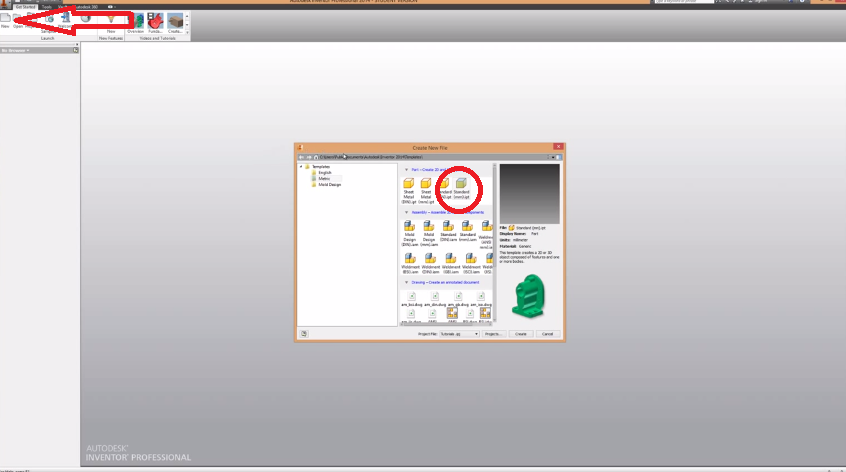
The first step is to create a new file. Click on ‘new’ at the top left of the screen. A pop up window titled ‘create new file’ should appear, which contains a number of set drawing profiles and settings for you to use. You can also add your own ones to the list as well. For this tutorial we used standard (mm).ipt, which is set in mm and those of you who want to use inches can choose standard (DIN).ipt.
Step 2: Creating New Sketch
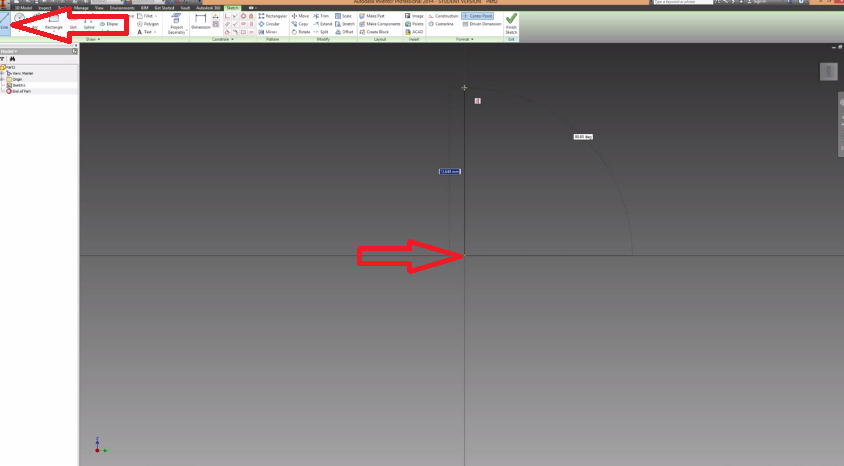
Once you’ve chosen a standard and hit ok, you will notice the taskbar at the top of the page has changed, along with the gradient of the background and the ‘browser’ on the left of the screen. Click on ‘Create 2D Sketch’ at the top left of the screen (should be where ‘new’ was). The following should appear on your screen.
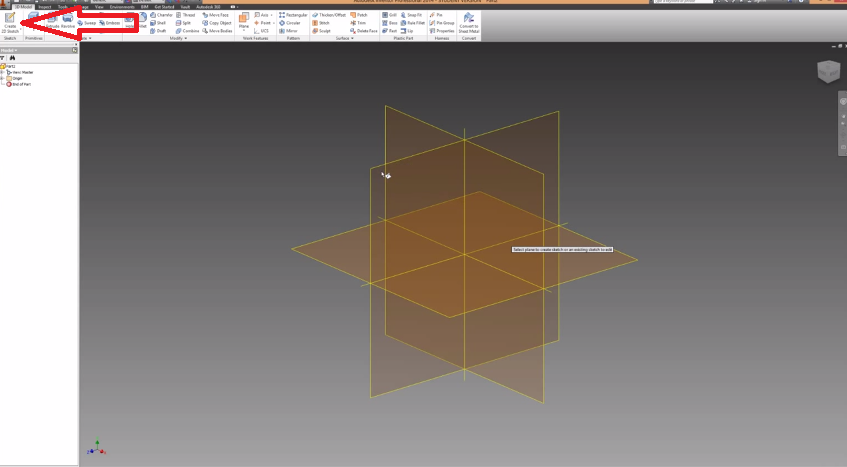
The three planes represent the YX, XZ and XY planes. To create a sketch on one of these planes, simply click on one of them. If it doesn’t work, make sure there is a small plane with a pencil next to your cursor.
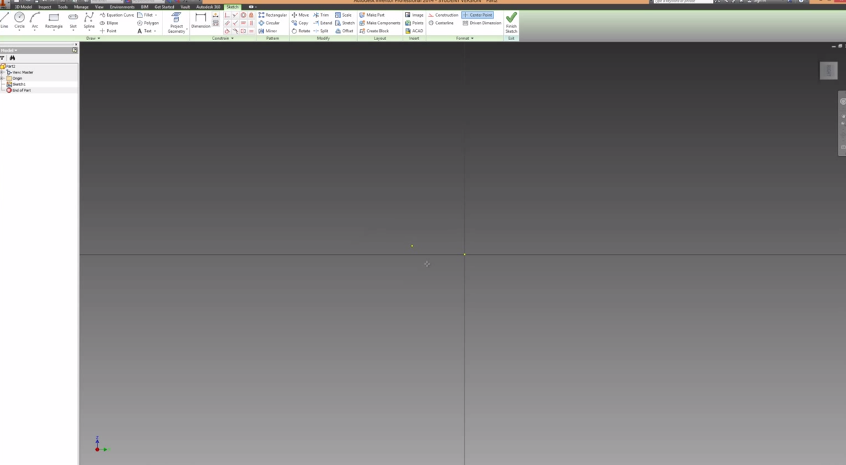
Step 3: Creating a Drawing
Once a plane has been selected the above screen should appear. We want to select the ‘line’ command which can be found at the top left of the screen. Start the line on the centre dot in the middle of the screen (where the two lines cross).
Go ahead and create a square. This can also be done using the ‘rectangle’ command, but for this we’re just going to use lines and join them up.
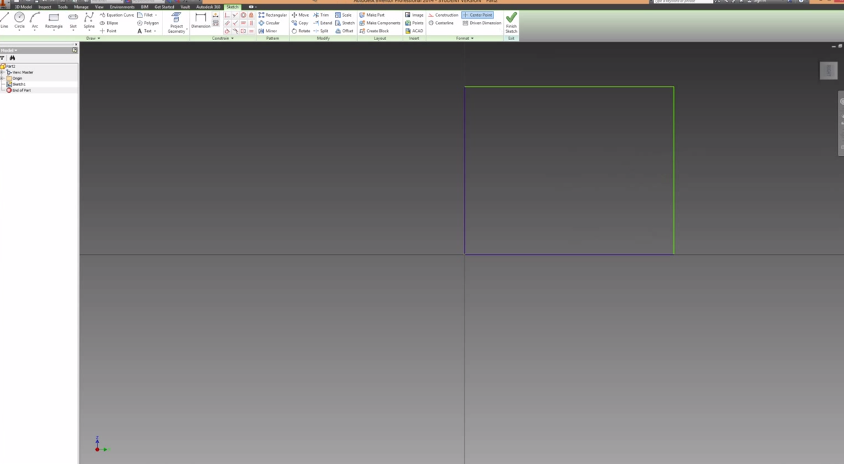
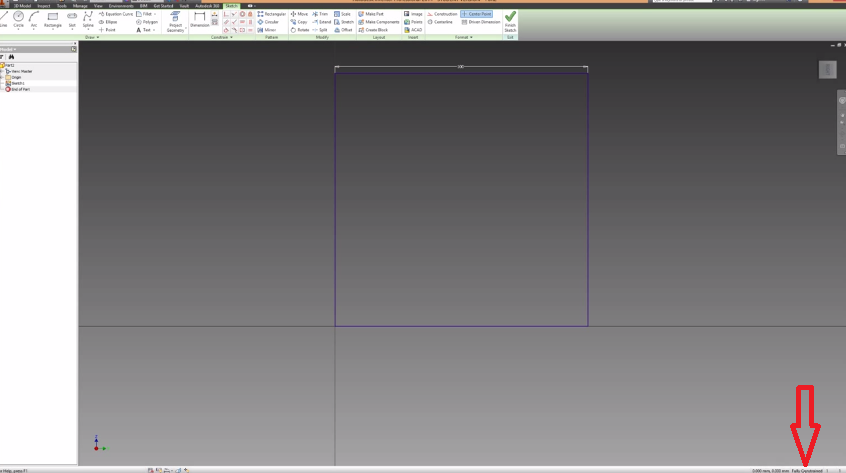
Now that you’ve created a square, you will notice that some of the lines are blue and some are green. This means we need to constrain the sketch.
Step 4: Constraining a Sketch
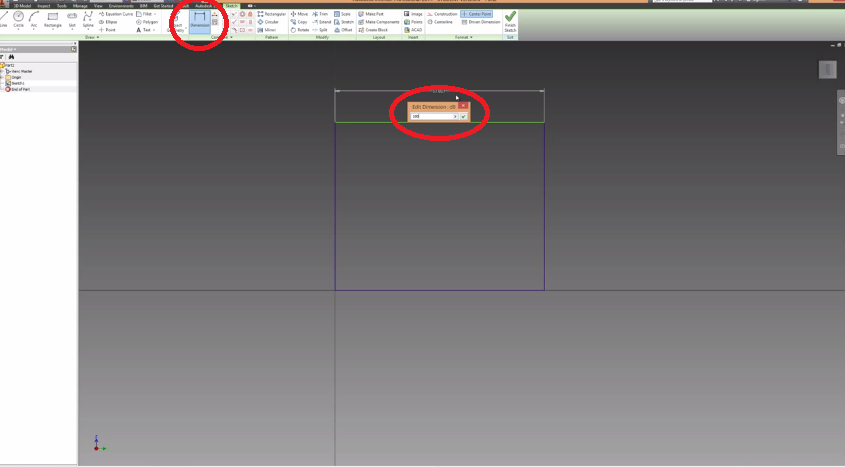
First, we need to dimension some of the lines. Click on the ‘dimension’ command under the constrain tab, and then click on one of the lines of the square. Change the value in the dimension textbox to 100mm (doesn’t really matter for this tutorial) and hit enter. You’ll notice the square will change.
Now that we have dimensioned one side of the square, it is time to constrain the rest. We can either use the dimension command again on one of the lines perpendicular to the line we just dimensioned, or we could use the equal constraint. Click on the ‘equal’ command under the constraint tab. Once you have done this, click on the line you just dimensioned and then click on the line you want to dimension. The two lines should be equal.
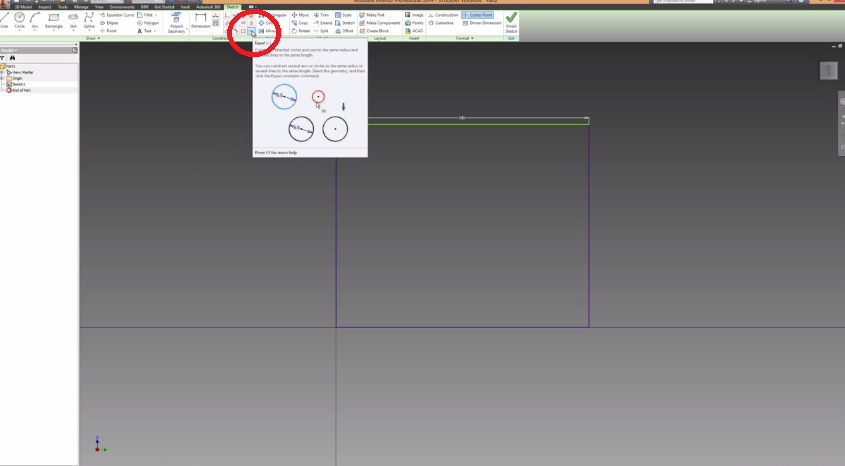
The sketch should be fully constrained and all the lines will be dark blue. Check the bottom right of the screen to make sure it says ‘fully constrained’. If it doesn’t, you may need to use some other constraints such as the ‘horizontal’ and ‘vertical’ constraints to make sure everything lines up correctly.
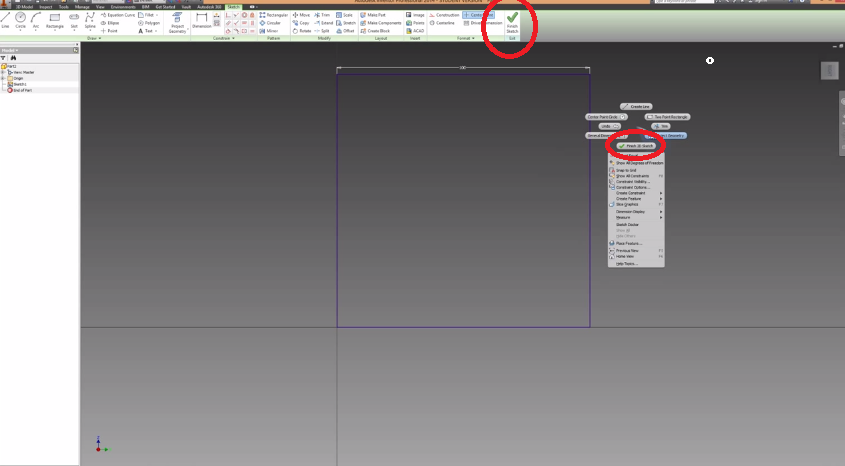
Go ahead and finish the sketch by both right clicking and going finish sketch, or by clicking on it up the top.
Step 5: Extruding the Sketch
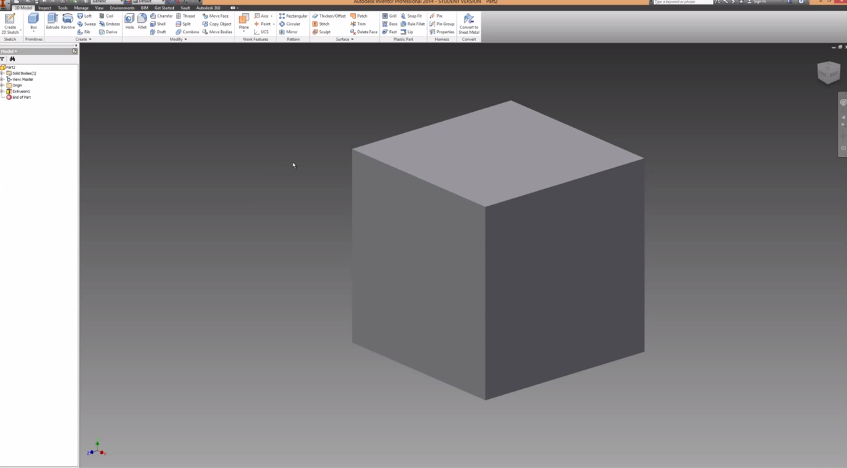
The last step we’re going to show you in this tutorial is how to extrude. With the sketch finished, go up to extrude. A pop up box will appear and the sketch should now appear in 3D. Because we are making a cube, set the extrusion distance to 100mm and hit ok.
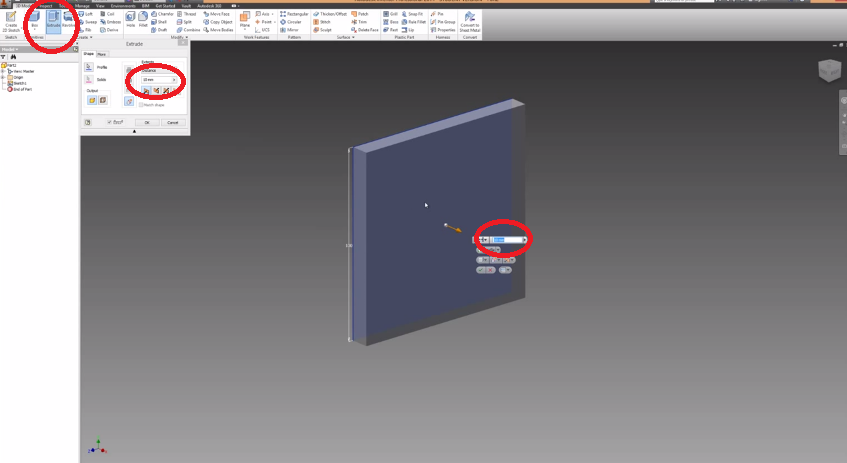
You should now have a simple cube. Play round with some of the settings and distances to get a feel for the program. Have a go at creating more complicated shapes and then extruding them.