Autodesk Inventor Tutorial – Work Planes
Work planes are an important tool when wanting to create 3D models in Autodesk Inventor. In this tutorial we show you how to draw a sketch and make a hole on the side of a cylindrical object through the use of work planes. Note, in the tutorial we use methods that have already been explained in our ‘Making Holes’ and ‘Beginners Tutorial’.
Step 1: Making a 3D Model
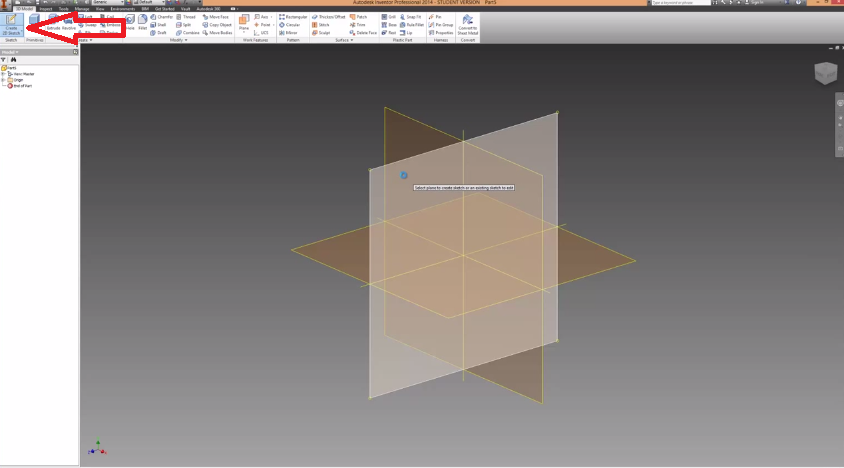
For this tutorial we are going to make a small section of tube/pipe and place a hole in the side of it. The first step as always is to make a new sketch
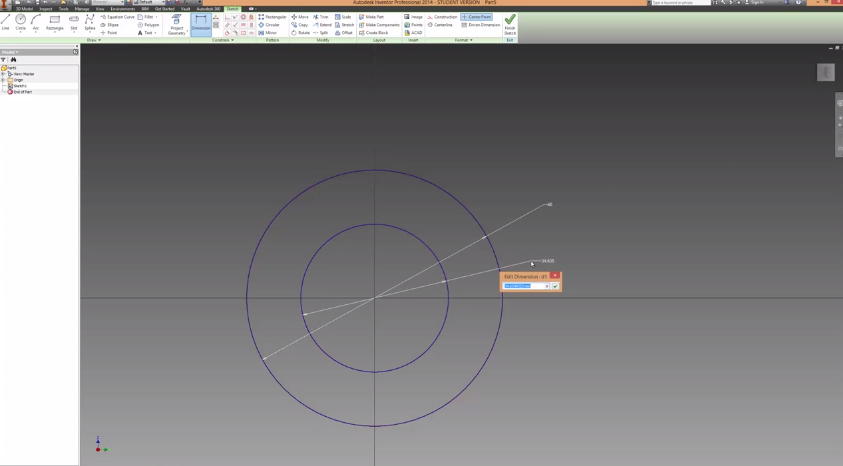
Once you have the new sketch ready to go, draw two circles using the ‘circle command’. Dimension the two circles 60 and 40mm and then finish the sketch.
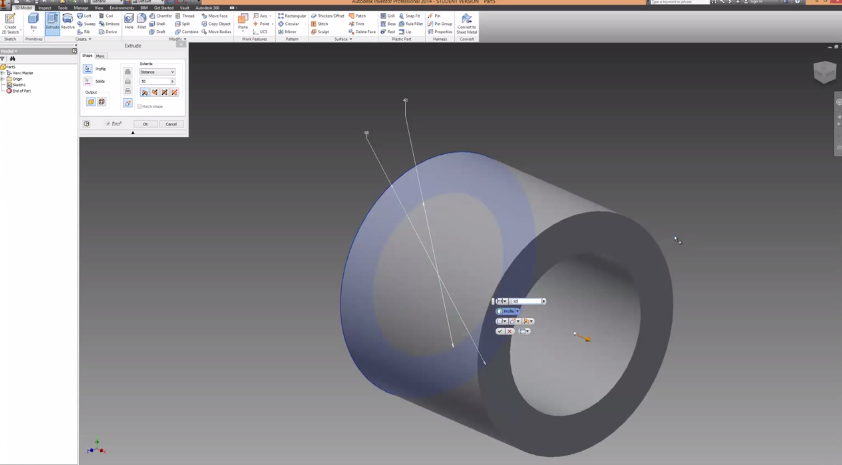
Now that we’ve got a fully constrained sketch with two circles on it, it is time to extrude the sketch. The sketch was extruded 50mm and the direction of the extrusion doesn’t matter for this tutorial.
Step 2: Creating the Work Planes
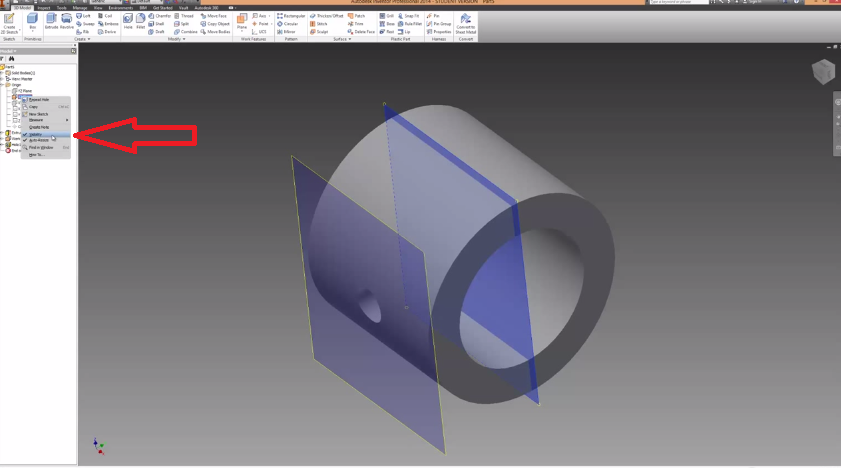
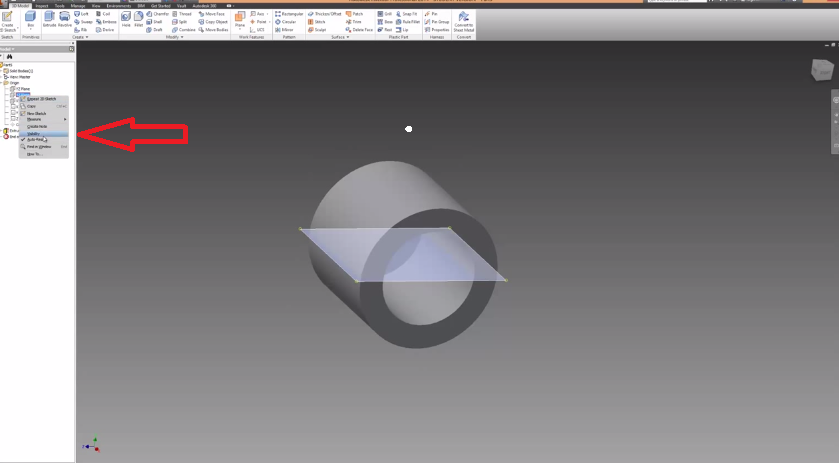
The next step is to turn on the origin plane and create a new work plane. To turn on one of the origin planes select the ‘Origin’ drop down menu. Under Origin right click on the ‘XZ’ plane and turn on visibility. You’ll notice a plane will appear in the middle of your sketch.
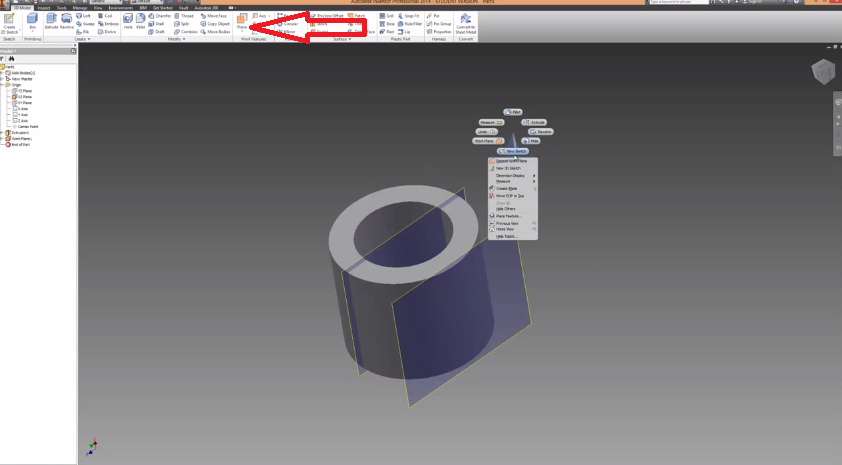
After the origin plane has been turned on, the next step is to create a work plane parallel to the XZ plane. Select the ‘plane’ command and then click on the XZ plane you just created. If you click and hold, you’ll notice that you can drag the new plane to a desired location either back or forward. The plane command also lets you select a certain distance (eg. 30mm in this case) or it can snap to a surface or edge. For this tutorial make sure the work plane is flush with the outer edge of the tube.
Step 3: Creating a New Sketch on a Work Plane
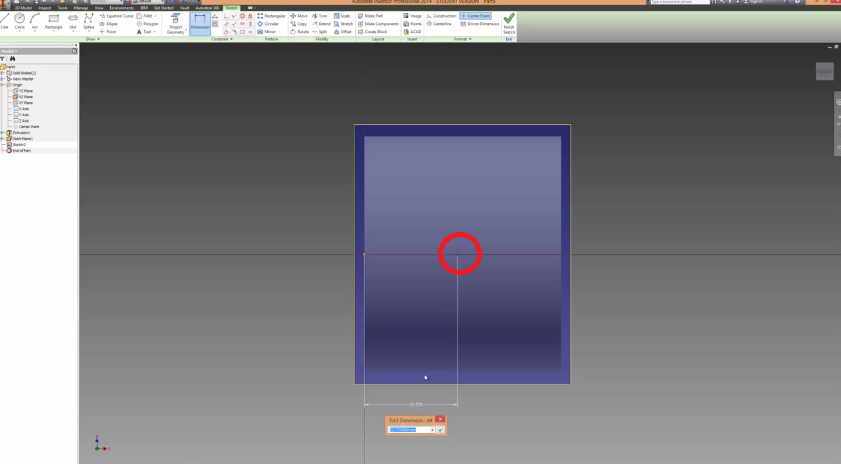
Creating a sketch on a work plane is no different to creating one on an origin plane, simply click on new sketch and then select the work plane desired. Once you’ve made a new sketch, select the point command and place the point in the centre of the sketch. The point should line up with the origin dot. Dimension the point 25mm away from either the origin dot or the ends of the tube. The point should now be in the centre of the sketch and the sketch should be fully constrained. Finish the sketch.
Step 4: Making a Hole
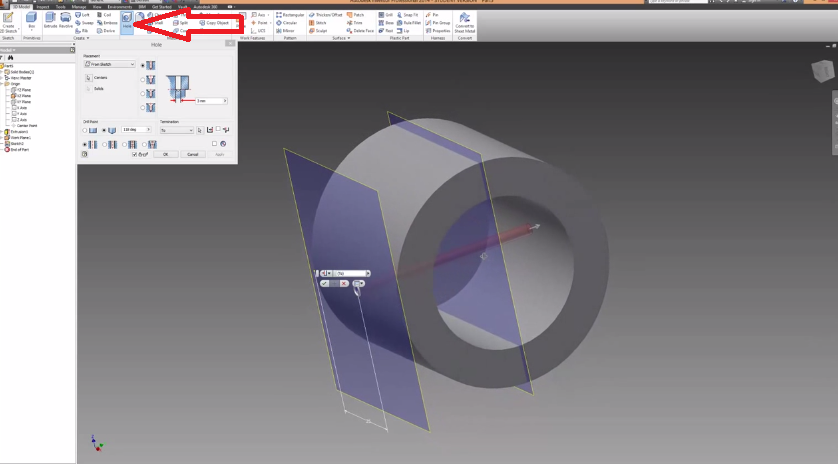
We’ve already demonstrated how to make simple holes in our ‘Making Holes’ tutorial, so we’re not going to go too in-depth here as the other tutorial covers most of it. To make a hole simple click on the ‘hole’ command and the point we made in the previous step will be automatically selected. Make the hole 10mm in diameter and select ‘To’ under Termination and click on the inside surface of the tube. Click ok.
Step 5: Turning Off the Planes
To turn off the planes simply go back into the browser menu on the left and turn off the visibility for the XZ plane and plane 1 under extrusion (numbers depend on how many planes and extrusions you created).
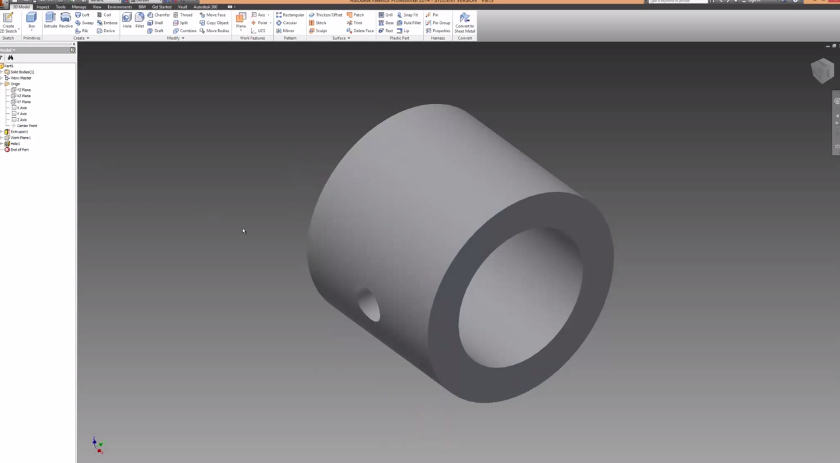
The finale model should look something like the picture above. There are more advanced features and techniques that improve workflow; however we’ll save those for later tutorials. Check out our How To section for more tutorials.

