How to Avoid 3D Printing Issues Using Retraction Settings

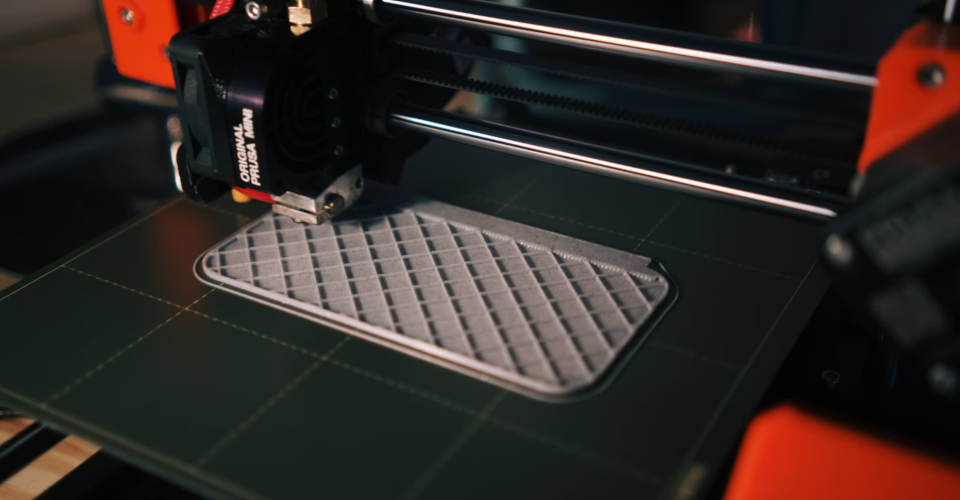
Retraction is one of the built-in functions of FDM printers that can help address several 3D printing issues, particularly those related to over-extrusion. The great thing about retraction is that it can be tweaked very easily via your slicer.
The basic parameters of retraction are distance, speed, and minimum travel distance. Other 3D printers may offer more advanced settings such as enabling “combing mode.” The optimal retraction settings can vary based on the filament you are using or the model you are printing.
Fine-tuning your retraction settings may take a bit of trial and error, but there are good starting points we can recommend so that you’ll get there faster.
How does retraction work?

Retraction is a mechanism that allows the extruder to “pull back” a short segment of the filament. This happens via a reverse rotation of the extruder gears. By pulling back some of the filament, pressure on the hot end nozzle is relieved. This makes it less likely for molten filament to ooze out of the nozzle.
Enabling retraction is one of the more widely used solutions to stringing. This is a common 3D printing problem characterized by having very thing strands of filament or “strings” that ruin the aesthetics of the final print. Other symptoms of over-extrusion are blob in the final print or frequent jamming of the nozzle.
Some filaments are more prone to stringing than others. Good examples are flexible filaments such as TPU or TPE and filaments that print at very high temperatures such as Nylon. When working with these filaments, you can already expect to enable retraction to help avoid extrusion-related issues.
The standard settings for retraction are distance, speed, and minimum travel distance. Just about every 3D printer or slicer has these options. You can also choose to enable or disable retractions. Some slicers offer finer control over retraction performance via more advanced settings. Although retraction is generally beneficial, setting the parameters to very high values can also lead to other problems.
Retraction distance
The most basic setting in retraction is the retraction distance. This refers to the length of the filament that is pulled back by the extruder during retraction. Retracting a greater length of filament generally causes better pressure relief in the melt zone. However, excessive retraction can also damage the filament and cause other extrusion issues.
The standard recommendation is to set the retraction distance at 5 mm at the start and adjust as necessary. If stringing is still observed, then increasing the retraction distance by 1-mm increments can be done. Only increase this until no more stringing is observed. It is rarely necessary to set a retraction distance higher than 7 mm.
Another rule of thumb is that printers with Bowden extruders will typically require a higher retraction distance compared to those with direct extruders. This is because of how far the extruder gears are from the nozzle – a unique characteristic of the Bowden extruder design. The difference isn’t a huge value – an additional 2 mm can give good results.
Retracting very long segments of filament can make filament damage more likely. This is more specifically known as “filament grinding” and happens because a segment of the filament goes through the extruder gears too many times. For this reason, setting retraction distance too high is generally not a good idea.
Retraction speed

The retraction speed refers to the speed at which the filament is pulled back by the extruder gears. Retracting at a high speed makes oozing or stringing less likely, but it can also significantly increase the likelihood of filament damage.
The rule of thumb is to use the fastest retraction speed setting that does not damage your filament. An easy way to tell this is to check for any filament dust around the extruder during retraction. This is a certain sign that some filament grinding is taking place. If this is observed, then reduce the retraction speed by 10 mm/s increments.
Setting a faster retraction time should more readily resolve stringing and reduce your total printing time. We recommend limiting retraction speed settings to within the range of 40 to 70 mm/s.
Minimum travel distance
The minimum travel distance determines the distance that the print head will travel before the retraction mechanism activates. The setting in the slicer is the minimum value. Controlling the minimum travel distance avoids repeated retraction, especially if the print head is just crossing over very short gaps.
The goal of setting a minimum travel distance is to retract the filament only when necessary. By now, we already know that excessive retractions can result in filament damage.
The common default value for the minimum travel distance is 2 mm. You can try increasing this by 1-mm increments as long as oozing or stringing issues are not observed. A higher value for this setting is preferable, as it means that you do not retract the filament unnecessarily. This makes filament damage less likely and reduces the total printing time.
Combing mode
This is one of the more advanced retraction options that are popularly available in Cura. Combing is a feature that attempts to reduce retraction by directing the print head to move only along a path that has already been filled or will be filled later on. Along this Combing path, there will be no retraction. Ultimately, it does not matter because any stringing effects will be hidden in the final print.
Enabling combing has the advantage of massively reducing printing time by disabling retraction in sections where it is not necessary. However, it can also compromise the appearance of the final print when used inappropriately.
The standard practice is to enable Combing Mode but set it to only “Only Infill” or “Not in skin.” With this setting, combing will only happen when printing the infill pattern of your print. This retains the pristine appearance of your final print while reducing printing time and avoiding filament damage.
Maximum retraction count
The maximum retraction count is a more refined means of controlling the number of times that retraction can happen over the same segment of filament. Although this parameter can be indirectly controlled via the retraction distance setting, the maximum retraction count puts a hard limit on the number of retractions.
Should the slicer reach the maximum retraction count, it will disable retraction for that particular length of the filament. The goal of this is to avoid filament damage caused by excessive retraction.
In setting the maximum retraction count, you want to strike a balance between the possibility of filament damage and that of issues like stringing or oozing. Ideally, the slicer would never have to implement the cap on the number of retractions. A setting of 10 retractions is typically enough to attain this state.
If you are having problems with filament damage despite the settings we have recommended above, then limiting the maximum retraction count to a lower number can be an option. Try to be conservative when making this move – reducing by 1 at a time seems just right. We do not recommend going below 5.
Limit support retractions
This is simply a toggle-box available in some slicers. When ‘limit support retractions’ is enabled, the slicer will no longer instruct the extruder to do a retraction when printing support structures. Since these supports will just be removed anyway, this can be a huge help in reducing print time. There are typically no issues when enabling this option, so keeping the box checked is generally recommended.
Looking outside retraction
If you’re having problems with stringing or oozing, then retraction should not be your only solution. It’s more sensible to deal with the fundamentals first. Are you sure that you are printing with dry filament? Is your temperature within the recommended temperature range? Either one of these factors can also contribute to stringing.
Keep in mind that retraction does come with considerable drawbacks. If you can minimize retraction by fine-tuning your other slicer settings, you can save a lot of time and potential headaches.
Testing your retraction settings
Getting the best retraction settings can be tough, especially if you have to work with a new filament. We often recommend doing a test print just after you have dialed in new settings for your slicer.
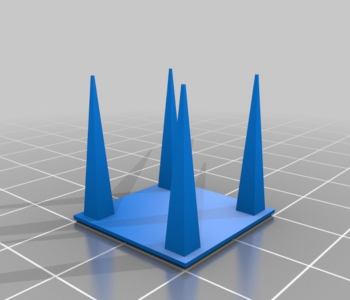
For retraction, we recommend either one of these two models – the four triangular pillars or the two circular columns. Both are free to download and are fairly small models that will allow you to test the stringing performance of your printer with minimal filament usage.
Final thoughts
Retraction can be a very powerful tool in 3D printing if you can learn how to use it optimally. The key thing to remember is that it’s not a magic pill that will solve all your over-extrusion problems. Not only does it have a few drawbacks, but it’s still better to focus on your fundamentals first before relying on retraction.
Most slicers will offer options for adjusting the retraction speed, distance, and minimum travel distance. These are usually enough to get the retraction mechanic to work just right for your project. Other slicers offer more advanced options. These are similarly useful, but not always necessary.