What is the Best Glue to Use for 3D Printing?
There are many instances in 3D printing where you have to glue together several pieces that were printed separately. This can be due to the build size limitation of your printer, or simply because it’s easier to have the parts separated during printing. In any case, glue should certainly be an essential part of your toolkit.
Now, the question is – what kind of glue should you be using? The answer greatly depends on the type of filament you’re printing with and the use case of your 3D printed project. Here are some of the best glue options, along with the factors you should consider.
Superglue
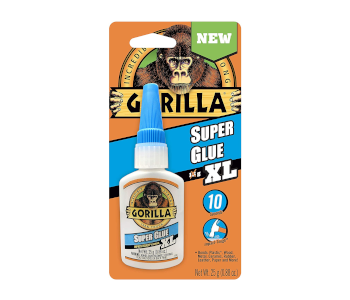
Best for: PLA, but applicable to almost all materials
Recommended brand: Gorilla Super Glue
Cyanoacrylate glue, more commonly known as super glue, is the default option for gluing not just 3D prints, but practically every single thing around the house. Even if you’re not planning to use super glue to put together your 3D prints, it’s still a good idea to have one of these lying around.
The great thing about super glue is that you can spread it super thin and still have good adhesion. This is ideal if you want the seams in your finished print to be as invisible as possible. Super glue works best when applied on clean and smooth surfaces, so you will need to do a bit of sanding and polishing as surface preparation.
When dried, super glue creates a thin but rigid layer. This makes super glue less suitable for flexible material, or any 3D printed part that is meant to bend, flex, or twist.
One difficulty of working with super glue is that it sets really fast. This gives you less time to manipulate and position a part in place. You will also likely end up with patches of glue on your hands. When working with super glue, make sure that your table tops and floors are covered. Super glue is very fluid-like and tends to get all over the place.
Epoxy resin
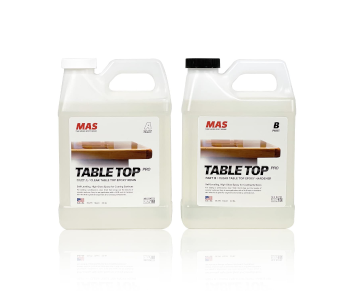
Best for: PETG, ABS, but applicable to almost all materials
Recommended brand: MAS Table Top Pro Epoxy Kit
Epoxy resin is another common adhesive that is found in most households. Epoxy resin is typically packaged as two compounds that need to be combined before the resin starts setting. Epoxy usually takes a long time to set, so there isn’t as much pressure to work very quickly once the two components have been mixed.
The chief advantage of epoxy resin is that it creates a very tough and rigid layer, more durable than what you will get with super glue. This makes epoxy resin for more heavy-duty applications. If you’re printing with tough materials like PETG and ABS, then epoxy resin might be one of the best glues for complementing them.
Epoxy resin is quite thick when applied, making it less than ideal if you want seams to be invisible. However, it is perfect for filling in any gaps and voids in the joints of your 3D print. It also does not require any surface preparation.
Once cured, the hardened epoxy resin can be sanded smooth, polished, and painted over. If you’re going to paint over your 3D print anyway, then epoxy resin is worth considering.
Acetone
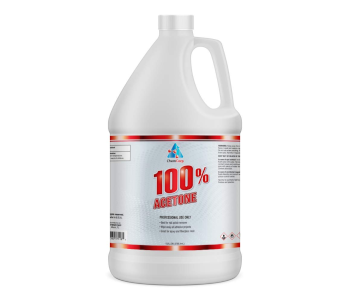
Best for: ABS, HIPS
Recommended brand: Chemcorp Acetone
Acetone is unique in that it’s not really an adhesive. Instead, it’s a solvent that can dissolve specific 3D printing filaments – ABS and HIPS. If you’re ever finished an ABS print using an acetone vapor bath, then you probably already know how this works.
To use acetone as glue, just brush a thin layer of it on the surfaces to be glued together. This will melt a thin layer of the plastic, allowing them to form molecular-scale bonds with each other. Acetone will naturally evaporate at room temperature, leaving the plastic with no traces.
The main advantage of using acetone is that it’s not just an interface that holds the two surfaces together. Instead, acetone allows for the molecules of the plastic to form bonds with each other, creating a very strong and permanent bond.
The obvious drawback of acetone is that it can only be used very selectively. Outside of filament based on ABS or HIPS, there really is no other way that you can use acetone to glue your 3D prints together.
Hot glue gun
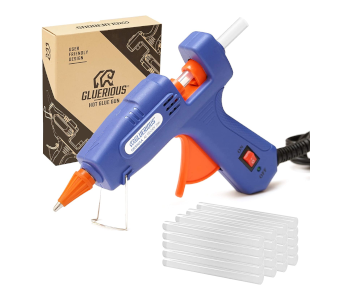
Best for: Rigid materials
Recommended brand: Gluerious Mini Hot Glue Gun
Everyone has probably used a hot glue gun for other arts and crafts projects. This can also be useful for gluing together 3D printed parts, with just a few caveats.
Glue from a hot glue gun tends to be thick and very viscous. This makes it unsuitable for high-precision works, such as for small figures and miniatures. However, a hot glue gun is very easy to apply over a large area quickly. It also sets fast, usually in less than a minute. If you’re working with large parts, a hot glue gun might just make the job a lot easier.
Hot glue gun does not require much surface preparation. Just wiping the surface clean with a dry cloth should be fine, just to get rid of any powder residue. Hot glue gun does tend to partially melt the surface of the 3D printed plastic, so make sure not to use it on the super-fine details of your model.
Plumber’s cement
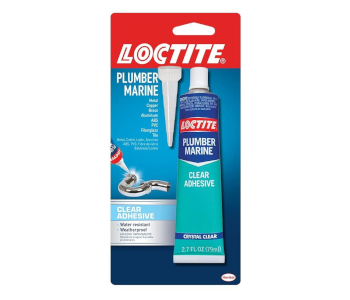
Best for: ABS, PLA, PETG, HIPS
Recommended brand: Loctite Plumber and Marine Adhesive
Plumber’s cement, as the name implies, is the type of adhesive that plumbers use to fix leaking kitchen and toilet pipes. As such, it is very strong, waterproof, and weather-proof. If you have 3D printed parts that will likely be exposed to the outdoor elements, then using plumber’s cement might be the best way to keep them together for a long time.
There is a wide range of different types of plumber’s cement or marine adhesives right there. Many of these are solvent-based, so you may want to check the compatibility of your filament with the solvent. The particular adhesive we’re linking to dries clear, making it easier to make invisible seams.
Silicone glue
![]()
Best for: All materials
Recommended brand: Loctite Silicone Waterproof Sealant
Silicone glue is often used for surfaces that need to be waterproof and thermally stable. This is worth keeping in mind, should you need to make bonded seams that are weather-proof and can withstand elevated temperatures.
Again, there are a lot of silicone adhesives out there. Silicone glue is quite thick, making controlled application a bit difficult. However, you can remedy this by using tubes that have small and thin applicators. Conversely, there are large cylinders of silicone glue that are more appropriate for gluing large parts.
Silicone glue can take a very long time to set. When using silicone glue, you will need to come up with a way to fasten the parts together temporarily while the glue hardens. The good thing is that it also gives you a lot of time to adjust and position the parts as needed.
3D pen
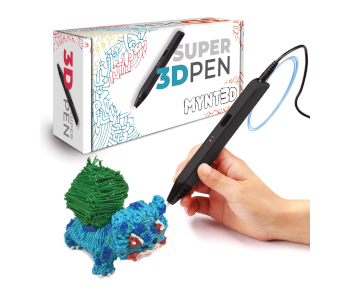
Best for: Best for PLA, but other materials are possible if you can find matching filament
Recommended brand: MYNT3D Super 3D Pen
A 3D pen isn’t exactly designed as an adhesive tool, but it does just fine in some cases. A 3D pen gives you very precise control over where plastic will end up, making it ideal for retaining the aesthetic value of your 3D prints.
The best way to use a 3D pen for gluing parts is to use a filament that matches the material of the 3D print. For instance, gluing together PLA parts is very easy since almost all 3D pens can use PLA. The 3D pen we have linked to here from the MYNT3D brand can also use ABS. Matching the same material creates stronger bonds, as similar molecules can bond to each other at the molecular level.
Unfortunately, even with this advantage, parts glued using a 3D pen are not very durable. If you’re designing parts that are meant to be functional, then a 3D pen is far from being the best tool. We recommend only using 3D pens for gluing together parts that are meant to be displayed. As mentioned, the precise control that 3D pens provide makes them excellent for preserving the visual appeal of your project.
Final thoughts
Glue is one of the things that someone who’s into 3D printing should have on hand. However, not all glues are made equal. If you’ve stuck with using just super glue with all your 3D printing projects, you might be missing out on equally good or better alternatives.
Gluing does not just fulfill the purpose of putting parts together. Given the right material, you can also use glue to fill in gaps, voids, and other imperfections. You can think of gluing as just another part of post-processing, like sanding or polishing. There are lots of tools available – it’s just a matter of picking the right one for your situation.

