BuildTak 3D Printing Surface Review: Should You Get it?

Get the first layer right – that’s one of the commandments in getting a high-quality 3D print. It sounds simple, but it’s one of the most challenging aspects of 3D printing. So many things can go wrong when printing your first layer, such as setting your nozzle too high or not keeping your printing bed leveled.
Bed adhesion is one of the biggest concerns when printing your first layer. By using the proper adhesive, you can avoid warping, which is one of the most common problems encountered by 3D printers. One popular solution to bed adhesion is to use BuildTak, a specially-made 3D printing surface. Is BuildTak any good and is it better than other bed adhesion methods?
What is BuildTak?
BuildTak is a product made by the Ideal Jacobs Company. Despite flying under the radar, this company has been in existence since the 1920s and have dabbled in various industrial fields such as rapid prototyping, custom labels, injection molding, and laser cut components.
The development of BuildTak was motivated by the company’s decision to purchase a 3D printer. As with many other 3D printing professionals, BuildTak realized that getting the first layer to stick to the printing bed was one of the biggest challenges in making high-quality 3D prints. Through a process of trial and error, they developed BuildTak and released it commercially in August 2013.
Quoting the manufacturers, BuildTak is “a thin, durable plastic sheet that adheres to the print bed of Fused Filament Fabrication (FFF) 3D printers. It provides an optimal printing surface for 3D objects to adhere to for the duration of a print while allowing for clean, easy removal of completed builds.” Their Original 3D Printing Surface remains their most popular product, but they have recently expanded their offerings with the Polyetherimide (PEI) version and the FlexPlate System.
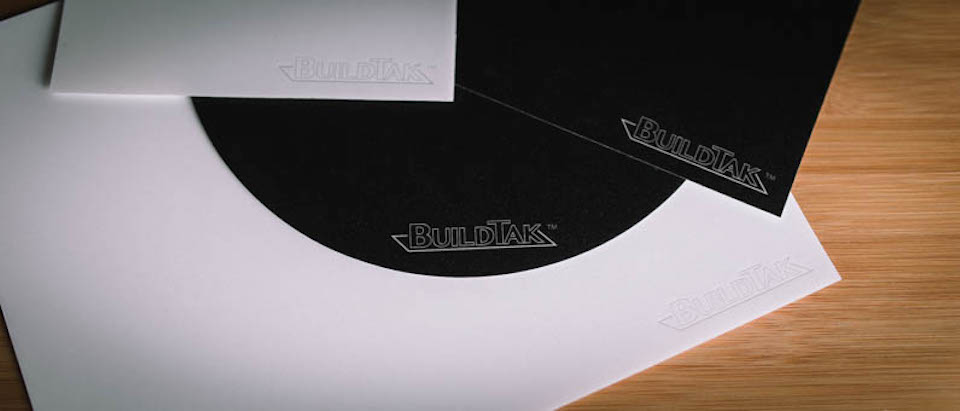
The Original 3D Printing Surface is available in 22 variants. You can get the BuildTak in round, square, or rectangular shapes of various sizes depending on the dimensions of your build plate or the size of your model. If you just want to take the BuildTak for a spin, then we suggest going for one of the smaller options.
How is BuildTak used?
Using BuildTak is not complicated at all. It’s compatible with any type of build plate, heated or otherwise. Installing BuildTak is much easier if you have a removable plate, but it’s not a requirement.
Before installing BuildTak, give your build plate a quick wipe to remove any dust. After letting it dry, you can proceed to apply the BuildTak on the plate. Simply remove the white adhesive liner on the bottom side of the BuildTake and carefully place it on the build platform. Take care not to trap any air bubbles under the BuildTak, as this will create an uneven surface. For best results, it is best to start smoothing the BuildTak from the top and slowly gliding over a dull-edged card to the bottom.
After installing the BuildTak, your build platform is now ready for use. If you installed BuildTak on a removable plate, make sure re-level the plate before you start printing. You can then print on your build platform as you usually do.
Printing with BuildTak
BuildTak works well whether you print with a heated bed or not. There’s no need to alter any of your bed parameters when printing with BuildTak – ABS will still print best at 100 to 110 °C, while PLA should print well even without a heated bed. For more exotic filaments, you can consult any of the detailed filament guides we have written in the past.
What BuildTak cannot do is to completely replace the use of a heated bed. BuildTak merely improves bed adhesion of the first layer but cannot resolve the problem of warping due to uneven cooling. Thus, even a quick trial printing with ABS without using a heated bed resulted in far-too-familiar print with a warped bottom.
Does BuildTak work well with different filament materials?
BuildTak encounters no problems and performs exceptionally well when printing common filaments such as PLA, ABS, or PETG. The first layer sticks well, preventing warping issues. Removal of the final print is also relatively hassle-free.
However, BuildTak is not the be-all end-all solution to bed adhesion problems. Other users have given feedback on the printing using filaments that are well-known to have adhesion issues, such as nylon or PETT can still be problematic even when using BuildTak. There has not been a definite solution when it comes to printing with these materials but applying a layer of glue stick on top of the BuildTak should help the first layer stick. However, resorting to this measure is a little antithetical to the purpose of BuildTak, which was supposed to be an all-around solution to bed adhesion problems.
How does it stack up to other bed adhesion methods?
Despite not being the absolute bed adhesion solution, we still find BuildTak to be massively superior to other adhesion methods. Since a BuildTak surface is made of just a single piece, applying it is much easier compared to Kapton tape or blue painter’s tape. The hardest part of applying tape to the build platform is making sure that the strips do not overlap with one another, which will result in an uneven surface. This is no longer a problem when using BuildTak. Since you only need to apply it in a single motion, it’s also easier to prevent air bubbles from getting trapped beneath the adhesive’s surface.
BuildTak is also much more durable compared to Kapton tape or blue painter’s tape. According to the manufacturers, each piece of BuildTak can last up to 250 hours of printing when using a non-heated bed and 50 to 100 hours when using a heated bed. Of course, this is under the assumption that you use proper printing and removal to preserve the BuildTak surface.
As any experienced 3D printing professional would know, blue painter’s tape or Kapton tape typically comes off with the print upon removal. This means that you need to reapply the layer of tape every time you want to make another print. Being able to reuse the BuildTak surface for multiple prints eliminates a lot of the hassle involved in having to frequently reapply the tape layer.
Removal of the print from the BuildTak surface is usually pretty easy, given that you give the build some time to cool down. To keep the BuildTak surface intact for your next print, take care not to use sharp tools when removing your finished build. Using BuildTak can also improve the finish of your print, as the smooth top of the BuildTak results in perfectly smooth bottom surfaces.
Tips when using BuildTak
1. Keep the nozzle away from the BuildTak
While it’s generally recommended to keep the nozzle of the printer as close to the build platform as possible, you need to make sure that it does touch the BuildTak surface. Doing so will result in a hole burning right through the BuildTak, making it unusable.
2. Let the print cool down before removing
Although BuildTak claims that print removal from the BuildTak is best when done while the build is still hot, we find that this tends to deteriorate the adhesive effect of the surface. To maximize the reusability of BuildTak, we recommend letting the build cool down to room temperature before attempting to remove it. Depending on the filament you used, removal could be as simple as popping off the print from the BuildTak. In some cases, you might need a simple removal tool, such as a spatula.
3. Remove your print using a round-edged spatula
BuildTak does a very good job of getting your print to stick to the build platform so removing them might require a good amount of force. To make sure that you do not damage the BuildTak while removing your print, it is best to use a round-edged spatula or putty knife. While taking care while removing a print from the platform is not an issue when using painter’s tape, BuildTak is much more expensive, and its value-for-money proposition depends on its reusability.
Is it worth it?
BuildTak prices vary according to the size of the print surface you need. One of the smaller square variants (4.5” x 4.5”) goes for $3.25 each, while bigger versions (10” x 10”) can cost almost $15 per piece. You can save on the per-piece cost by getting the 5-pack or 10-pack options.
Compared to other bed adhesion options, such as a glue stick or standard blue painter’s tape, a BuildTak surface is much more expensive. However, the value of a BuildTak surface lies in its reusability. The manufacturers have stated that each BuildTak surface can be used for up to 250 hours of printing on a non-heated printing bed. As long as you take good care of your BuildTak surface, we believe that you can get your money’s worth.
Using BuildTak can also save you a lot of the time and effort of having to reapply adhesion to the build platform every time you start a new print. Applying BuildTak while ensuring a level surface is much easier since it’s just a single piece – no more stressing about putting on perfectly aligned strips of tape on your build platform. Print removal can be a bit challenging owing to the enhance adhesion provided by BuildTak, but this difficulty comes with the added benefit of prints coming out with perfectly smooth bottom surfaces.
In summary, BuildTak is well worth it if only for the time you can save due to its reusability. You’ll have to take good care of your BuildTak, though, so you don’t end up wasting money. In any case, BuildTak is not so expensive that you’ll feel bad wasting a few sheets for practice.