Clicking Sounds on 3D Printer Extruder – What Causes It and How to Fix

While we all wish that 3D printers work flawlessly every single time, this is very rarely the case. Troubleshooting is as much a part of the 3D printing experience as loading up a new spool of filament or cleaning your print bed.
Being able to detect when something goes wrong and diagnosing the problem is an important skill for everyone who uses a 3D printer. In this article, we will be focusing on one tell-tale sign – a clicking sound in the extruder. What causes this sound and what can you do to fix it?
Where is the clicking sound coming from?
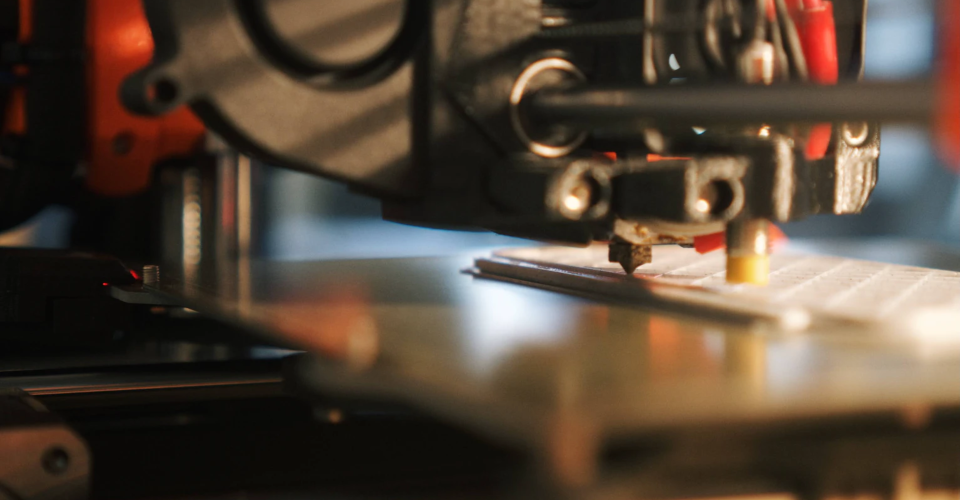
If you hear a clicking sound from your extruder, then the most likely source is the extruder gear. Basically, the clicking sound is produced by the stepper motor continuing to rotate while the extruder gear is held stationary. Most people refer to this as the motor “skipping.”
That clicking sound is a certain sign that there is something in your extruder that is preventing the filament from being pushed forward through the nozzle. This can happen even while filament continues to exit, as it only means that extrusion is not being maximized. Even if this were the case, a partial clog can get worse if neglected.
The problem can also lie in the extruder assembly or practically anywhere in the filament path. If this is your first time encountering this problem, then you would probably have to look at several places before coming up with a solution.
Possible causes for the clicking sound and how to fix them
The clicking sound may be a convenient warning sign, but that does not mean that this is going to be an easy problem to solve. A lot of things can cause the normal filament flow to be disrupted. Here are some of the possible reasons and their corresponding fixes, arranged from the easiest to most complex solutions.
Printing temperature too low
If your temperature is set too low, then the filament simply might not be ‘liquid’ enough to flow smoothly through the nozzle. This creates pressure on the extruder gears that might cause it to skip. This is a probable cause of the clicking sound if it persists throughout the whole 3D printing project.
If you’re still well within the range of recommended temperatures for your filament, then try and increase the temperature by 5 to 10 °C. Do this without making any adjustments to your printing speed. This should immediately end the clicking sound if diagnosed correctly.
Printing speed to high
Conversely, your printing speed may be too high for your temperature. This means that the filament is not exposed for enough time to the heating element, preventing it from being fully molten.
Lowering the printing speed is a sensible option if your printing temperature is already set at the high end of the range for your filament. If this is the root cause of the clicking sound, a reduced printing speed should immediately resolve the problem.
Nozzle is too close to the bed
If you only hear the clicking sound for the first two or three layers of your print, then there’s a good chance that your nozzle is set too close to the print bed. This leaves too little room for the filament to be extruded, causing the filament to be backed up inside the extruder.
To quickly solve this issue, just adjust your Z-setting offset in your file’s G-Code. You can do this incrementally – about 0.05 millimeters at a time should do the trick. You can also do a bed leveling procedure (whether automatic or manual) just to make sure that minor variations in bed level are not causing your extruder problems.
If you don’t have a glass print bed yet, consider getting one. A glass print bed does not warp when heated, unlike one made of metal. This should alleviate a major source of bed leveling issues.
Clogged nozzle

One of the most common culprits of a clicking sound in the extruder is a clogged nozzle. This can happen if there is residual plastic in the nozzle that gets burnt. Any dust and dirt in the filament can also accumulate into burnt solids in the nozzle or near the heating element.
Unfortunately, cleaning a clogged nozzle is not as simple as changing the settings in your slicer software. There are several different ways to clean a clogged nozzle. The simplest is to use a wire brush to try to clean the nozzle from the outside or to “cold pull” any reside using a piece of nylon filament.
Especially stubborn burnt material may warrant disassembling the nozzle and soaking it in some acetone. Make sure to allow any residual acetone to vaporize from the nozzle before installing it again.
Improper gear and idler assembly
If you took your extruder apart for maintenance, then it’s possible that you may have put it together in a less than perfect manner. A lot of things can go wrong here – the gear and idler may not have enough clearance, there may be some debris stuck in the extruder gear or the idler axle may be too loose.
A good test is to try and pull the filament through the extruder assembly manually. If you can’t pull the filament freely, then there’s probably something wrong with the alignment of the gear and idler. Conversely, you do not want the gear and idler to be too far apart that the extruder gear cannot sufficiently “bite” into the filament.
While you’re at it, take the time to clean out your extruder gear and to check if your idler has been worn out.
Stripped filament
If your extruder gear is set too tight, it’s possible for the filament material to get into the empty spaces of the hobbed gear. This reduces the ability of the gear to “bite” into the filament, making it a lot less capable of pushing the filament forward. A clear sign of this is the stepper motor continuing to rotate without any of the filament exiting the nozzle.
Unfortunately, there is no other way to address this problem but to take apart the extruder assembly and clean the hobs manually. A safety pin would be enough to push out any plastic material trapped between the hobs. Pay attention to proper alignment when putting the extruder gear and idler together again.
Issues with PTFE liner and filament path
This is just a general reason to investigate if you’re still hearing clicking sounds despite doing all the troubleshooting measures above. Anything that causes undue friction while the filament moves forward will make the extruder gear work harder, eventually causing the stepper motors to skip. This can range from a worn-out PTFE liner to various nicks or debris in the filament path.
Looking for a defect in very small components in your 3D printer can be a frustrating and time-consuming task. Fortunately, issues with PTFE liners rarely get bad enough that they cause serious extrusion problems.
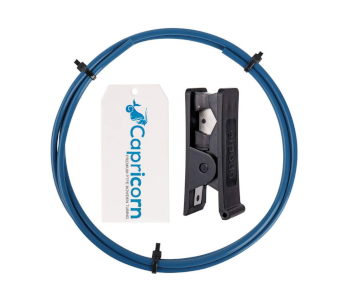
To lessen the probability of PTFE damage, you may want to invest in a heavy-duty PTFE liner such as this Sovol PTFE Bowden Tubing. These high-performance liners provide good lubrication but can better withstand prolonged exposure to high temperatures.
Final thoughts
Hearing a clicking sound from your 3D printer can be both a good and bad thing. While it’s certainly indicative of a problem, you at least get a warning that your 3D printer has a problem before it gets serious.
The good news is that you should still be able to finish that model you’re printing even when you start to hear clicking noises. As soon as your 3D printer is idle, you should get to work trying to troubleshoot this problem. Hopefully, our guide will help you in finding the root cause and making the necessary corrections.