DJI Mavic Tips and Mistakes

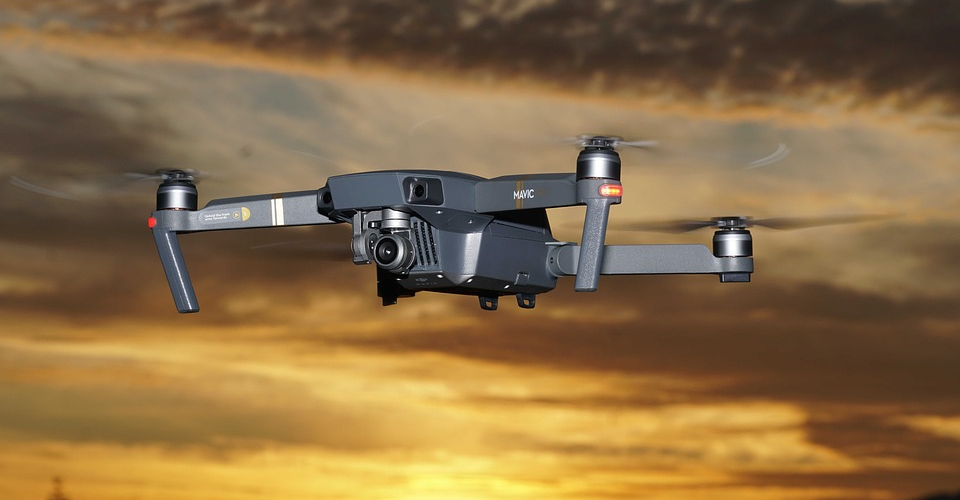
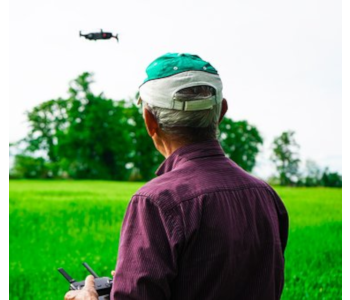
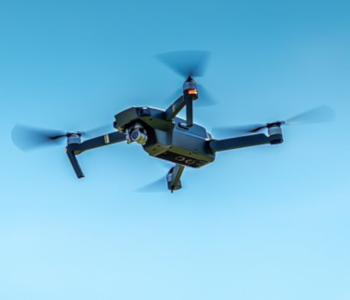
DJI drones are some of the most popular drones in the world. The Mavic is DJI’s flagship series when it comes to its consumer drone product line. It is very portable, has a host of useful features, and can be used in a variety of environments.
The DJI Mavic was launched back in 2016 and has had several models released since then. The DJI Mavic Pro, DJI Mavic Air, DJI Mavic 2 Pro, DJI Mavic 2 Zoom, and DJI Mavic Mini are all part of the Mavic family of drones. Both professional photographers, as well as hobbyists, prefer the DJI Mavic drone. Popular vloggers and videographers are counted among the users of this drone.
If you look at some of the videos that these famous DJI Mavic users have created, then you will be amazed by the quality on show. Often times, the drone footage looks like it could very well have been shot by a professional film crew.
In order to make such slick and sharp videos, there are some best practices that you should follow. There are also some common mistakes that you should avoid. We have compiled a list of tips and tricks related to using the DJI Mavic drone.
So, whether you are a new user or an experienced drone flyer, the following information can help you improve your drone footage quite significantly.
Mistakes
Thinking that the drone’s vision systems are always active
DJI Mavic drones normally have forward and downward facing sensors. The forward sensors are used to avoid obstacles that come in the way as the drone moves forward. The downward sensors stabilize the drone when it is flying at low heights (13 meters or less above the ground). These sensors are also very important when you use the “Return to Home” option, by which the drone automatically returns back to its original take-off location.
Many Mavic drone users assume that these sensors are always active and functional. However, there are instances when these sensors aren’t functional. For example, low light conditions severely compromise the ability of these sensors to work. They need ample light to work as they are intended to. So, many Mavic users end up crashing their drones by hitting obstacles because they do not check whether the sensors are working or not.
One way to check the sensor functionality is by observing the light on the back of the drone. If it drone body is slowly flashing a green light or a yellow light, then your sensors are not active. You can also open the DJI Go app and check the sensor icon on the top center of the camera view page. If the sensors are inactive, then the sensor icon will turn red.
Thinking that forward sensors detect every single obstacle
Keeping with the sensors theme, another shortcoming with the forward sensors is that it cannot detect everything. For example, forward sensors have a tough time seeing thin objects like cables, power lines, and thin branches on trees. They also cannot detect transparent obstacles like glass windows.
If you are flying around the kinds of obstacles that are mentioned above, then do not assume that your drone sensors will navigate safely around them. Instead, you will have to manually control the drone to avoid crashing into such obstacles. Auto-flying functions like Return-to-Home should be avoided in such situations.
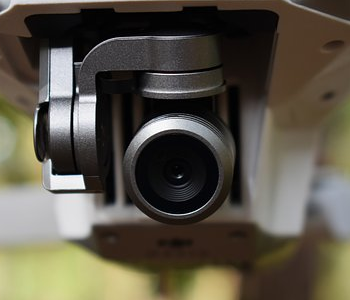
Not knowing when to remove and attach the gimbal clamp
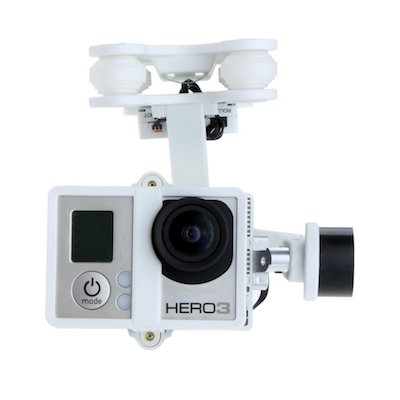
When DJI ships your drone, they secure the gimbal by attaching a clamp around it. The clamp is a safety measure that prevents the gimbal from moving around excessively during transit and getting damaged as a result.
Whenever you are getting ready to fly your drone, you must remove the gimbal clamp before powering up the drone. Whenever you power up the drone, the gimbal goes through a default boot-up motion and the gimbal clamp can constrict the movement of the motors that control the gimbal.
This can either cause damage to the motors or strain them to reduce their longevity. Not removing the gimbal before flying the drone is just as bad as forgetting to put the clamp back on when you are done using the drone. If you do not put the gimbal clamp back on, then the gimbal will move around during transit and you will damage the gimbal, as mentioned above. These steps are extremely important to protect your drone and keep it functional.
Flying the drone in sub-optimal conditions
Flying the drone in excessively windy conditions is a problem. If the winds are north of 10 m/s, then it is better to avoid flying your drone rather than risk the bird crashing and getting damaged. You also want to avoid flying your drone during snowfall or rainfall. Foggy conditions also mess with the cameras and sensors of the drones. So, avoid flying the drone in difficult weather conditions.
Avoiding interference from external noise is also something that many drone flyers do not think about. For example, flying near a radio transmission tower or anything with electromagnetic waves can affect the functioning of the drone. Flying close to a large metal structure or metal beams will certainly affect the compass and GPS of the drone and increase the chances of crashing it. So, it is always a good idea to fly the drone away from structures that can handicap the controlling of the drone.
Lastly, cooler air temperatures shorten battery life. Flying above altitudes of 6000 meters affects the performance of the drone.
Not taking into account the braking distance of the drone
The braking of a moving drone works in a similar way to the braking of a moving car. When you apply brakes to your car, it does not stop immediately at the exact spot where the brakes were applied. The car moves for a few meters before it comes to a complete standstill.
In the same way, drones also take a few seconds to stop once you release the forward button on the remote controller. The inertia of the drone pushes it forward by a few centimeters or inches. Therefore, if you notice an obstacle, do not expect to avoid it by stopping the forward motion at the last moment. You need to fly conservatively and keep a safe distance from obstacles. If you notice an obstacle approaching or if you foresee that an obstacle will come in the way, release the forward button in advance. Always allow for some buffer time when you fly a drone around obstacles.
Flying indoors
Flying your drone indoors is quite risky. We are not saying that you should never fly your drone indoors. We are simply pointing out that those who are new to drones or not expert professionals can potentially face many problems while flying indoors.
First of all, GPS signals may not be the strongest when you are indoors. That can make the drone drift. Secondly, if the floor has carpet on it, then all the ultra-sound signals which the drone sensors send out to stabilize will be absorbed by the carpet. Thirdly, if the floor is monochrome, the drone’s cameras will have a difficult time detecting the surface. Lastly, indoor environments tend to have plenty of obstacles like furniture, light fixtures, and other objects which raise the risk levels quite significantly.
New users get very excited when they receive their brand new Mavic drone. They want to power up the drone indoors and see it fly. However, it is better to resist the urge and find a nice open space outdoor to fly for the very first time.
Tips
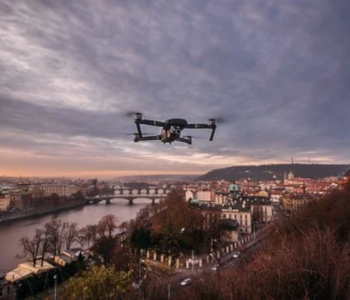
Try to fly within the line-of-sight
Flying within the line-of-sight is when you can physically see the drone with your own eyes. Once you cannot see the drone, you are beyond the line-of-sight. When you fly your drone that far, you are relying on the camera view and the drone’s sensors to navigate your flight safely.
But, as you have read in the mistakes section, drone sensors aren’t exactly flawless. And relying on the camera view can get confusing. Your chances of crashing the drone go up significantly when you fly beyond the line-of-sight.
So, unless you absolutely need to, do not fly beyond the line-of-sight. Try to stay within the line-of-sight and fly carefully. If you must fly far away, then raise the height of your return-to-home function to a level beyond the tallest obstacle in the area. You can also try and ask a spotter or a colleague to observe the drone from another location which is beyond your visual range. Teamwork helps!
Know how the Return-To-Home function works
Many DJI drone models have a useful Return-To-Home function. It is important that you know how the drone behaves when you push the RTH button. Otherwise, you may end up crashing the drone into an obstacle.
If the RTH function is activated within 5 meters of the take-off or the home spot, then the drone will land right where it currently is. It is not going to rise to the RTH height. If the drone is between 5 and 20 meters away from the home spot, then it will rise to a height of 10 meters before making its way to the home point. If the drone is already above 10 meters altitude, then it will make its way to the home point at its current altitude.
If the drone is more than 20 meters away from the home point, it will rise to whatever RTH height is set by the user and then make its way to the home point.
Not knowing this information can lead to a situation where the drone rises even if you do not want it to. The drone might hit a fan, the ceiling, a tree branch, or some obstacle above it. Being within 5 meters of the home point can lead to the drone landing in water or in a space where you don’t want the drone to land. So, you have to be very careful before you use the Return-To-Home function.
Keep an eye on your drone when you fly off a cliff and descend
When you want to take dramatic videos of going off a cliff and capturing the drop below or when you fly your drone along the edge of a waterfall, you will notice something interesting on your DJI Go app or your controller. The altitude will turn negative as you go away from the cliff.
The reason for this negative reading is the fact that the drone sensors record the altitude when the drone took off from the ground. Therefore, if there is a large drop in the altitude of the ground, the sensors calculate all of that distance in the opposite direction and the net altitude turns negative.
If this happens, then you will need to monitor the drone very closely. You will have to manually control the drone as some of the auto-flight functions may get affected by the negative altitude reading.
Higher is not always better
Flying your drone at greater altitude can give you a wider range of view or a more dramatic-looking video. However, it can also create a frame with too many things in it. Your subject has a certain size in relation to other objects in the frame. Going to a very high altitude can reduce that size and the balance between your subject and other objects gets disturbed.
You ideally want to maintain a balanced ratio in terms of the size and importance of your subject with respect to other surrounding objects. So, sometimes it is better to fly the drone at a lower height and create a better composition of your frame.
Perfecting your ability to set a good composition from the sky is something you will have to practice. Having taken pictures from the ground for most of your photography career, you will not be as used to viewing frames from above. But, with some experience, you will get the hang of it.
Avoid fast backward movements
Flying your drone backward can seem like fun. You can get interesting looking videos in which you are backing away from something. However, when you fly backward, your focus is on the view that the drone camera is sending you on your screen. You do not know what is behind you. Before you know it, your drone backs into an object and crashes.
Not all DJI Mavic drones have a backward sensor. And even if they do, you still are focusing on what your monitor is showing you, which is the front camera view that is being recorded. You do not have a feel of how far an obstacle is on the back side.
It is also difficult to judge the speed of a backward moving drone. You also do not know how soon to stop the movement of the drone to avoid bumping into that obstacle. As discussed above, the drone’s inertia can take the drone further than you want it to go. So, it is best to avoid backward flying your drone backward at full speed. Try not to race drones in reverse either unless you have a clear space with no obstacles.
Follow the laws
No matter how good of a drone flyer you are, there are some things that are legally not allowed. Familiarize yourself with the local laws before flying. US drone laws can be studied in detail on the FAA’s website. Other countries will have drone-related information on its equivalent aviation authority website.
Flying over crowds of people or people’s homes is prohibited in most cases. Flying over government facilities and close to airports is also not allowed. With airports, there is a certain radius around which you cannot fly your drone.
Flying over crime scenes or natural disaster areas is also against the law. Whatever you do, try to make sure that the police do not knock on your door. You want drone flying to be a fun activity and not a painful experience.