Eliminating Z-seams in 3D Printing

Imperfections are quite common in 3D printing, but that does not make them any less frustrating. Some of these imperfections are hard to avoid, simply because the technology has its limitations. A Z-seam is quite a common imperfection, but one that may either be very easy or very hard to avoid, depending on the model you are printing.
Another approach to avoiding Z-seams is to remove them during post-processing. This takes a bit more work but is fairly reliable as long as the seam is not. In this article, we will look at all the methods to avoid or remove those pesky Z-seams.
What are Z-seams?
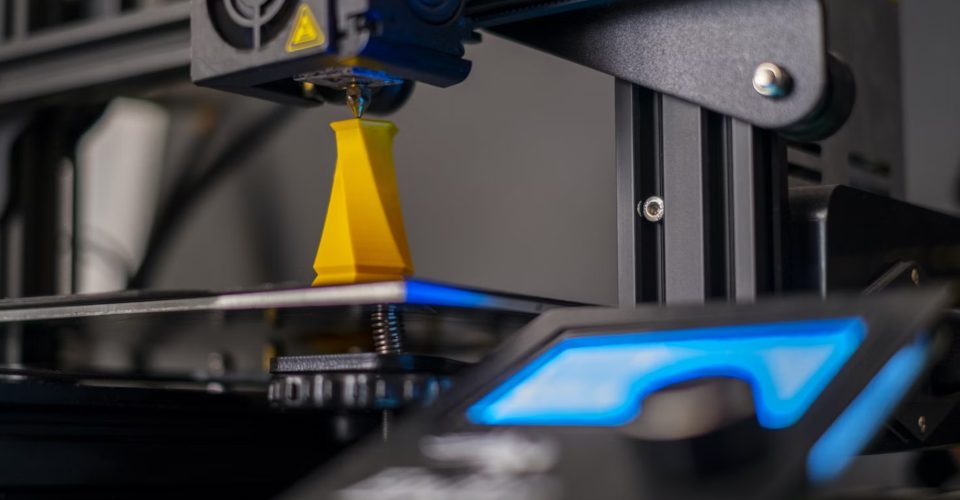
A Z-seam is one of the more obvious results of the way by which filament-based 3D printing works. This seam, which typically runs vertically, is created by the points at which a layer ends and another one starts. Blobs typically form as the nozzle extrudes excess filament to end a layer, eventually creating a fairly visible line of blobs or the “Z-seam.”
This understanding of Z-seams does make them seem like they are unavoidable, which is true in a way. However, you can tweak your slicer settings to make them less apparent. If that fails, then there is always the tried and tested method of sanding them smooth.
Slicer settings to avoid Z-seams
The first option you should explore is the tools in your slicer that can help you hide Z-seams or otherwise make them less visible. The availability of these tools may vary depending on the slicer you are using, but some of these techniques make use of standard slicer settings.
Change the Z-seam alignment
Cura has a very good setting that may be one of the most effective tools to avoid Z-seams. In Cura, you can choose to either randomize the points at which a layer ends or to hide the Z-seam in the model’s sharpest corner. Both options allow you to make the Z-seam less visible without having to spend too much time playing around with other slicer settings.
Cura also allows you to manually set the location of the Z-seam. This can be useful if you’re printing a model that only needs to look good from a certain angle. The setting effectively “buries” the Z-seam in a location that is less or not visible.
Reduce printing temperature
A fairly intuitive solution to avoiding the blobs that create the Z-seam is to simply lower the printing or nozzle temperature. This lessens the tendency of the filament to ooze out, hopefully making the layer transition point less pronounced.
If you’re having trouble with a Z-seam, you can try lowering the temperature by 5 C increments and see if this helps. You will want to keep a close eye on signs of under-extrusion, such as holes or missing layers.
Reduce printing speed
Reducing the print speed can also help avoid the blobs that create a Z-seam. This technique works well in tandem with good retraction settings. At the right printing speed, the extruder can retract the filament at the moment of layer termination, creating a smoother transition.
Reducing to a minimum value of 15 mm/s is a good rule of thumb for most filament types. Again, keep a close eye on any signs of under-extrusion.
Optimize retraction settings
Getting just the right retraction settings can help not just in removing Z-seams, but also in improving the overall quality of your print. Simply enabling retraction should already avoid over-extrusion, which is the primary culprit behind visible Z-seams.
The default retraction settings in your slicer should work well enough if you’re just trying to make the Z-seam less visible. If this is not enough, then increasing the retraction distance by just 1 mm at a time should yield some positive results.
Be careful not to set the retraction distance or speed too high, as this can result in gaps in your layers.
Enable coasting
Coasting is a feature that stops the extruder prematurely when completing a layer. Instead, a small amount of filament is pushed out by the residual pressure inside the heating block. In theory, this should avoid over-extrusion at layer termination.
Much like retraction, enabling coasting should instantly help with making your Z-seam less visible. However, be careful not to set the value too high as this can also create gaps or missing layers. Getting the perfect settings for coasting can be difficult and will take some rounds of trial and error.
Enable wiping
Wiping is a bit like retraction and coasting in that it attempts to relieve the excess pressure in the heating block at the point of layer termination. However, wiping is less elegant – the nozzle simply moves to a different spot to release the pressure.
With this enabled, you will end up with random blobs on your print bed. It will look messy, but should still help make your Z-seam less visible.
Calibrate the E-steps
If you’ve done everything else on this list and you still find that print comes out with a prominent Z-seam, then it may be time to calibrate the E-steps of your extruder. This will take a bit of time and knowledge of how to play around with G-Code.
Calibrating the E-steps of your extruder makes it more accurately dispense the filament length that corresponds to the rotations of the stepper motor. A visible Z-seam is only one of many problems that can manifest from a poorly calibrated extruder – you are likely to see signs of over-extrusion or under-extrusion all over the print.
For more detailed steps, see our previous article on How to Calibrate Your 3D Printer Extruder.
Removing Z-seams in post-processing
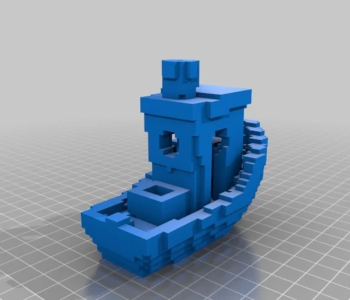
Sometimes, despite your best efforts, Z-seams still come out a bit visible. This is more likely to happen in models that have completely curved surfaces, as there are no sharp corners to easily hide the Z-seam.
There are two schools of thought on removing Z-seams in post-processing. The first is that setting the Z-seam to be randomly positioned makes them less obvious, thus requiring less work to smooth out. The second is that having a single Z-seam running down the length of the print makes it easier to cut out and sand smooth. Either approach can work, so it just comes down to your preference.
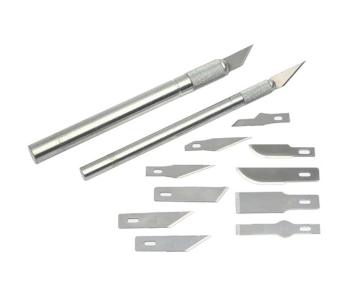
Visible blobs, whether randomly positioned or aligned, are best removed using a sharp scalpel or X-acto knife. Just very carefully slice them off. Leaving small nubs is fine, as those can be sanded smooth.
You will want to use coarse-grit sandpaper to sand off prominent imperfections. This is also great for quickly removing visible layer lines. As with the standard sanding process, gradually change the sandpaper to one with a finer grit until you are happy with the results.
Take note that removing visible Z-seams during post-processing may not give perfect results. There may still be a visible mark left by the removal process. For this reason, it is still better to refine your slicer settings as well as possible to make the Z-seam less prominent.
Final thoughts
Z-seams are pretty much unavoidable in filament-based 3D printing, as it just represents a limitation of the technology. The best you can hope for is to make the Z-seams as close to invisible as possible. Slicers have several tools specifically for this purpose.
If that fails, then you can always just cut and sand off the Z-seam. The results are not going to look perfect, so a combination of both – good slicer settings and post-processing – is warranted in most situations.