What To Do with Your Failed 3D Prints
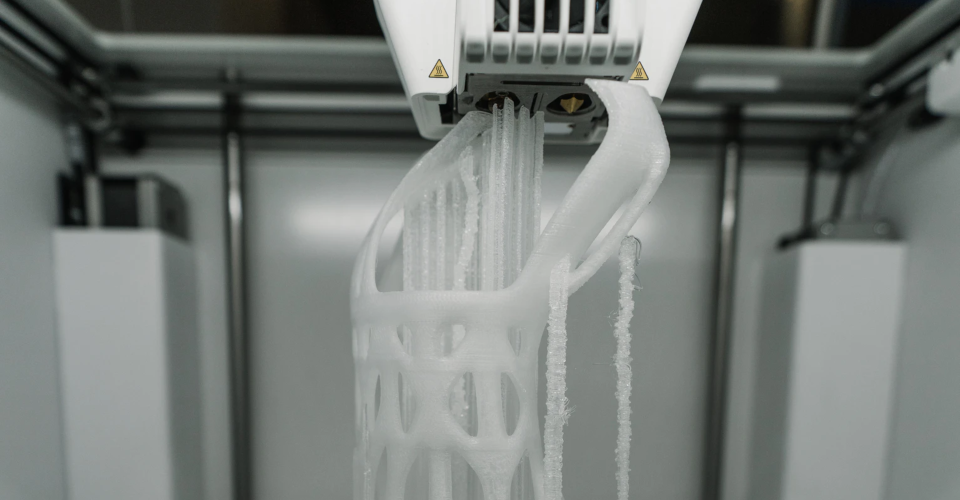
Trial and error is a natural part of 3D printing – there is no going around that fact. Acceptance is easy but what is more difficult is having to deal with failed prints. Simply disposing of them does not feel right as you would not want these to end up in some landfill.
As it’s rare to get a print right the first time, you will inevitably end up with an ever-growing pile of these indistinguishable lumps of plastic. If this is a problem you can relate with, then check out the best recommendations on dealing with your “box of shame.”
Turn failed ABS prints into ABS slurry
The easiest junk to deal with is failed prints made with ABS. This is fortunate, too, considering how easy it can be to mess up when printing with ABS.
The most practical way to get rid of failed ABS prints is to make your own ABS slurry. In turn, this slurry can be used as adhesive for your build plate or when putting together multi-part prints. The great thing about this course of action is that you end up disposing of your failed ABS prints while creating one of the best adhesives used in 3D printing. It’s a win-win solution!
Turn them to filament

The filament used in 3D printing is made of thermoplastics. Theoretically, this means that they can be molten up and re-solidified with minimal changes in chemical and physical properties. What better way to repurpose your failed 3D prints than to make new filaments out of them?
Unfortunately, this is easier said than done. Turning failed prints into filament will require industrial-grade equipment. These prints will also have to be ground down into very small chips for easier and more even melting.
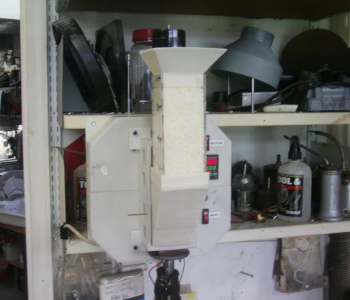
If you have money to spare, you can buy your very own filament extruder setup. This isn’t for the faint-hearted, though – the full setup including the plastic melting unit, extruder, air cooler, and spooler will cost you more than $10,000. Unless you’re doing 3D printing at a commercial scale and generate failed prints very frequently, buying your own extruder does not seem like a practical option.
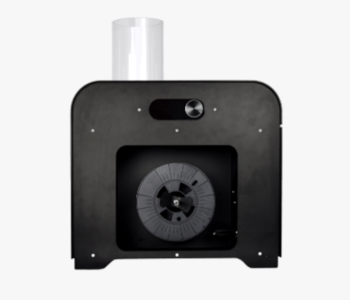
There are also options such as the 3Devo filament maker. This option is a bit less expensive as you will only need one piece of equipment to do everything from melting to spooling.
A cheaper option would be to have another company do the filament extrusion for you. Filabot offers this service through their TerraCycle program. For a fixed amount, you will be given a box to put all your 3D printing scraps in. Once the box is full, you simply need to ship the box back so they can recycle the scraps for you.
Take note that you will not receive the recycled filament from your scraps – just think of the payment as the price of not having your scraps end up in a landfill. Filabot also does not expressly state where your recycled plastic will end up, although that may be a valid question should you pay for their service.
Build your own filament extruder

We have already mentioned that there are commercially available filament extruders that are quite expensive. If you have the patience and the engineering skills to boot, you might consider building your own filament extruder.
Detailed instructions on building a Lyman Filament Extruder can be found on Thingiverse. This extruder is designed to make filament out of plastic pellets but can be repurposed for your failed prints, provided that you can grind them up into very small pieces. This is a very complicated project and will likely take you a few months to finish.
Turn them over to a local recycling program
If you’re very lucky, your local recycling facility may be able to get your 3D printing scraps off your hands. However, you need to call them up and ask first. The plastics used in 3D printing are not the same plastics commonly used in households. This means that most recycling facilities simply are not equipped to handle 3D printing scraps and will treat them as impurities.
Take note that, in some places, you will also have to pay for the recycling facility to take your box of 3D printed scraps. If this is the case, it might be a better idea to turn them over to a service that actually specializes in recycling waste from 3D printing.
Get creative with them
One of the most frustrating experiences is when your 3D print fails at the last one or two hours of printing. There are a few possible causes of this type of failure, although that deserves a separate discussion. In any case, you are left with a print that is almost complete but is far from perfect.
An off-the-wall idea is to ‘remix’ your failed prints. There is so much you can do with just a knife, some glue, and some tape. How about putting your failed print’s arms and legs into a Benchy? Or mashing together the parts of two thematically related failed prints?
Another idea is to melt the 3D printing scraps together in an oven to create plastic slabs with psychedelic colors. The unpredictability of this technique is its appeal – you never know what you’re going to get. These make for great abstract art installations. Cut them up into smaller slabs or discs and hang them on your wall to create art décor that is truly one of a kind.
Final thoughts
Dealing with failed prints and scraps is a normal part of 3D printing. Some would say that you aren’t doing it right if you don’t already have a cardboard box of this junk overflowing in the corner of your shop. They are a good reminder of just how much trial and error you’ve had to go through with your trusty 3D printer.
Regardless of how you choose to recycle your 3D printed scraps, it is your responsibility to make sure that they don’t end up in a landfill somewhere or out in the ocean. Even if you need to spend a bit on recycling, it’s well worth the peace of mind that you contribute to reducing the carbon footprint of 3D printing.

