How to Fix Misaligned Layers in 3D Printing

Misaligned layers or layer shifting typically happen because of issues with the mechanical parts of the 3D printer. A quick maintenance check of the rods, pulleys, and belts usually solves this problem. However, there are also slicer settings you can adjust to avoid misaligned layers.
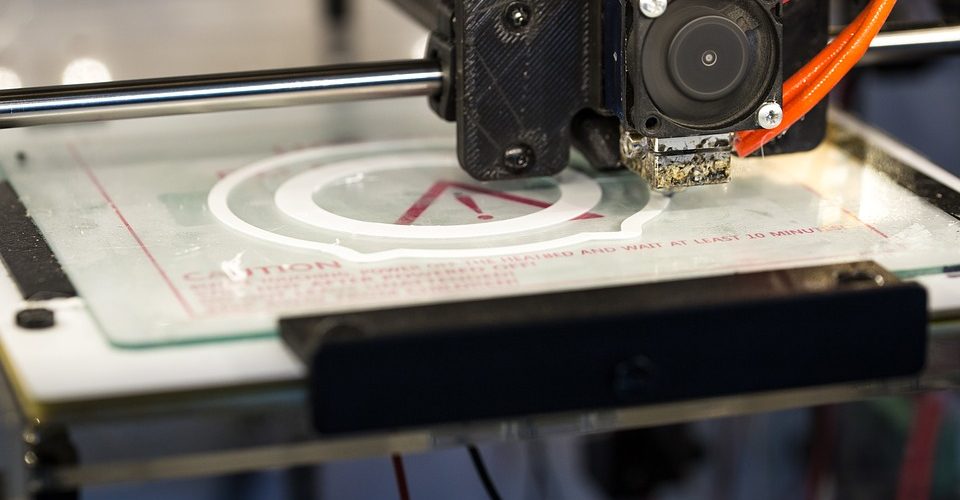
Almost all 3D printing processes are based on the idea of building objects layer by layer. For this process to succeed, all these layers have to be perfectly aligned with each other. When this fails, the finished print suffers both aesthetically and structurally. If you’re having troubles with misaligned layers, here are a few steps to take.
Why do misaligned layers happen?
Getting the layers in 3D printing to perfectly align depends largely on the toolhead moving to its target location accurately. Thus, problems with layer misalignment can be assumed to be associated with the printer’s mechanism for moving the toolhead.
In FDM printers, the toolhead moves via an assembly of pulleys and belts connected to stepper motors. These stepper motors rotate based on instructions received from the printer’s controller board. Through the pulleys and belts, the rotational motion of the motors is translated to lateral or longitudinal movement of the toolhead. To restrict the motion of the toolhead along specific axes, they move along fixed rods.
If any of the hardware components in this assembly is in poor condition, they become more likely to contribute to layer misalignment. This underscores the importance of doing periodic checks and maintenance of a 3D printer’s hardware.
Another possible reason is overshooting of the toolhead when it moves to a target location. 3D printer toolheads are heavy because they contain the nozzle, the heating element, and possibly the extruder assembly. When the toolhead moves, residual momentum can cause them to overshoot and stop at a point just a little past the target location. This is more likely to happen in Cartesian 3D printers with direct extruders because of their inherently heavier toolheads.
Unfortunately, there is no way for a 3D printer to automatically detect misaligned layers and correct them. The components involved in toolhead movements in 3D printers function on open-loop systems. This means that the controller board sends signals or instructions to the motion components but receives no feedback on whether the instructions were executed accurately.
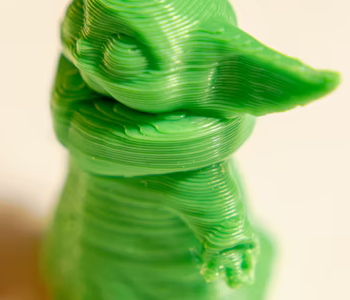
This means that misaligned layers do not get corrected and could get progressively worse as the 3D printing project proceeds. This is actually quite a common scenario – layers that get increasingly misaligned, ultimately resulting in a print that looks nothing like the reference model.
How to fix misaligned layers
If you observe layers getting misaligned, the first thing you should do is to stop the print immediately. It’s your call on whether your project can still be salvaged. In most cases, misaligned layers look so bad that the best thing you can do is to just start over.
Before resetting your project, there are some maintenance steps that you should do:
Check for bent or misaligned rods
The easiest thing to do at the onset of this problem is to check if the rods along which the toolhead moves are not bent or misaligned in any manner. This can be done by powering down the 3d printer and manually moving the toolhead along the axes. There should not be any resistance when you do this if the rods are completely straight.
Another method is to remove the rods and roll them around on a flat surface. This should make any bent portions very obvious. Unfortunately, the best way to fix this is to get new replacement rods for your printer but nothing is stopping you from attempting to correct the misalignment.
Check the tension in belts and pulleys
The belts that run from the motor to the toolhead should be just tight enough to transfer motion. Over time, these belts inevitably become slacker and have to be retightened.
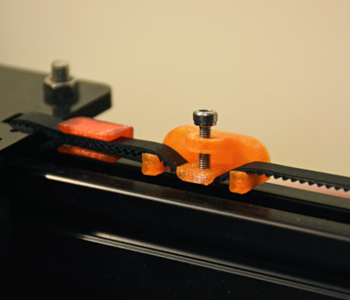
To check for belt tension, simply pinch the belts together close to the middle of their lengths. You should feel equal resistance on both the top and bottom portions. If one belt is looser than the other, you may need to use a belt tensioner. This is something that you can just 3D print.
While you’re at it, you may also want to check the pulleys at both ends of the belt. One of these is a static pulley while the other one is connected to the shaft of the stepper motor. Make sure that the belt has not slipped on any of the pulleys and that the motor pulley is tightly connected to the motor shaft with its small grub screw. Again, this ensures that the rotational motion of the motor is accurately transmitted to the belts and the toolhead.
Clean and lubricate the rods
Now that you have checked that all parts are in good working conditions, all that’s left to do is to clean the rods and re-oil them. This gets rid of any dust or gunk that could have built up in the past weeks. Cleaning and lubricating the rods ensure that the toolhead can move along them with minimal resistance. This is something you may want to do regularly.
Reduce printing speed
If you are still having misalignment issues despite checking the hardware components, then you might have a problem in your slicer settings. Recall that print heads have a tendency to overshoot their targets when they carry too much momentum. This is determined by two factors – the weight of the toolhead and its movement speed.
To check if this will solve the misalignment issue, just go to the “Movement Speed” of your slicer and reduce the speed by 50%. This will, of course, increase the total printing time of your project. This is still a good compromise for the improvement that you will get in the print’s overall quality.
Reduce printer vibrations and unnecessary movement.
If you notice your 3D printer or its frame moving around too much while printing, then this could very well be the culprit behind misaligned layers. Vibrations are normal but you do not want the frame of your 3D printer to be visibly shifting.
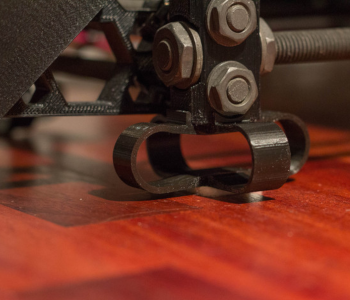
Excessive printer vibrations typically come from an improper assembly of the printer or a poorly designed working surface. Make sure that the frame of the 3D printer has been assembled properly and that all of the frame elements are perfectly aligned. It also helps to put the 3D printer on a sturdy working surface, possibly reinforcing the bottom with rubber or any flexible material. Some 3D printed vibration dampeners can help with this.
The build surface can also be another source of unnecessary movement. This seems obvious but is actually very commonly missed. If you use a build surface on top of your print bed, make sure that it has been secured properly. This can become an issue in 3D printing setups with glass beds. Use as many binder clips as needed to keep the print bed in place.
Check for electrical issues
Insufficient power supply can cause the stepper motors to not rotate as intended, thus causing major issues in toolhead positioning. To avoid this, make sure that the 3D printer is receiving enough power based on the printer’s rating.
Overheating of the motors can cause performance issues after hours of continuous operations. Using a 3D printer for several hours typically isn’t a problem, but you can help avoid overheating issues by ensuring proper cooling.
Do a general calibration
Even if you think that the problem has been resolved, it does not hurt to do a general calibration of your 3D printer. This is something you should be doing regularly or whenever you encounter a major problem.
General calibration involves tightening all nuts and bolts, applying lubrication, checking the accuracy (and possibly adjusting) of your slicer’s E-step settings, leveling the print bed, and cleaning the nozzle. This sounds like a lot of work, but this is absolutely crucial to help avoid any 3D printing issues and assure the longevity of your 3D printer components.
Final thoughts
Misaligned layers or layer shifting can be a frustrating issue because it can be traced to so many possible causes. It is also a problem that gets progressively worse as the print proceeds. This means that you don’t really have much of a choice but to restart the printing project once you see layers shifting.
A lot of times, misaligned layers are caused by hardware problems. If you regularly clean and maintain the rods, belts, and pulleys of your 3D printer, there isn’t a high likelihood of encountering misaligned layers.