Getting Started with the Mavic Pro – Step-by-Step

The DJI Mavic series is the flagship range of DJI’s consumer drones. It is known for having some of the most feature-rich consumer drones with a compact design and high level of versatility.
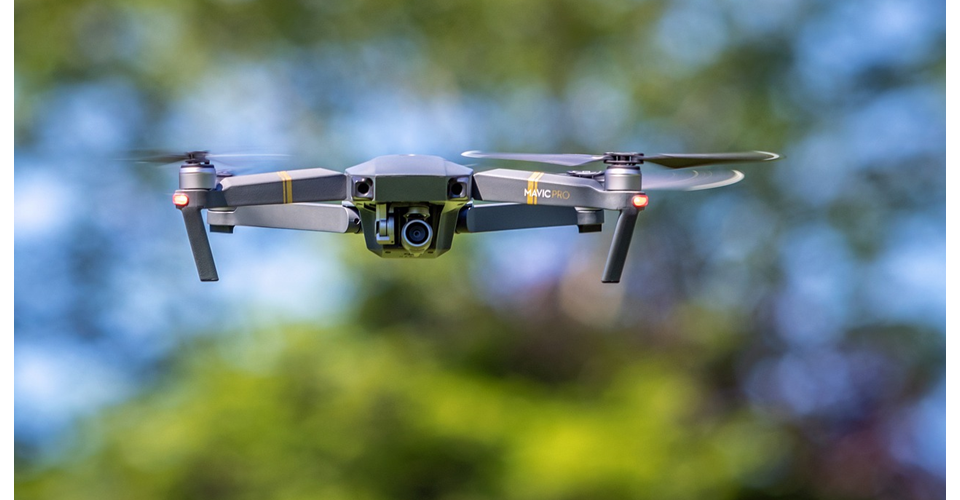
The Mavic series started with the release of the Mavic Pro back in the year 2016. Whether you have flown DJI drones before or are new to them, there are some basics that you need to get acquainted with. The following guide will help you get ready for flying your DJI Mavic Pro drone.
Step 1 – Unbox the Mavic Pro drone
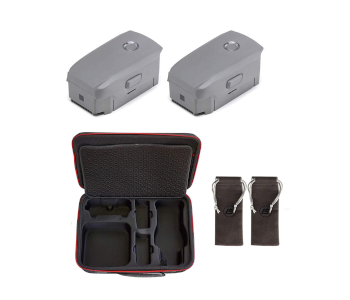
The first step is to unbox your Mavic Pro drone and check everything. The idea is to have a good look at all the components that are in the box and whether you have everything that is supposed to be in the box. Look for any cracks or if anything is loose/broken.
Step 2 – Register your drone with the FAA
Since the Mavic Pro is above 0.55 lbs, you have to register your drone with the FAA. The link to register is https://registermyuas.faa.gov. You just have to put in some basic information and then get a number which has to be stuck on your drone body. You can also stick it inside the battery compartment so that it is protected from the external environment.
Step 3 – Charge the batteries and the controller
Charge the batteries and prepare them for your first drone flight. DJI normally ships out batteries with around 50% charge on them. So, when you remove the battery pack from the box, you need to charge it to 100%.
Making your first flight with full juice is highly recommended. In fact, you should always try and use 100% charged batteries before any flying session. If you had a flying session earlier in the day or on the previous day, and if your battery charge is down to say 60%, you should still try and charge it to 100% before commencing the next flying session.
When you unbox your Mavic Pro, the battery will be connected to the drone body on the top side. You have to pull out the drone arms and to access two buttons that will unlatch the battery. The buttons will be on either side of the battery pack. Push them simultaneously to pop out the battery pack.
Next, connect one end of the power supply module into the wall port and the other end with the connector to your battery pack. The connector plugs into the battery pack either way and there is no right or wrong way to plug it in. When the indicator light on the battery turns off, then the charging is complete.
The remote controller also needs to be charged. There is a USB cable that will connect to the power adapter on one end and the left side of the controller on the other end. As with the battery pack, the indicator light on the remote controller will turn off when it has reached full charge.
You can charge both the controller and the battery simultaneously. However, bear in mind that the charger can get quite hot if you do so. If the charger gets too hot, then charge the battery first.
Step 4 – Download the app and register

In order to adjust the settings of the drone or to control the drone without a remote, you will need to use your smart phone or tablet. First, you need to install the DJI Go App. The app is available on both the App Store and the Play Store (depending on whether your device uses Android or iOS).
Download the DJI Go app and create your account if you do not have one. If you have one, then simply log in. If you need to create a new account, then you can actually do that while your remote controller and battery charge.
The other suggestion, if you really want to save time, is to create a DJI account as soon as you order your Mavic Pro drone. You can simply visit the DJI website and create an account while your drone is in transit. When the drone does reach you, you will be ready with the app.
Step 5 – Mount the mobile device on the controller
After your app is downloaded, go ahead and mount your mobile device on the remote controller. You need to pull out the clamps from the bottom of the controller and look for the phone connector port on the left clamp. Align your phone to connect with the connector and then fasten the left and right clamps to secure the phone.
You can also connect the mobile device to the remote control using either a micro USB cable or an Apple lightning cable. The cable port is located at the bottom of the controller and the holding clamps have a hole through which the cable passes and connects to the mobile device’s USB port.
If you do decide to use a USB cable for connecting the controller to your mobile device, then make sure you unplug the connector inside the clamp by pulling out the connector module on the left of the controller.
Step 6 – Set up the drone body
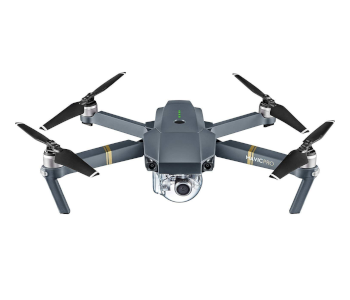
The drone body has the motors, the camera, and the gimbal on it. Remove the plastic guard securing the camera gimbal. There are two guards, one behind the camera module and one on top of the camera module. Flip the drone body and lift the guard from the bottom side. Next, pull out the guard that is behind the camera module. This step is absolutely critical before powering on the drone.
When you power the drone, the gimbal will make a default movement. Having the guards on (and behind) the gimbal can obstruct that movement and damage the internal motors that control the gimbal. So, remove the gimbal guards without fail. You can put the guards back on when you are traveling and want to protect your drone camera in your bag/case.
Also, insert the memory card in its slot which is located on the right side towards the back of the drone body. When you insert the card, make sure you are in the RC mode and not the Wi-Fi mode.
Do not mount the propellers yet. Mounting the props is the final step before you fly. There is a chance that the propellers can cause unnecessary damage to your hand or your mobile device while you set everything up and power the controller. So, get everything ready first before mounting the propellers.
Step 7 – Power up the drone
Once the battery is charged up, push it back into the battery compartment. The battery should make a click sound when it is secured into its compartment.
Then, power up the drone by pushing on the power button. To power up, you need to tap the power button once and then push again and hold. The green light indicator near the power button should light up. You will hear 3 beeps of sound from the motors of the drone as it boots up.
Step 8 – Power up the controller
After powering up the drone, the next step is to power up the controller by tapping the power button once. Then, hold the button down. This procedure will turn on the remote controller. Keep the antennas at a tilted 45-degree angle instead of a straight 90-degree upright position with respect to the controller.
Step 9 – Activate the drone
After you power up the drone and log in to your DJI account, you will be asked to activate your drone. First, you will have to enter a drone name. It is suggested that you enter something generic as this name cannot be changed later. If you try and sell your drone a few years down the line, then a name like “Mavic Pro” will be better than something like “Mike1234”.
Then you have to choose a control more and set your customizable buttons that are at the bottom of your controller. You also have to select the measurement system and video output format. Lastly, you can opt for the beginner mode if you like.
When you first activate your drone, it will go into beginner mode by default. The beginner mode restricts the drone height to about 30 meters. You can check out a tutorial mode after activation to get a feel of the drone and the controls.
Step 10 – Firmware Updates
For some users, the app may ask for a firmware upgrade when you try to connect the drone and the remote controller. In such a scenario, you will have to download the update on your mobile device and power off the controller and the drone. Then power up everything again.
While the firmware update is in progress, do not power off the drone or your mobile device. Let the whole process finish. During the updating process, the drone and the controller may restart multiple times.
Step 11 – Check the functionality and sensors
In the DJI app, hit the blue camera button and check if you can see the live video feed from the drone camera onto your mobile device. Then look for a button on the top center which is in the shape of a drone next to “GPS”. Tap on the drone to open the “Aircraft Status” menu.
On the status menu, scroll down and go to “Advanced Settings”. Then scroll down on the menu that opens up and select “Sensors State”. You will see your live IMU and Compass readings. There will also be options to calibrate the IMU and the compass.
You can calibrate the IMU sensors by clicking on the option for calibrating IMU. Then, you will be asked to un-mount the propellers (if you have them mounted). The arms will also have to be folded back in.
Next, you simply follow the instructions that show up on your mobile device. The calibration involves tilting and flipping the drone in specific orientations. After the IMU is successfully calibrated, you have to turn off the drone and restart it.
Step 12 – Calibrate the Compass
All current drones which use GPS have a digital compass. The compass tells the drone which way it is facing. It works in conjunction with a GPS and is absolutely critical to the navigation of the drone. If the compass is not calibrated properly, then even a fully functional GPS cannot guide the drone accurately. Hence, the compass needs to be calibrated before you fly the drone.
It is recommended that you calibrate your compass before every new flight session. This is because the digital compass is very sensitive to magnetic interference. If the drone gets too close to metal objects, then the calibration can be thrown off. Even remote controllers have magnetic components. While calibrating and thereafter, leave a gap of at least 2 feet between the drone and the controller.
Another thing to remember is that calibration should always be done outdoors. When you are indoors, there is a chance that metallic objects (or walls made of reinforced bars) can interfere with the calibration process.
To calibrate the compass, open the DJI app go to the “Aircraft Status” menu, then to “Advanced Settings”, and then Sensors State. Then scroll down and hit the Calibrate Compass option. Next, follow the instructions on the screen. The process involves rotating the drone in specific orientations.
Step 13 – Calibrate the Gimbal
You also have to calibrate the Gimbal before your first flight. To do so, go to the camera view page. Then click on the three-dot button on the top right of the screen. Scroll down till you see an icon that looks like a gimbal and is next to the words “Peak Focus Threshold”.
Click on the gimbal icon to open the Gimbal Settings page. On that page, look for the Gimbal Auto Calibration option. Tap on it and make sure that the gimbal has no guard or obstructions next to it. It has to be able to move freely to calibrate properly. The calibration should happen automatically and you will see a message once it is done.
Step 14 – Mount the propellers on the drone

You are almost ready to fly your drone now. There is just one more step left. You have to mount your propellers onto its motors.
Two motors on the Mavic Pro will have a white mark or ring on them and the other two motors will not have any such mark. These marking are meant to guide you in mounting the propellers correctly.
The propellers with a white ring in the center will go on the motor with the white mark. The propeller without any white ring will go on the motors without any white marks.
To mount the propellers, simply push them down on the motor and twist them 45 degrees anticlockwise while holding the motor steady. That should lock and secure the propellers on the mount.
Once you mount the propellers, remember to keep your mobile device away from the drone. Sometimes, when users try to arm the motors the very first time, the propellers start unexpectedly and damage the screen of the device if the remote controller with the mounted device is too close to the drone.
Step 15 – Fly away
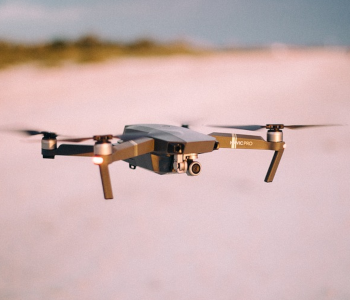
If you see green pulsing lights on the drone and if the DJI app on your mobile device says “Ready to Go”, then you are ready to send your drone in the air! The first thing you have to do is arm the motors of the drone. You can do this by pushing both the stick-buttons on your controller down and in towards each other. This action will make the motors go into the armed state where they rotate at a low speed.
You can then push the left stick-button up to make the drone go up and take-off. If your motor is in the armed state and you do not push any button, then it will automatically turn off after a few seconds. You can also use the DJI app and push the take-off button located on the left side of the screen. This will make the drone automatically take-off and hover at a specific height. For the first flight, it may be better to use manual controls so that you can check if the motors are working properly.
Step 16 – Explore air controls
If you are an experienced drone user, then this step probably does not apply to you as much. However, whether you are a new user or an experienced user, it always helps to get a feel of the drone movement before you begin to start filming seriously. The left and right stick-buttons are used to control the drone and they both have 4 main functions: up, down, left, and right.
Once the drone is in the air and hovering, push the left stick-buttons up and down to make the drone move up and down. Then, push the left stick-button right and left to make the drone rotate to the right and left accordingly.
Now try playing with the right stick-button. Push the right stick-button up and down to make the drone go forward and backward. Then push the right stick-button left and right to make the drone fly to the leftwards and rightwards respectively.
Perform all of these functions slowly and get a feel for the controls. You will need to practice a bit and get comfortable with the various directional movements before you can start getting quality footage from your camera.
Step 17 – Landing
To land your Mavic Pro drone, you can either use the stick-buttons or the landing button on the app. Use the left stick-button to move the drone down. Push the stick-button downward till the drone is about one or two feet above the ground.
You will notice that the Mavic Pro starts to move very slowly once it is in that one-two feet range. At this point, the sensors on the bottom are looking for a safe place to land.
Go ahead and push the left stick down and then hold the stick in the down position till the drone lands and the motors disarm (turn off).
Hopefully, the steps explained above will make your first DJI Mavic Pro flight an absolute breeze.