Getting Your First Print Repetier Host and a 3D printer (Solidoodle) – Tutorial

Getting Your First Print Repetier Host and a 3D printer (Solidoodle) – Tutorial
In this tutorial we show you how to achieve your first print with a Solidoodle 3D printer. This video tutorial also applies to almost any 3D printer using Repetier Host software and the version was V0.85b.
First Step – Connecting the printer
Upon starting Repetier Host you will be greeted by a screen with a whole lot of different settings and buttons to click on. First, we’re going to click on the connect button on the top left of your screen.
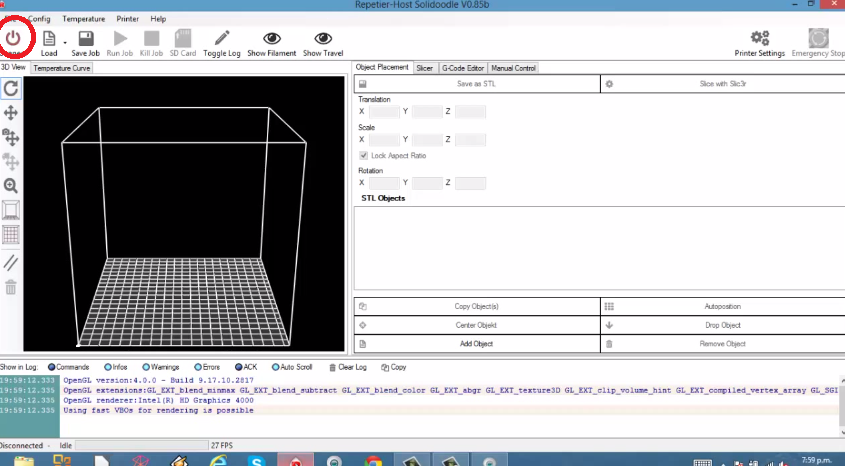
Once you’ve clicked on the connect button it should go green and say “connected”. If It won’t connect try playing around with the ‘Port’ settings in the ‘connection’ tab under ‘configuration’. Configuration is located on the top of the screen, next to ‘File’.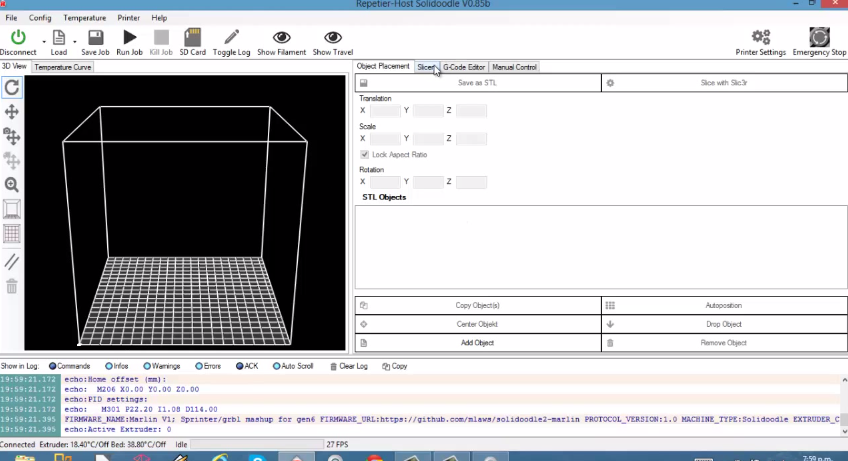
Step 2: Heating printbed
After you’ve managed to connect the printer, go into manual control in the right hand section of the screen. Manual control is where you can manually extrude & retract filament, move the print head & bed, and adjust the printing temperature. Go ahead and heat the printbed to around 95 degrees Celsius (I do not advise going above 100 – 105). Do not heat up the extruder at this point.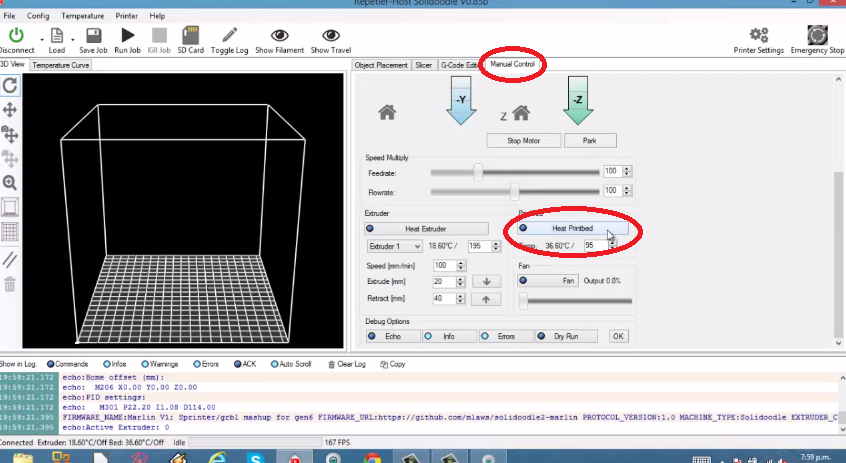
Step 3: Importing STL files
Now that the printbed is heating up, it is the perfect time to import the object you want to print into Repetier. Navigate to ‘Object Placement’ and click on ‘Add Object’. Choose the STL file you want to print and go open. You’ll notice the STL file (model) has now appeared in the left hand section of your screen. If you want, you can change the scale of the object, rotate it and copy it among other things. If you’re happy with the model, go ahead and click on ‘Centre Object’ or ‘Autoposition’ if you have multiple models on the print bed. It is possible to manually move the models on the printbed, but we’ll leave that for a more comprehensive tutorial.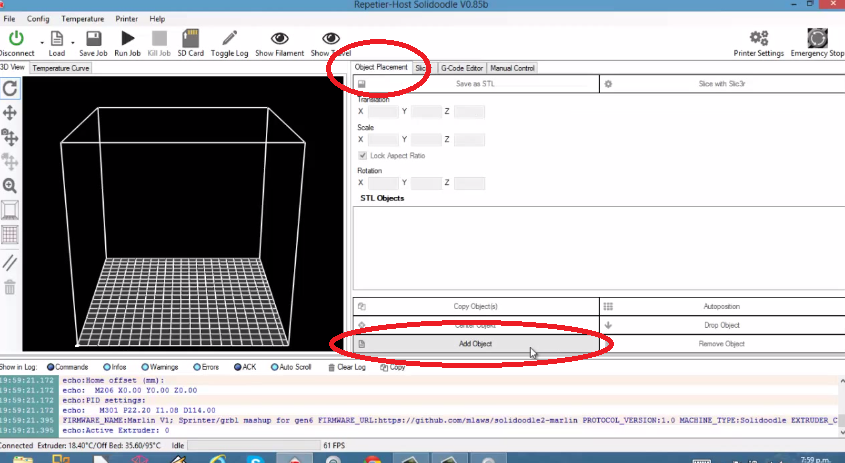
Step 4: Slicing the model
It’s now time to slice the model into G-code that the printer can understand. Click on ‘Slice with Slic3r’ on the top right of your screen. A pop up box should appear with the duration of the slice. If you’ve chosen a large/complicated model or your printers slow, now is the time to go and make a cup of coffee.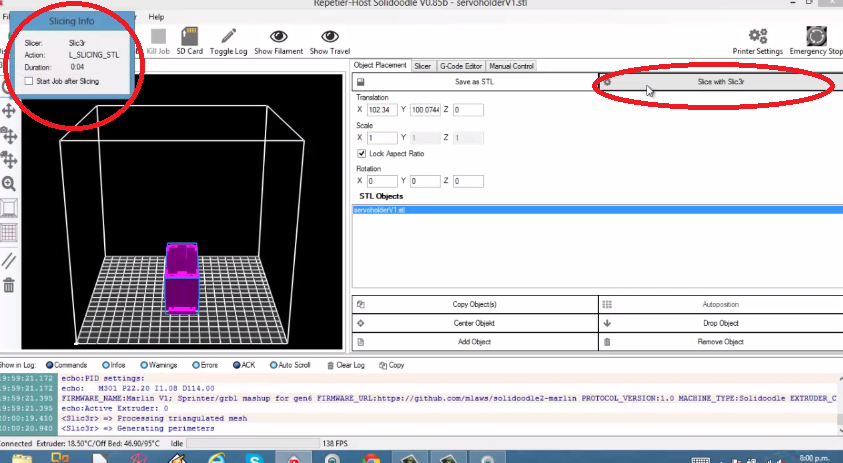
Once the file has sliced, the G-code editor tab will automatically be brought up with the details of your sliced object. Don’t worry about all the G-code for now, we’ll discuss how you can change it to better improve your printing experience in a later tutorial. The estimated time for the printing job will also appear under the G-code editor tab.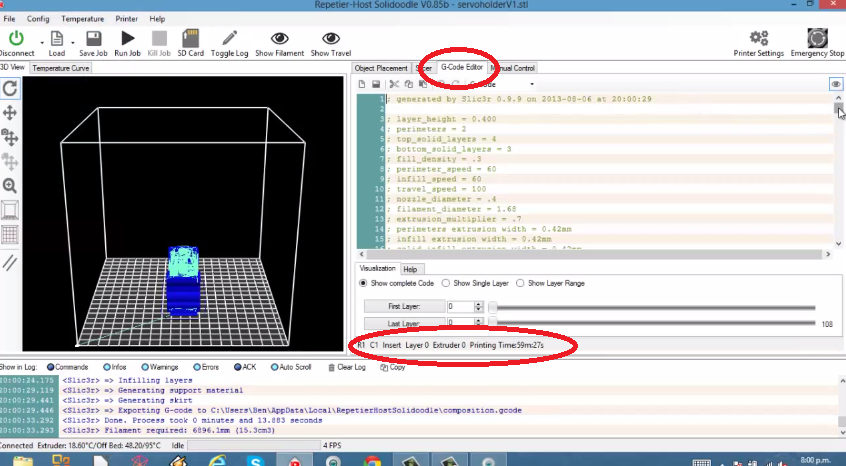
Step 5: Heating extruder
If you’ve finished slicing the model you want to print and the print bed has reached around the desired temperature, go ahead and heat the extruder up (assuming you have filament installed. We’ve got another tutorial for that). Then home the printer by pressing on the picture of the house in the manual control tab (should be above speed multiplier).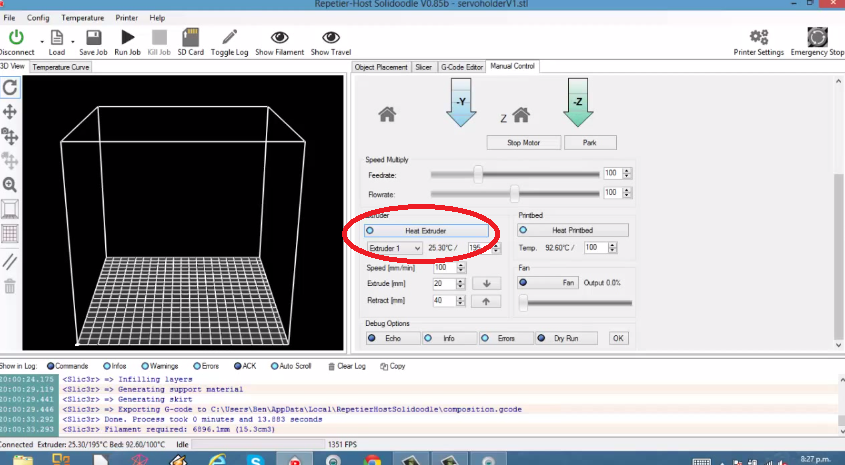
Step 6: Running the job
Finally we’re ready to print (make sure extruder and printbeds warmed up). Click on ‘Run Job’ to start the print. If you have any problems you can either kill the job by pressing ‘Kill Job’, or you can pause the job.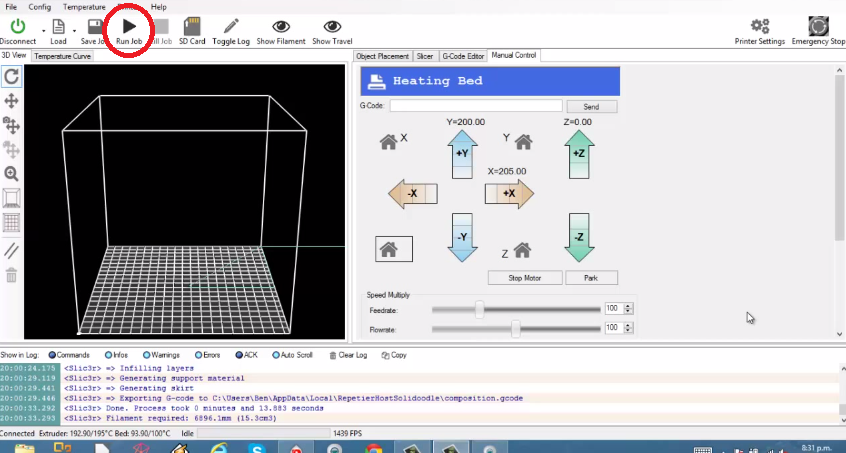
Conclusion
This is just a brief overview on how to get started with Repetier Host and a 3D printer (Solidoodle in this case). In other tutorials we’ll talk about how you can improve your prints and how you can optimize the printing process.