Beginner’s Guide to GoPro Video Settings

Are you having as much fun as the people in GoPro commercials but your videos don’t look as inviting? There’s no need to pick a more exotic vacation spot – you just have to select the right video settings.
This guide goes over all of the GoPro’s video & Protune settings and offers suggestions on when to use which. It assumes you’ve got the GoPro HERO7 Black, but most mentioned settings apply to older or less advanced models too. By the time you’re done, you’ll be well on your way to creating videos that are both heart-pounding and artistically pleasing.
General settings
These are your GoPro’s core video settings. Changing them has an impact on the quality and feel of your videos.
Resolution
A video’s resolution stands for the number of pixels displayed on a screen. The higher it is, the less pixelated the image is, and the more detail you can make out. GoPro HERO Black series cameras can shoot in resolutions ranging from 720p to 4k.
You’ll want to use 4K to capture your adventures in the best quality possible. However, make sure to bring spare batteries and a high-capacity SD card with fast writing speeds. Both 4K and 2.7K are excellent choices when you want to zoom in without compromising picture quality and make for spectacular travel, action, or sports scenes. 1080p is a reliable space-saving alternative for any situation and the current standard for online videos. 1440p is the FullHD alternative to go for when shooting point of view videos since it only supports an aspect ratio of 4:3.
Video Format
Your GoPro is compatible with both NTSC and PAL. The two formats came about due to differences in the electrical systems in America and Europe. You won’t be able to play GoPro footage burned to a DVD in NTSC in Europe and vice versa. This setting is irrelevant if you’re streaming or uploading to social media.
Framerate
Framerate is the number of pictures per second that are shot and stitched together to create the illusion of movement. The higher it is, the smoother the video looks. The lowest framerates your GoPro uses are 24 and 25fps for NTSC and PAL respectively. 30fps is the lowest universal resolution and has a cinematic feel, so you should use It when vlogging, filming vistas, or whenever you want the video to take up less space.
60fps is the default framerate and the maximum at 4K. It captures fast-paced action without motion blur and is the best option for clips that feature driving, cycling, skiing, & snowboarding from the rider’s perspective, and underwater activities. You should use 120 and 240fps when you don’t want to miss any details while surfing, skiing, or playing a sport. Framerates higher than 30fps can also be used to capture slow-motion footage. The output video has a framerate of 30fps but is two to eight times slower than normal.
Field of View
Field of View or FOV determines how much of what’s in front of it the GoPro will capture. SuperView is the broadest available angle at 170 degrees and used for panorama shots, skiing, or cycling. It’s the view with the most noticeable barrel distortion. Wide is the default 127-degree view suitable for most situations. Linear is the narrowest FOV and best for travel videos or vlogging since it crops out the barrel distortion, leaving you with a view similar to a DSLRs.
Stabilization
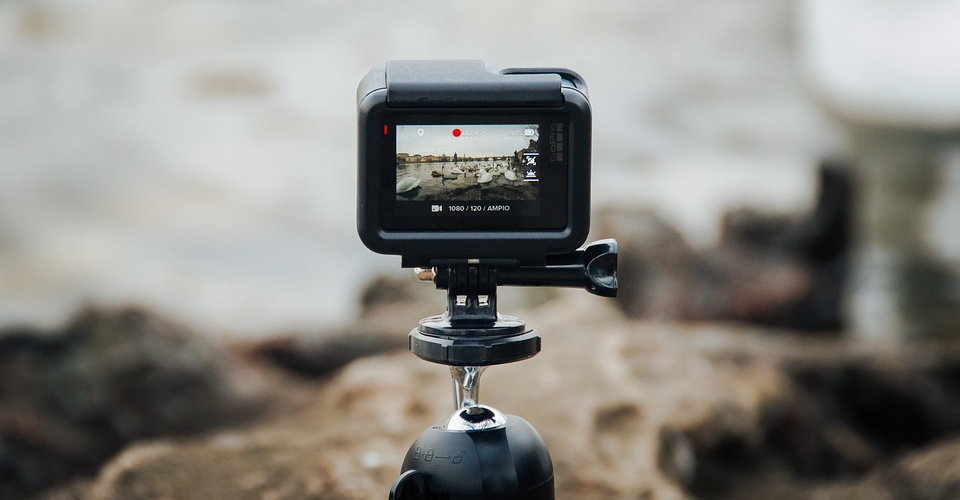
Superb video stabilization has been a staple of GoPro ever since the HERO5 came out and is improved with each new release. The HERO7 Black offers three stabilization options. HyperSmooth is the newest one and combines internal hardware with electronic image stabilization for the smoothest results. You can also use EIS without HyperSmooth or turn image stabilization off altogether. Note that image stabilization isn’t available when filming at 240fps, at 120fps in 2.7K, or 30fps in 4k. You’ll need a tripod for these to avoid shakiness.
Auto Low Light
High framerates lead to worse low-light performance. Turning Auto Low light on lets the GoPro determine the framerate based on the amount of ambient light. The result are brighter, more detailed videos that have variable framerates. Auto Low Light supports all resolutions as long as you’re recording at 50 or 60fps.
Time-lapse settings
If you want to learn more about GoPro time-lapse settings, see our dedicated guide. For now, it’s enough to say that there are four you can choose from. TimeWarp is exclusive to the HERO7 Black and uses HyperSmooth to produce stabilized slow-motion footage. Time Laps Photo and Video produce equally stunning if non-stabilized results. Time Lapse Video puts out an already complete video file while Photo gives you a sequence of images that make up the video you can process individually. Night Lapse Photo is a specialty time-lapse setting used for long exposures in low-light conditions.
Protune settings
Generally speaking, there are two kinds of GoPro users. One group wants to create beautiful videos with as little hassle as possible. The other has the need to take matters into their own hands and tinker with more advanced video settings. Protune opens up an array of options and lets you tailor the video to your liking. Using Protune means more work in post but also gives you more creative freedom. You can use Protune in all photo & video modes except for TimeWarp, Time Lapse Video, and looping videos.
Color
Your GoPro has a default color profile of the same name that brings out colors vividly and is a solid choice whatever you’re recording. However, more advanced users may want to do their own color grading in post and should select the Flat profile instead. Using Flat makes the colors appear duller but allows you to sync the way they look across all your devices and bring out more detail in darker areas.
White Balance
Depending on the lighting condition, your videos might have a blue tint or appear overly yellow. Light balance lets you set the scene’s color temperature and correct this. Lower color temperatures balance out yellow and orange light produced by incandescent bulbs or a sunset. Higher values counteract the bluishness you get when recording in poor light. Usable temperatures range from 2,300 to 6,500 Kelvin. You can leave White balance on Auto for reliable results in most settings or choose Native to set the white balance manually later.
ISO
ISO refers to brightness correction that’s not dependent on shutter speed or aperture size. Videos shot with lower ISO will be darker while upping the ISO results in lighter yet noisier footage. 100 is the minimum ISO value and best for outdoor shoots on sunny days. An ISO of 200 is suitable for partially cloudy days or bright interiors while ISO 400 and 800 are suitable for cloudy days and interior shoots with the lights on. The maximum video ISO setting available on a GoPro is 1,600, but it isn’t recommended because grain drastically impacts video quality.
Shutter speed
The shutter is used to control how long your GoPro’s lens is exposed to light. More prolonged exposure means more light is gathered and the video will be brighter, but it also causes a blurring effect. It’s best to leave this setting on Auto, especially if you’re filming in dynamic surroundings where light changes are constant and unpredictable. It’s best to follow the 180-degree rule if you’re controlling shutter speed manually. It states that shutter speed should be double that of the framerate, so videos at 30fps need to have a shutter speed of 1/60 of a second, 60fps calls for 1/120 of a second, etc.
Exposure Value Compensation
EV Comp is another setting that affects your video’s brightness. Changing it is especially useful when you’re dealing with a scene with lots of contrasting light, e.g., a mountain bike ride through the woods. You can adjust the setting from -2.0 to +2.0 in half-step increments. Adjusting EV Comp also pays off in situations where the subject has a different exposure level than their surroundings. Let’s say you’re skiing downhill and filming yourself with the help of a swivel mount. Turning EV Comp up is a good idea in that case since the snow surrounding you would get marginally brighter, but your suit and gear would become more detailed.
Sharpness
By default, Sharpness is set to High to capture as much detail as possible. While this looks good on paper, too much sharpness can make a video look unnatural. Set it to Medium or Low if you want to adjust the detail level yourself during post-processing.
Microphone settings & Raw Audio
Your GoPro is prepared for any audio situation since it has three strategically placed microphones. They let it record usable audio even in windy conditions. When the microphones are in Auto mode, the GoPro will determine the best settings on its own and change them dynamically if there’s wind. Stereo provides authentic stereo sound, and you should use it if you’re in a closed space or the weather is fine. Wind mode uses the mic that’s least affected by the sound of rushing air to deliver audio with reduced interference. It’s the setting to use during high-speed rides and on windy days.
Raw Audio adjusts how audio files are processed & saved. It is off by default, which makes the audio part of your video files. High creates a .Wav file separate from the video and applies all processing techniques at the GoPro’s disposal. Medium processes the audio depending on microphone settings while the file created on Low is minimally altered so you can process it on your own.
Putting it all together
That was a lot of info to take in, so here’s a handy chart with situations you’d likely use a GoPro in and the recommended settings for each.
| Situation | Resolution | Framerate | FOV | Optional Protune settings |
|---|---|---|---|---|
| Surfing | 1080p 2.7K | 120fps | Wide | Custom shutter speed |
| Snorkeling | 1080p 4K | 30fps 60fps | Wide | Custom ISO, Flat color profile |
| Swimming | 1080p 2.7K | 60fps | Wide | Custom EV Comp, |
| Skiing | 1080p 2.7K | 60fps 120fps | Wide SuperView | Custom EV Comp, Wind mic mode, Custom white balance |
| Hiking | 1080p 4K | 30fps 60fps | SuperView | Flat color profile |
| Mountain biking | 1080p 2.7K | 120fps | Wide | Custom EV Comp, Wind mic mode |
| Sports | 1080p 4K | 120fps 240fps | Wide | Custom shutter speed |
| Road trips | 1080p 2.7K | 60fps | Wide SuperView | Custom EV Comp, Wind mic mode |
| Family vacations | 1080p 2.7K | 30fps 60fps | Linear Wide | Custom white balance, Wind mic mode |
| Travel | 1080p 4K | 60fps | Linear Wide | Flat color profile |
| Vlogs | 1080p 1440p | 30fps | Linear | Custom ISO, Stereo mic mode |
| Sunsets | 1080p 4K | 30fps | Linear | Custom white balance |