How to Choose a 3D Printer: Tips That Will Save You Money

So, you want to buy a 3D printer? Whether you’re getting a 3D printer for a hobby or as a means to earn more cash, the type of 3D printer you buy plays a huge role in what kind of designs you can accommodate, what your finished prints will look like, and how much work you’ll need to do during post-processing.
In this article, we’ll go over the questions you need to ask before you can decide on buying a specific 3D printer model. 3D printing technology has evolved to a point where the sheer number of choices can be overwhelming, even if we’re only restricting ourselves to consumer-grade 3D printers.
Budget
It may be strange to jump straight ahead to budget when it comes to shopping for 3D printers. However, the sobering reality is that 3D printers can get very expensive, especially if you’re considering the higher-end models.
You can expect to spend anywhere between $400 to $1000 for most of the desktop-scale 3D printers. Those are some of the cheapest models, but you can also consider 3D printers that cost close to $2000 if you’re looking for more professionally designed features. By deciding on an acceptable price range and sticking with it, you can quickly narrow the scope of your search and make this whole process easier.
Filament or resin?
In the realm of desktop-based 3D printing, there are only two available technologies: Filament Deposition Modelling (FDM) and Stereolithography (SLA). Both technologies are examples of additive manufacturing that relies on building an object layer by layer according to the algorithm of a slicer software platform.
Although both these technologies create real-life objects out of digital 3D models, they vary greatly in the material they use, the ease with which they can be operated, and the quality of output they produce.
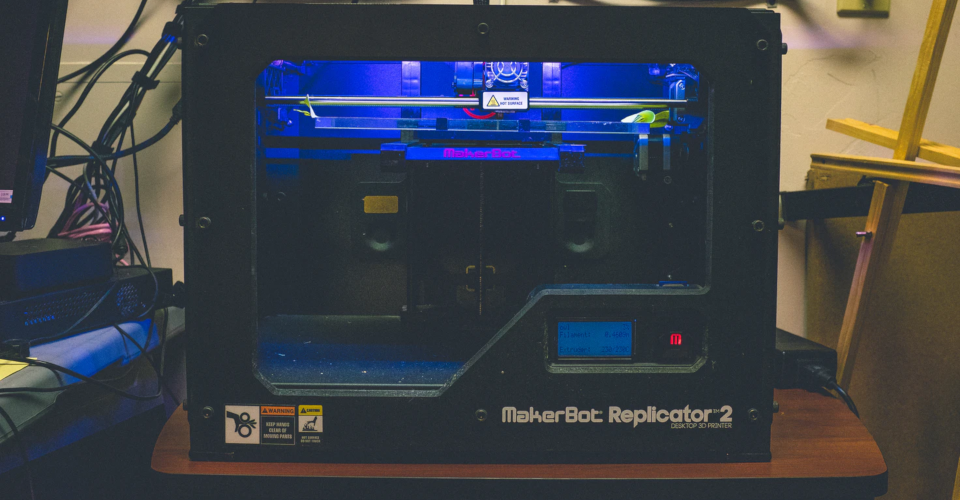
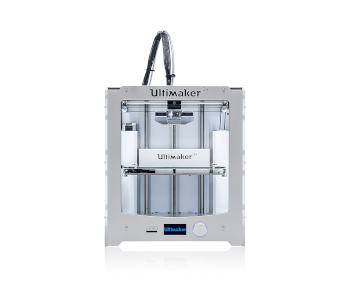
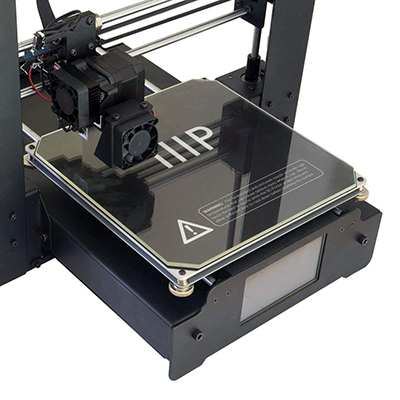
FDM printers

FDM filaments are, by far, the more common type. You’ve probably seen them around with their characteristic spools of plastic filament. The filament in an FDM printer is fed into a nozzle with an internal heating element, melting it to a semi-liquid form. This molten plastic is then extruded through a nozzle.
The nozzle is mounted on a print head that moves along an X-Y axis to deposit the filament exactly where it is needed according to the reference 3D model. The molten filament is laid down on a build platform, cooling down and starting to solidify as soon as it exits the nozzle. The layers are built one on top of the other until the final model is realized.
A major benefit of going with an FDM printer is that there’s simply more of them out there. Not only will you have more choices at a reasonable price range, but there’s now a thriving FDM online community that can help you out should you get into any trouble or want to improve your craft.
FDM printing is also generally cheaper than SLA printing, both in terms of the printer themselves and the raw materials. For the price of a 1-kilogram spool of plastic filament, you can probably only buy a half-liter bottle of plastic resin. As for the printer, you should be able to get one for as low as $150.
The main drawback of FDM printing is its limited resolution. Since the thickness of each layer of an FDM print is limited by how big the nozzle opening is, FDM prints typically come with very visible layer lines. If you want your FDM print to look perfectly smooth, you’ll have to do quite a bit of work during post-processing. While there are many post-processing techniques available depending on the filament material you’re using, it’s no secret that attaining a professional-grade finish on an FDM print takes an ample amount of effort.
SLA printers
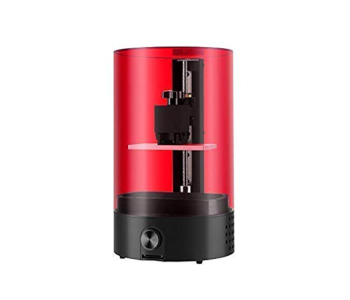
In contrast, SLA printers are based on the process of photopolymerization of liquid resin. Instead of a plastic filament being laid down on a build platform, an SLA printer has a vat of liquid resin being cured by a series of directed flashing lights. Once a layer has been cured, the build platform moves (up or down, depending on the printer model) to allow the fresh resin to be exposed to the next series of light bursts.
Although SLA printing was developed earlier than FDM, it has been vastly overshadowed by the simplicity and lower price point of FDM printers. This makes it clear the biggest disadvantage of SLA – it requires a steeper learning curve. If this is your first foray into 3D printing, getting an SLA printer may be biting off more than you can chew. A smaller user base also means that you don’t get the same level of support as you would if you were using an FDM printer.
If you are looking for desktop-scale printers, you will also realize pretty quickly that there aren’t many SLA printer options. Since SLA printing is quite expensive, it’s commonly used only in commercial and industrial settings. SLA printing as a hobby is quite uncommon and the market is simply too small for many 3D printer manufacturers to invest in.
For all of its complexity and exclusivity, SLA printers make up for it in spades in terms of quality. Since layers in SLA printers are built using a super-fine beam of focused light, it retains a greater level of detail and allows for thinner layers. Overall, SLA prints can more accurately reproduce intricate details and have less visible layer lines. SLA prints look good fresh from the printing process, although you still have the option of post-processing for an enhanced visual appeal.
Build volume
Once you’ve decided between filament-based or resin-based printing, it’s time to think about the size of the prints you want to make. The build volume of a printer is the maximum size that can be accommodated by its build platform. For FDM printers, this is defined by the dimensions of the build plate and the maximum height of the print head. For SLA printers, this depends on how big the resin vat is. In any case, it’s best to target a build volume that is significantly larger than the largest part you’re aiming to print.
One thing to remember is that a 3D printer with a larger build volume will inevitably be more expensive and that the pattern doesn’t follow a linear trend. For instance, an FDM printer that can print twice the build volume of another FDM printer may be four to six times more expensive. A 3D printer with a large build volume will almost certainly require some assembly, unlike very small desktop 3D printers that are ready to run out of the box.
It’s not all that bad even if you get a 3D printer that’s too small for the project you’re working on. The good thing about working with digital 3D models is that you can easily cut them up into pieces, print them separately, and put them together using adhesives. It’s a bit more work-intensive but is a common practice.
Ease of use
If you’re a newbie to the field of 3D printing, then this is a very important consideration. As you can imagine, grasping how to use a 3D printer takes a considerable amount of learning. Getting your print just right will usually involve a long and repetitive process of troubleshooting, identifying the things that go wrong and investigating what causes these errors.
Unfortunately, troubleshooting is considered an inherent part of 3D printing. Learning how to do this could be a hard process, but some 3D printers make life just a little bit easier by providing intuitive user interfaces, automatic bed leveling features, and a seamless slicer software platform. They are also more
More expensive models achieve by developing their software in-house and making the slicer software more readily compatible with the printer. They are also more “appliance-like”
On the other hand, cheaper 3D printers rely on third-party software which may require a bit of coding knowledge to get them to “talk” with the printer. While this isn’t all that complex, it may prove to be an unnecessarily frustrating barrier for beginners in getting that first print out.
Warranty
3D printers and warranties were an unlikely pair in the early years of desktop-scale 3D printing. This was because of the proliferation of Chinese brands of 3D printers that offered no warranty for their products, leaving owners all on their own if they had to replace parts that had been damaged.
While this DIY approach to repairing or upgrading 3D printers served as the foundation of the hobbyist 3D printing industry, it can also prove to be intimidating to beginners.
Fortunately, the rise of popular 3D printer brands has made warranties a more common thing. For instance, both Ultimaker and Makerbot offer 12-month limited warranties for their 3D printers, effectively guaranteeing that all their products are free from material, design, and workmanship defects.
As you would expect, brands that offer warranties typically also have more expensive products. It’s up to you to decide if the warranty is worth the few extra hundred dollars.
Accessories
Rarely is there a single 3D printer that can do everything and print with all types of materials. In as much as troubleshooting is an essential part of 3D printing, augmenting your printer’s capabilities often involves getting a few extra accessories. If you want to make the most out of your new 3D printer, then here are few accessories worth getting:
Glass print bed
If you’re buying an FDM printer, then a glass print bed is a very inexpensive way to make the printing experience much less frustrating. A glass print bed is ideal if you need to print with a heated bed as it heats up evenly and makes it easier to apply adhesives such as hairspray or glue stick. Just head over to your local hardware and have a piece of glass cut to the size of your printer’s build plate – it shouldn’t cost you much more than $10. Make sure to get borosilicate glass, as it’s more suitable for heating.
Onboard camera
Attaching a camera to your 3D printer may seem frivolous, and that’s because it is. It’s not entirely necessary and some people in this field have been printing for years without ever using a camera. However, it’s undeniable how much a camera can improve your quality of life.
Basically, an onboard camera makes it possible for you to monitor the progress of your project remotely. Since most projects take several hours to finish, a camera allows you to step back from your workshop and check in on the 3D printer without having to walk back and forth repeatedly.
UV curing chamber
This is the recommended accessory if you’ve decided to get an SLA printer. While a project done in a resin-based printer finishes up much quicker than if it were done in a filament-based printer, merely lifting the finished print off the resin vat isn’t the end of the process.
Every single layer of that finished print was directly exposed to UV light for only a fraction of a second. While this may have cured the plastic just enough for it to provide structure to the rest of the print, it’s still quite flimsy.
To complete the print’s curing process, it needs further exposure to UV light. While this can be done in sunlight, it will take about a week for the complete curing. For faster results, we recommend that you get a UV curing chamber appropriate to the build volume of your SLA printer. How long it takes for a print to fully cure in a UV curing chamber will depend on the intensity of the built-in UV light – it would be best to follow the manufacturer’s recommendations.
Final thoughts
3D printing has suddenly become an appealing hobby for DIY and tech enthusiasts mainly because of all the possibilities of 3D printers. Never before was there an easily accessible technology that can turn 3D digital models into faithful reproductions. More than just being a hobby, 3D printing has proven its place among the technologies with commercial and industrial relevance.
If you’re interested in getting a 3D printer but don’t have any experience yet, then we hope that this guide has helped you narrow down your choice. Depending on what projects you want to work on, your expertise in tinkering with technology, and your budget, then there should be a small selection of 3D printer models that would fit your standards.
A word of warning: if you manage to gain your footing in 3D printing and become more skilled, you may find yourself outgrowing your first 3D printer and looking for a better, more expensive one.