How to Make Vinyl Stickers
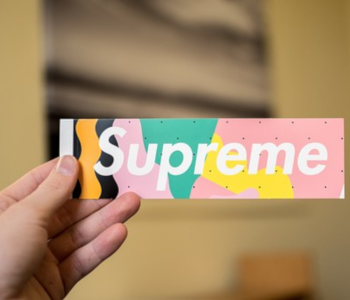
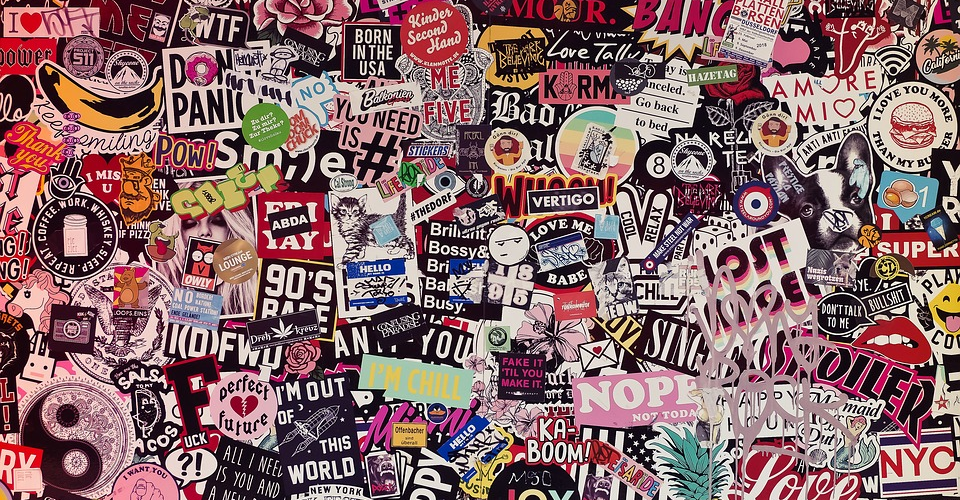
Vinyl stickers and decals are great ways to adorn and customize the way your things look. Vinyl stickers are very similar to a regular sticker that you may have used during your childhood days. Vinyl stickers are quite versatile and customizable.
You can use vinyl stickers to enhance the aesthetics of your photo frame, home, or even cars. The best part about using vinyl stickers is that they do not cost very much. In fact, you can make your very own vinyl sticker.
You can make a vinyl sticker suitable for indoor use or you can coat the sticker with a protective layer that can shield the sticker from the elements. The process of making these stickers is not very complex. In fact, if you are thinking about how to make vinyl stickers, you are probably new to the field and have never made one.
But fear not, because by simply following the steps mentioned in this guide, you can start making your own vinyl stickers in no time. You can make vinyl stickers for your personal use or you can even open a small vinyl sticker business.
There are two main ways in which people make vinyl stickers. First, you can either print your own design or someone else’s design from a computer to a vinyl paper. An inkjet printer works just fine for this kind of job.
The second way to make vinyl stickers is by cutting out the decals from a solid colored vinyl sheet or a patterned vinyl sheet with an adhesive back side.
The components
There are a few things that you need to get started with making your own vinyl stickers.
Computer
The first thing you need is a computer. This component is very important because your design will be printed from a computer. You can use the computer to find a design or create your own. There are many designing and image editing software packages which allow you to draw your own design. Adobe Photoshop is the most well-known of the software packages.
You can also use the computer along with a scanner to scan an image or logo. You can find such images in magazines, newspapers, of your own hand drawings.
Plotter
A plotter is a sharp and large-sized blade that is used to cut the vinyl material. In fact, the plotter can also be used to cut through rolls of vinyl which are wider than 3 feet.
Printer
Another crucial component in any vinyl-making job is a printer. Printers for vinyl are a little bit different from regular printers. However, certain office printers might be able to print vinyl as well. Inkjet printers can also print vinyl paper sheets.
Vinyl printing requires printers that can produce an equal distribution of ink on the vinyl decal. A vinyl decal printer can be especially useful when it has a sharp blade near the printer head. It saves a lot of time spent on cutting the vinyl sheet when multiple stickers are being printed.
If your printer does not have a blade, then you might need a vinyl cutter to cut the vinyl sheets manually after they have been printed.
Vinyl paper
Another important component is the vinyl paper. The size is normally 8 by 11 inch, which fits perfectly in an inkjet computer. You can get different colors of vinyl paper. If you want your sticker to have a transparent background, then make sure you choose a clear (transparent) vinyl paper.
Hobby Knife
A hobby knife comes in handy when you are done cutting the vinyl but still need to refine any rough edges. A smaller-sized hobby knife can cut intricately to correct any cutting errors from the printer’s blade. All excess vinyl can also be trimmed using the hobby knife.
Laminate or Enamel
If you plan to use your vinyl stickers outdoors or if you want a protective layer on them, then you can either stick a lamination sheet on the sticker or you can coat the stickers with clear enamel.
Squeegee
A squeegee is used when you are sticking a lamination layer onto your sticker. The squeegee will allow you to press the laminate sheet and make sure that no air bubbles get trapped. A squeegee is also very useful when you put transfer tape on the sticker before sending it out to a customer.
The squeegee is also what you need when you paste your vinyl sticker onto the surface of the item which you want to customize.
Step 1- Choose or draw your design

The first thing you need to do to begin the process of making your vinyl sticker is look for a design. You can start by simply going online and searching for images or designs.
If you are looking to make a logo sticker, then look for the logo. You can also cut your desired design from a magazine, paper, or any printed material.
However, always remember to check if your chosen image/design is copyright protected or free-to-use. You do not want to make vinyl stickers of copyrighted material and then get into legal trouble later on. There are plenty of websites which offer copyright-free images.
If you want to draw your own design, then you can either do that by hand or you can use an image editing or designing software. Photoshop is a good place to make your own design. GIMP is a free open source image editing software as well. If you hand draw your design on a physical piece of paper, then you will have to scan it and send a high-resolution image to your computer.
Whether you select an image online or draw your own design, keep in mind the size of your vinyl sticker. You need to think about where you will paste your sticker and what size/color will look the best.
Step 2 – Place the designs optimally
Vinyl paper is not cheap. Hence, you cannot afford to leave empty spaces on the vinyl paper and print your designs on multiple pages. You want to try and fit all your designs on one sheet and then cut them out later on.
You might be able to absorb some wastage for personal projects. But, if you are running a vinyl printing business, then every penny counts. Blank spaces will cost money regardless.
Hence, placing your designs such that they result in minimal empty space is your goal before you print. Ideally, you would want to fit everything on a single page.
After you are done moving around the images and setting them correctly, run a print preview. Most image editing software packages and printer settings have an option to preview how the printed sheet will look. This step is extremely important because it allows you to correct any flaws or make last minute changes before you hit the print button.
For example, you have to make sure that your designs do not fall outside the printable margins. If they do, then a part of your design won’t get printed and then you will have a completely wasted vinyl sheet. That mistake can cost you a lot.
Another example is the color and details of the design. Sometimes, what you see on the computer screen is not what exactly gets printed. The color shades may be a bit off or some specific details may not be fully correct. The print preview step allows you to iron out those kinks.
Step 3 – Test print
Once your design is ready and you have placed everything optimally on one page, the next step is to print the design. Before you print your designs on a vinyl paper, it is a good idea to test-print them on a regular piece of paper.
Test-printing allows you to see if your placement and positioning is correct and also what side of the sheet the design gets printed on. This part is really important because you have to print your design on the correct side of the vinyl sheet.
In order to know which side of the sheet the printer prints on, make a pen or pencil mark on any one side of the sheet and then place it in the printer. Once the test-print is done, you can check whether the design gets printed on your marked side or on the other side. By doing this, you will know which side of the vinyl sheet should be facing up when you place the vinyl sheet in the printer for final printing.
Step 4 – Final Print

Your designs are ready, your printer settings are all done, and you have placed your vinyl paper in the printer with the correct side facing up. The next step is to hit the print button for the final time.
If for some reason, you end up printing your design on the back side of the deal paper, then you need not worry. The back side will anyways get covered once the vinyl is pasted onto the intended item or surface.
If you find that the ink is not sticking to your vinyl paper, then you have probably printed it on the back or incorrect side. Simply turn over the page and place it in the printer. Reprint the design on the correct side of the vinyl sheet.
Step 5 – Laminations and protection
For those who want their decals to be extra-durable or who intend to use their stickers in outdoor environments, further processing is necessary.
In order to protect the sticker from fading away under the sunlight or getting damaged by weather-related elements, one needs to cover it with a layer of laminate paper or clear enamel.
If you use laminate paper, then you have to be careful in applying the paper over your sticker. You basically have to ensure that the laminate is applied cleanly over the sticker and that no air bubble remains trapped.
To apply the laminate paper, peel only a small portion of the adhesive back side of the laminate paper (near the top edge) and then align the top edge of the sticker with the top edge of the laminate paper. Once aligned and pasted, slowly peel back the adhesive side and make your way down. Use a squeegee to press the laminate paper down. The squeegee will help you in preventing any air bubbles getting trapped.
Laminate paper is expensive. Hence, if you are making vinyl stickers as a hobby, then you might want to look at a cheaper option. Enamel is cheaper than laminate paper. You can apply a layer of clear enamel on your sticker. It won’t be as durable as lamination, but it will do the job for a non-professional application.
Step 6 – Cut and trim unwanted spaces
Now that your sticker is printed and laminated, the last step is to add the finishing touches. A hobby knife, a ruler, and a razor blade are the tools that you need in this step.
First, place your finished sticker on a flat surface like a table. Then, place the ruler wherever you need to cut the sticker. Any empty or unwanted spaces are what you should be cutting out. We use a ruler and a blade in order to get a clean and even cut.
We do not use scissors because scissors create too much variance and unevenness. We want to have neat edges around our cut areas. However, in very small areas that require intricate cutting, scissors can be used at the very end.
A word of advice, try not to fiddle with the sticker too much. If your trimming is decent enough then do not risk spoiling the sticker by trying to go a 100%. Attempts to cut tiny pieces using a scissor may end up spoiling the aesthetics of the sticker. The more you can cut and trim using a ruler and a knife/blade, the better it is for the quality and overall aesthetics of the sticker.
Conclusion
We hope you find this step-by-step guide on how to make vinyl stickers useful. As long as you follow these instructions and keep in mind the precautions listed above, you should be able to make good quality vinyl stickers is no time. Good luck!

