How to Paint Your Resin 3D Prints

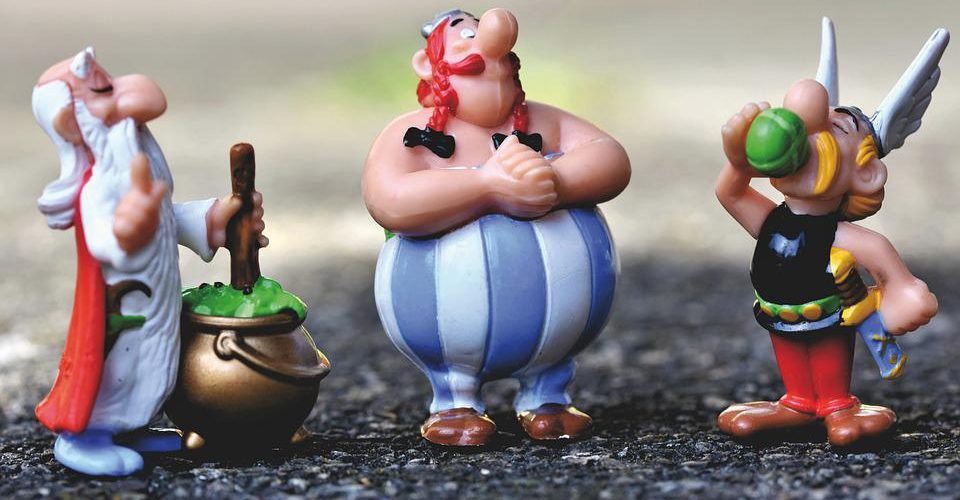
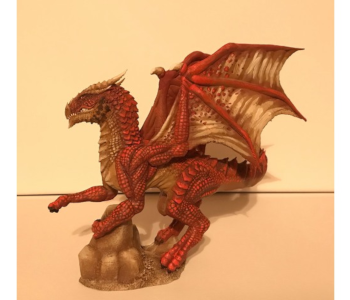
Printing tabletop figures and miniatures is a major use case for resin printing. 3D printing with photopolymer resin is capable of reproducing very small details accurately, making it perfect for these finely crafted figures.
However, 3D printing a figure is only the first step of the process. To really make these miniatures stand out, they have to be painted. This is a very popular craft that takes quite a bit of skill. Fortunately, 3D printing makes the hobby so much more accessible. If you’re planning to paint your 3D printed tabletop figures, then check out some of our tips.
The beauty of 3D printing miniatures
Painting miniatures for tabletop games has long been an established hobby, even before 3D printing was popular. Back then, sculpted figures had to be bought pre-made. These are quite expensive. For instance, Warhammer sets can range from $30 to more than $100. The steep price meant that there was basically no room for error – you had to paint those miniatures perfectly the first time, lest you end up wasting money.
3D printing revolutionized the hobby of painting these miniatures. Instead of having to buy the pre-made sculpts, you can just 3D print them based on downloadable models. With resin printers, the cost of any single miniature typically will not go over $2. If you mess up the painting step, then just print a new one.
By eliminating the fear of making mistakes when painting miniatures, 3D printing has also given hobbyists the freedom to experiment and take risks while painting. This is a huge burden off the shoulders of miniature painters and has made the hobby accessible to more people.
That said, having room for mistakes does not mean that you should just jump head-on without any preparation. Painting miniatures is a delicate art that has been refined through the decades with well-established techniques and practices. There are also some steps that are specifically suitable for when you are working with a resin-printed miniature.
Tips on painting resin 3D prints
Painting is the last step that will take your resin prints to a professional level. Although the painting step itself takes a healthy level of skill, there is also a lot of preparation that needs to be done before painting. Without these early steps, you run the risk of the colors of the paint being muted or the paint layers peeling off easily.
Complete post-printing washing and curing
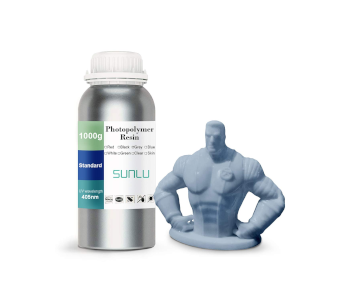
The first thing to do right after finishing a resin print is to wash off the excess resin in a vat of isopropyl alcohol. It’s best to do this wash at least twice as any residual resin can ruin the fine details in your figures or miniatures.
The resin print then needs to go through a second curing step to ensure that all parts are as strong as possible. This also helps get rid of the smell of the uncured resin and the tacky sensation on the print’s surface.
Sand and file support marks
Layer lines typically are not problems in resin printing, but you may still need to bust out some of that sandpaper. If you printed with some supports, these will have to be removed with cutters or a small knife. This process will inevitably leave marks that will have to be sanded down. You can use standard sandpaper or even a rotary sanding tool if you’re skilled in handling one.
There is also no rule that states that you should not sand any imperfections in your resin print. If you think that you can make the figure or miniature better with some sanding, then go right ahead. This can be quite difficult if you’re working with very small miniatures.
After the sanding step, it’s best to clean off the dust with some water and a soft toothbrush. You will then have to use a piece of soft tack cloth to dry the surface of the print. Make sure to get into those small spaces to ensure that there is no dust or droplets of water left.
Apply a primer
A primer is absolutely necessary when painting resin prints. It provides a nice matte surface for the paint to stick to, can fill in minor imperfections on the surface of the print, and makes the small details of a model pop out better.
There are lots of good primer options out there. If you’re painting a miniature, then this gray primer from The Army Painter is a favorite among miniature painters. This is a simple and straightforward brush-on primer that creates a perfect matte surface and the neutral gray hue is a perfect base for any paint color.
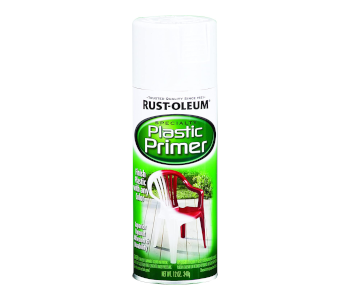
For larger prints, a spray-on primer might be the more practical option. Spray-on primers are useful for applying more even layers but getting into very small spaces might be a challenge. We recommend the Rust-Oleum plastic primer for this purpose. This primer can be sanded smooth with fine-grit sandpaper to improve the surface finish. Spray-on primers can be applied in two to three coats for better performance, making sure to let each coat dry before applying the next.
Use “model” paint
Now comes the main event – applying the paint to the model. There isn’t a single correct way to do this, as there is always lots of room for experimentation and trying out new things. The tools you’re going to need can also vary based on the type of project you’re working on.
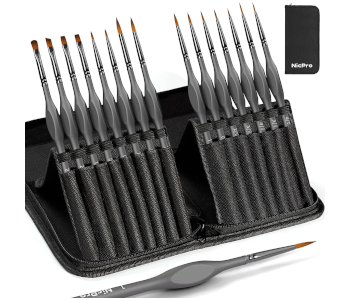
If you’re painting miniatures, the good news is that there are lots of particularly appropriate tools out there. You will want to get a good brush set that can accommodate everything from large strokes to pinpoint details.
As far as the paint choice, you will want to get paint that applies thinly and is easier to control. You will not want to buy paint from a hardware store. There is a paint specifically designed for miniatures from The Army Painter brand that comes in sets of 18 and up to 60. These sets are pricey, but keep in mind that you will not need a huge amount of paint for any single figure.
Spray painting is also an option for larger prints and models that do not have very small details. The Tamiya brand spray paints for plastics are recommended for this application and have been a mainstay of the hobby industry for years. Make sure to let each coat dry before applying the next layer.
Use a wash where necessary
A wash is a somewhat unique paint treatment that is usually used when painting miniatures. A wash is an acrylic solution that shifts the color of the layer it was applied to. It is a very easy way to create highlights and areas of high contrast in models. Washes are great for creating areas of different colors in your figure without having to do a lot of work.
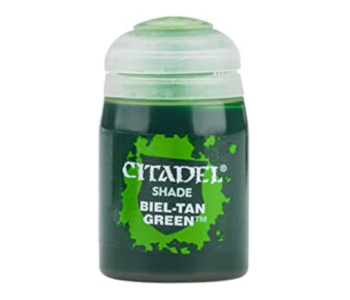
Again, you will want to use a wash that applies thinly and can be easily controlled. They should essentially feel like watery or thinned paint mixtures. The line of washes from Citadel Paint is among the most commonly used by miniature painters. You can also make your own wash by mixing color pigments with a suitable solvent such as a thinner, mineral oil, or water. If you’re just starting out, it’s easier to just buy a pre-made wash.
Finish with a clear coating

Once you’re satisfied with the paint job of your resin print, it’s best to finish it off with a coating of clear paint. This has several huge benefits. A clear coat improves the visual appearance by making the colors glossy and can be made to look better with some polishing. The clear coat also protects the paint layers underneath, making them less prone to peeling or cracking. Finally, a layer of clear coat seals in the smell of the paint and the resin.
Again, we can recommend the specialty brand The Army Painter for a high-quality clear coat varnish for miniatures and other figures. They also sell a matte version of the clear coat if you’re not into the whole glossy vibe.
The best piece of advice when painting miniatures is to take it slow. Allow each coat to dry thoroughly, and clean off any dust before applying a new coat. Don’t commit too quickly, but also don’t be afraid to experiment. That is the beauty of making your own figures via resin printing.
Final thoughts
Printing miniatures and figures for tabletop games is a hobby that has been around for decades. Now that resin 3D printers have become common, this hobby has been injected with a completely new level of accessibility. Finely crafted sculpts are still great, of course, but it’s just so much more convenient and cheaper to 3D print your own miniatures.
The ability to 3D print miniatures at home has changed the way that painting has been approached. However, there are still a few timeless practices that apply if you want the finished products to look great. Use the right tools, be patient, and understand how colors blend into each other – but also don’t forget to have fun! Painting miniatures should not be a stressful activity.