How to Smooth PETG Prints
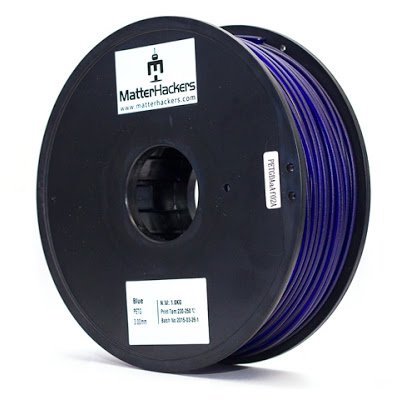
Next to the ever-popular ABS and PLA filaments, PETG is probably the third most widely-used filament material in desktop 3D printing. Simply put, PETG combines the best properties of both ABS and PLA to create a material that is durable, heat-resistant, and easy to work with. However, the unique characteristics of PETG also make smoothing it quite challenging. What makes PETG so special? What are the best ways to smooth a PETG print?
What is PETG?

PETG is a variant of Polyethylene Terephthalate (PET), which is one of the most common plastics in the world. Nowadays, you can probably see PET all around you – in water bottles, food containers, and even in some clothing fibers. It has become extremely popular because of its high mechanical strength, moisture-resistance, and its resistance to extreme hot and cold temperatures. Due to these characteristics, PET has become heavily used in the food industry and as a precursor to engineering resins.
The modification in PETG comes with the addition of a glycol group during the polymerization process, making PETG a “glycol-modified’ version of PET. The addition of glycol makes PETG a little more flexible, less brittle, clearer, and easier to handle. PETG also has excellent printability and is especially apt for laminating, making it one of the most preferred materials for outdoor signage, electronic devices, medical and food containers, store fixtures, prosthetic devices, and credit or gift cards.
PETG Characteristics
PETG has a set of characteristics that easily make it stand out from other filament materials. Its combination of the best properties of both PLA and ABS
1. Durability and impact resistance
The addition of a glycol group in the PET polymer chain gives PETG a flexibility that allows it to better absorb sudden impacts or sustained pressure. This characteristic is unique in PETG and is one of the few areas where it trumps both ABS and PLA. In terms of durability, ABS only slightly edges ahead of PETG. Although PETG prints are also very strong, its scratch-resistance is not quite up to par with ABS.
2. Chemical resistance
The chain that defines the PETG polymer is riddled with ring structures and double bonds that give the polymer a characteristic chemical resistance. This makes PETG impervious to breaking down thru contact with alkali or acidic substances, including solvents. While the chemical resistance of PETG is one of its most desirable characteristics, it is also one of the reasons why smoothing PETG prints is challenging. Since dissolving PETG with a solvent, smoothing via solvent application (like acetone smoothing for ABS) is not a very good option.
3. Heat resistance
PETG prints at about 230 °C, a slightly lower printing temperature than ABS but much higher than PLA. This makes PETG an excellent choice of filament material for prints that are meant to be exposed to heat. Although its heat resistance is still slightly lower than ABS, its high melting temperature makes it an alternative worth looking at. In fact, the heat resistance of PETG has made it one of the primary materials for medical equipment that need to be autoclaved.
The addition of glycol groups in the PETG chain makes the polymer difficult to crystallize when exposed to high temperatures. This means that PETG is not prone to getting brittle when exposed to heat, a property which has made PETG a good material for outdoor signages and home fixtures.
4. Ease of use
PETG offers the advantages of durability and heat resistance without the complexity of printing with ABS. PETG goes through very little shrinkage when it cools down, so warping will not be as much of a problem. PETG also has excellent layer adhesion, resulting in more durable prints and the ease in getting the first layer of the print to stick to the build platform. PETG sticks so well that it is considered a terrible material for creating support structures because they can be the most difficult materials to attempt to remove.
5. Prints without odor
Another property of PETG that makes it superior to ABS is the fact that it prints without giving off a noxious odor. The odor that comes with printing with ABS is one of its most undesired characteristics, and PETG provides an easy solution.
The characteristics of PETG emphasize why many 3D printing professionals consider it as a “bridge” material between PLA and ABS. It offers a comparable level of durability, heat resistance, and chemical resistance as ABS but is just about as simple to handle as PLA. Many users consider PETG as a “best of both worlds” filament, the kind of material they can use when they want a quality print without going through a complicated printing process.
Smoothing techniques for PETG
However, the same characteristics that make PETG a very popular material also make smoothing PETG prints a little more challenging. Since PETG is more flexible than brittle, sanding down the imperfections in its surface is not as easily done as with PLA. The chemical resistance of PETG also means that smoothing via controlled solvent application is off the table. If you want to create perfectly smooth PETG prints, then what are your options?
1. Sanding

Although sanding a PETG print is a little more difficult than a PLA print, smoothing via sanding is not a completely impotent option. In fact, the process of sanding a PETG print is pretty similar, albeit a little more difficult and time-consuming.
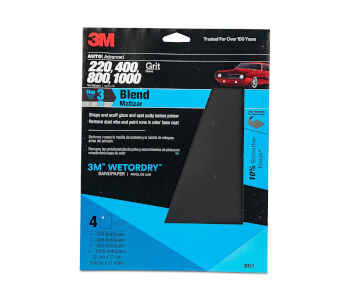
When sanding a PETG print, it is best to have a set of sandpaper with different grit sizes. Start by using the coarsest sandpaper to quickly remove the layer lines that are most visible in your final print. A 200-grit paper is recommended for the first step. When you are satisfied with the results, you can then move up to higher grit sizes. This can require several steps if you really want to get a professional-grade finish. We recommend a sequence going from 400, 600, 800, 100, 1500, 2500, and up to 3000 grit sizes.
Keep in mind that a circular sanding motion should be maintained while sanding your PETG print so that the print does not come with visible lines due to a directional bias. The sanding process can be accelerating by adopting a wet sanding method, which uses slightly wet sandpaper that serves to mobilize loose particles away from the print’s outer surface. Take note that you’ll need waterproof sandpaper to use the wet sanding technique. We recommend the 3M Wetordry Sandpaper Set, which comes with an assortment of all the grit sizes you need to get your PETG print perfectly smooth.
2. Sanding with polishing compound
Even with your best efforts, it is simply impossible to get rid of microscopic layer lines with sandpaper alone. The key to getting a smooth finish even at the microscopic level is to fill in these gaps with an appropriate polishing compound. You can use a metal polish solution such as the 3D One Polishing Finishing Compound or use a wax-based solid finishing compound such as this Polishing and Buffing Compound from BeaverCraft.
To use a polishing compound, simply apply a small amount of the compound to a soft cotton cloth and rub it into the print in a firm, circular motion. The compound will fill in the gaps on the surface of the print. The print then needs to be buffed by rubbing the surface with a piece of cloth that has not been treated with the polishing compound. The improvement in the finish of your print should be immediately apparent. The polishing compound can be reapplied and re-buffed to further enhance the finish of your print until you are satisfied. With some patience, it’s possible to get mirror-finish in your print using simple sanding and polishing.
3. Heat treatment
The heat-resistance of PETG means that smoothing by heat treatment will be very energy-intensive, but it is possible. To do this, you will need a heat gun that has very precise temperature controls. Since the recommended temperature for heat treatment of a PETG print lies very close to the melting temperature of PETG, the slightest error in temperature settings can very quickly ruin your print.
The goal of heat treatment is to melt a very thin layer of the material on the surface of the PETG print. With the proper execution, this results in layer lines being melted and filling in the gaps even at the microscopic level. However, smoothing via heat treatment can also very easily go wrong. Excessive heating can result in distorted details or a “wavy” surface finish.
Smoothing a print using heat gun relies on a continuous and smooth motion to get a consistently good finish. This is easier said than done. If you haven’t had any experience on using a heat gun, we recommend dialing down the temperature settings to around 240 °C, so you don’t end up irreparably damaging your print. Heat treatment at a lower temperature may be slower but is more forgiving of small errors.
Smoothing using solvents and why it’s not recommended
There are a few accounts of users being able to smooth PETG prints using solvents. There has not been a concrete consensus on which solvents are best for smoothing PETG, but there are a few names that come up more often, namely MEK (methyl ethyl ketone), toluene, and cyclohexanone.
The complications of smoothing PETG using these solvents is the fact that they are all strictly regulated for a variety of reasons. Toluene might sound familiar to you if only because it’s one of the major components of a very common material for explosives. Both MEK and cyclohexanone are regulated because they are considered precursors in the illicit production of some illegal drugs.
In any case, none of these solvents are as benign or as easily obtainable as acetone. Unfortunately, acetone has absolutely no effect on PETG.
The difficulty of obtaining these solvents, as well as their inherent risks, are the main reasons why the practice of smoothing PETG by solvents has not picked up. The reward simply isn’t worth the risk and the effort, so we recommend sticking to the tried and true methods that we have detailed above.
Why smooth your PETG prints anyway?
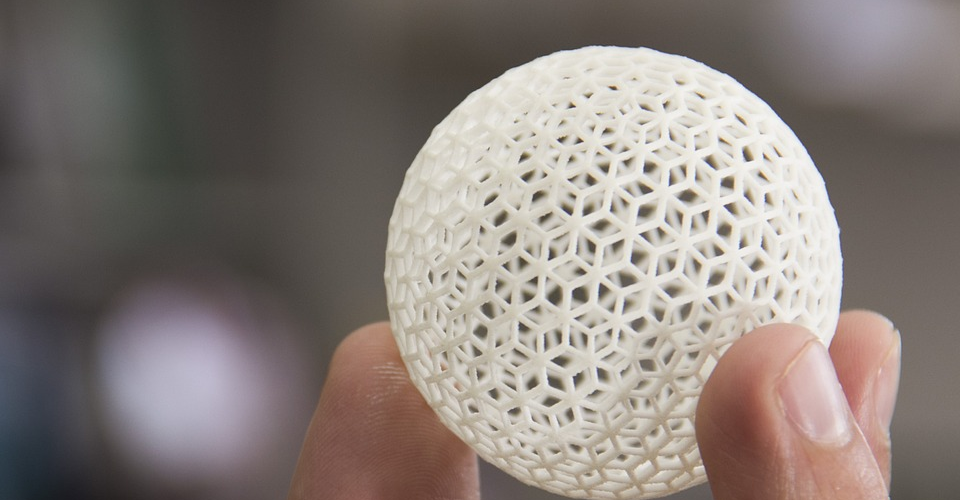
Prints made using Fused Deposition Modeling (FDM) technology inherently come out with layer lines as a result the process of layers being laid down individually. Although this imperfection is simply unavoidable, a print that still has visible layer lines gives off an amateur vibe. Whether they are for rapid prototyping or more creative pursuits, professional-grade 3D prints demand a smoother, more polished finish. Smoothing your PETG print allows it to stand out visually and give it a level of aesthetics that complements its superior durability and heat resistance.
Final thoughts
PETG is one of the favorite filament materials among the 3D printing community, and it’s easy to see why. Like PLA, it’s very easy to work with but has almost the same durability and heat resistance as PLA. It also has a unique chemical resistance that has made it a popular material for storage of slightly acidic or alkaline compounds. However, the chemical resistance of PETG also means that it cannot be smoothed by chemical means, such as the acetone vapor bath used for ABS.
If you want to smooth your PETG print, you are going to have to take a back to basic approach. If you’re a beginner, we recommend going the sanding and polishing route. It’s a slow and deliberate process, so there’s very little chance of making an irreparable mistake. It also does not require a lot of skill, but instead relies on a time and effort investment. It’s possible to get a mirror-like finish in your PETG print even with such a simple method.
You can also smooth your PETG print using a heat gun. This method requires less time and effort but can easily go wrong without the proper technique. A heat gun is also very expensive compared to a sandpaper set and a polishing compound.
Your measures may vary, but either method can produce a perfectly smooth PETG print. Although there are users who have had success with smoothing using solvents, we don’t recommend those methods. We’d rather stick to the tried and true methods for now.


Greetings from 2020. I printed out some small containers with push-on lids in PETG to use as platforms for acetone vapor smoothing ABS prints in a vapor chamber. On a whim, I decided to put some acetone into one of them, and let it sit for a while.
About 5 days later, the lid seemed to be sealed shut and took some effort to remove.
I found the container still had some acetone in it, but the container and lid had both been softened, it was a lot less rigid and more like a rubbery plastic.
The inside of this container was also smoother than the other containers, especially where the acetone had been sitting. The bottom of the container had also partially gained the textured pattern of the block it had been sitting on.
So yes, PETG filament is affected by acetone, (it seems to absorb it) however it also appears to happen much more slowly and probably has a threshold where it cannot absorb any more acetone.
It could also just be my particular brand of filament (Gizmodorks). I don’t know, but I thought it was worth sharing.