How to Use a Heat Press

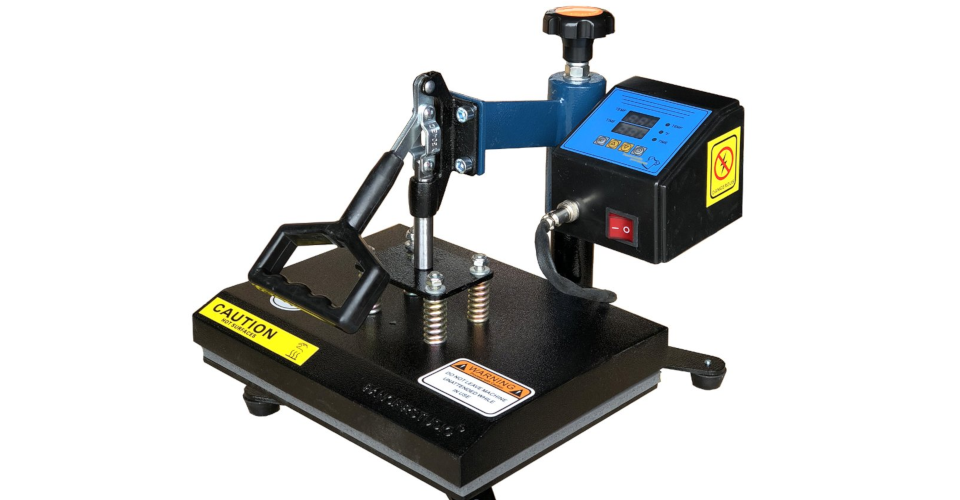
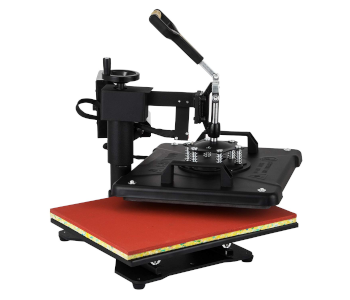
Heat Presses are machines that are used to transfer graphic designs, artwork, and logos onto a substrate like a t-shirt or a ceramic mug. The technology behind the heat press is quite simple and the machines are also quite simple to operate.
Heat presses are great for small and large businesses that offer custom t-shirts, glass items, and ceramic items to their customers. It allows businesses to make low or high quantities of custom items in a simple and profitable manner.
There are many heat press machines available in the market, and different brands have different methods of operation. However, the basic way of working with heat press machines remains the same. The following steps outline the correct sequence and method of using a heat press:
Step 1 – Select the right fabric
There are plenty of fabrics that can be used for making garments and t-shirts. However, not all of them are the right choice for a heat press. Some fabrics, especially the ones that are thin or made of synthetic material, can melt in high temperatures. Some fabrics are just too sensitive to heat.
It is a good idea to use cotton, lycra, spandex, nylon, and polyester. These fabrics are robust and can handle high temperatures and the pressure of the heat press.
You should also take care that the fabric is not pre-washed before heat pressing. Washing the fabric may introduce wrinkles on its surface which will interfere with the design transfer process. Even washing the garment after heat pressing should be avoided when possible.
Step 2 – Select the right transfer paper

There are many different types of transfer papers available in the market. It is important that you select the transfer paper which is the right match for the design of your printer. The transfer paper for inkjet printers is not the same as the transfer paper for laser printers.
You will be using your printer to print the design onto the transfer paper, and then the transfer paper will use heat and pressure to transfer the design onto the fabric. You should also take care that the transfer paper is appropriate for the color of fabric that you plan to use as the substrate. The transfer paper for a white t-shirt is different from the one for a black t-shirt.
Step 3 – Print the design on the transfer paper
The next step is to print the design which you have created on a computer onto your transfer paper. The first thing that you must ensure is that you are printing on the correct side of the transfer paper! This might sound too simple, but people actually mess this first step up.
The second thing you need to ensure before printing is that the image sent to the printer is a mirror image of your actual design. Since the paper will be pressed against the surface of the fabric, the transfer of design from the paper to the fabric will reverse the design. So, you need to start with a mirror image in order to get the correct orientation of the design at the end.
It is a good idea to print a test transfer paper and see if the design is acceptable. You can also print the design on a regular paper once.
If you decide to use a readymade design which is already printed on the transfer paper, then trim down the areas which do not have the design. The transfer paper has a layer of film which gets printed or pressed onto the fabric when the heat press machine is used. This film holds the design in place on the transfer paper.
The film has a whitish hue and it leaves traces around the design image on the fabric. You want to try and minimize these traces of film around your image.
Step 4 – Heat the machine
Every heat press machine requires a high level of heat to ensure that the design from the transfer paper actually sticks to the garment that is being used as the substrate. If the temperature is not high enough, then you will have problems transferring the design and it may lead to a ruined t-shirt as well.
So, to avoid wastage and loss of time, it is important to allow the heat press machine to reach a specific temperature. Depending on the substrate material that you are using, an appropriate temperature will be prescribed in the machine’s manual.
Lift the heat press and keep it open. Move the heat platen away from the silicone pad. Leave the heat press open as the platen heats up to the desired temperature.
To adjust the heat, you will normally have to turn a knob clockwise. Newer digital machines may have other ways of adjusting the temperature. Once the press reaches the desired temperature, a light would normally come on.
The light is an indication for you to turn the knob back down anticlockwise for the light to subsequently go off. The light going off means that the heat press will maintain the temperature that you have set.
In the majority of the applications, a temperature around 350 to 375 degrees Fahrenheit is set on the heat press.
Step 5 – Set the pressure and the timer
Set the pressure on the machine depending on the thickness of your substrate. If you have a thin substrate/fabric, then you will need higher pressure. If you have a thick substrate, then you will set a lower pressure. Turning the knob clockwise increases the pressure and turning it anticlockwise decreases it.
If you are going to set a higher pressure, then just make sure you do not go too far up, otherwise, the swivel handle may come off. A medium to high pressure setting is good enough for most applications.
Next, set the timer on the heat press. This setting depends on the amount of time that it would take for the design to transfer from the paper to the fabric/substrate. Different types of transfer papers have different recommended times.
For example, an inkjet transfer paper can take 14 to 18 seconds. A laser transfer paper is slightly higher at 18 to 25 seconds, while sublimation transfer process needs 25 to 30 seconds, and so on.
Read any instructions on your transfer paper packaging or in the heat press user manual to find out timer settings and reference ranges. Then, set the timer on the heat press by holding down the minute and seconds buttons. Once you push the start button on the heat press, the timer clock will start.
Step 6 – Placing the fabric in the heat press
When you place your t-shirt into the heat press, make sure that the side on which the design is to be printed is facing up. A solid colored t-shirt or a white t-shirt is recommended to be used with heat presses since the designs can be translucent.
If the design and the transfer paper is meant for an opaque design, then any color of t-shirts can be used.
It is recommended that you straighten the t-shirt and place is stretched (if possible) into the heat press. You can also pre-heat the garment for 5 to 10 seconds using the heat press. The idea is to get rid of all wrinkles which can ruin the design transfer process.
Stretching the fabric is important because it then allows the transferred design to compress. Compression is better than expansion, as any unnecessary stretching of the design post the transfer may cause cracks to appear in the design area.
The t-shirt or garment’s tag should be at the back of the press. This helps align the t-shirt and the design properly. Some heat press machines may project a laser grid onto the t-shirt, helping you align the design accurately.
Step 7 – Place the transfer paper onto the fabric
The transfer paper should be placed in the pressing area. It should be facing down. The matte side is down while the shiny side is up. For an embroidered appliqué, the adhesive side is down and the embroidered side is up.
The silicone pad or the heat pad should be in place so that it goes on top of the transfer paper. If your heat press does not have a silicone pad, then you will have to place a thin piece of cloth on top of the transfer paper.
Step 8 – Close the press and hit start
Once the fabric and the transfer paper are both in place, close the heat press by pulling down the handle. Use the clamp on the heat press to shut it securely. The clamp should make the heat press lock down automatically. There should be no need for you to press the machine.
You might need to adjust the pressure a bit, especially if you are using an embroidered appliqué. Press the start button after the heat press is shut. This will set-off the timer and the heat press will remain shut for the time that has been set.
When the timer finishes its count, press the start button again to reset the clock.
Step 9 – Remove the shirt
After the transfer process is complete, open the heat press and take the shirt out of the press. Quickly peel off the transfer paper from the fabric surface while the paper is still hot. Waiting too long will make it tricky to remove the paper later on.
The design should now be seen clearly on the t-shirt. If you still need to transfer another design on the other side of the same t-shirt, then repeat the process. But, make sure that you stick a piece of cardboard inside the shirt so that it aligns with the location of the first design. That way, you won’t heat and ruin the first design. Also, try and apply a little less pressure to protect the first design.
Precautions
Do not wash the shirt for at least 24 hours after heat pressing the design on it. Let the design strengthen. Even when you do wash it, turn the shirt inside out so that there are no scratches on the design surface. Avoid using strong detergents and tumble dryers. Hang the shirt out to dry in normal air.
When you set the temperature on your heat press, do not worry about burning the t-shirt from excessive heat. In most cases, the t-shirt fabric can withstand the heat that the press machine generates. If you are unsure, then stick in a t-shirt and pre-press it to feel more confident. Follow the recommended temperature settings and you will be fine.
Test printing your design on regular paper is recommended so that you do not waste transfer paper. Transfer paper is quite expensive and so you want to use it only when you are 100% sure about the design, the margins, and the alignment.
To transfer designs onto a cap or hat, use a heat transfer vinyl. The vinyl can be taped to the cap. You will also have to use an oven mitten to hold the cap in place. You can also look for hat presses which have curved platen surfaces. Curved surfaces ensure that all areas of the cap get the heat and pressure necessary to transfer the full design onto the cap.
If you are looking to heat press designs onto a mug, then you will have to look at a heat transfer vinyl or sublimation transfers. Some multi-purpose heat presses have holders specifically for mugs. Or, you can purchase a mug heat press if that is going to be your main item.
Conclusion
Thus, operating a heat press machine is quite simple if you follow the correct procedures. Heat presses are a great way to show your creativity and earn some money as well. You can use heat presses to create multiple customized items. We hope you find this guide useful. Good luck!