How to Weld PLA Parts

Contrary to how 3D printing is shown in the movies, there is often a lot of post-processing work that needs to be done before a 3D printed project is deemed presentable. A 3D print can have a rough surface that needs to be sanded smooth or have supports that have to be cut away.
In some cases, a project might be too big to be printed in just one piece. Post-processing will then involve putting the pieces together and welding the seams shut. In this article, we will tackle how to properly weld parts printed with PLA.
When is PLA welding necessary?
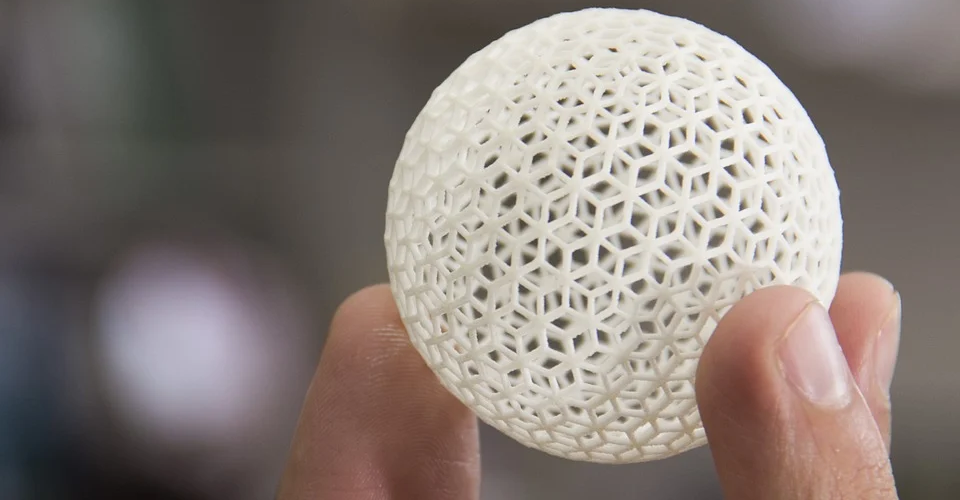
Putting separate pieces of PLA together may be needed if you’re working on a huge 3D printing project. Many 3D printing hobbyists nowadays work with desktop-scale 3D printers with very limited build volume. This means that a big part may have to be printed as several smaller parts.
In some cases, finished PLA prints can also come out with a few separated layers or cracks. If these flaws are minor, there’s a chance that they can still be repaired via PLA welding. Some joints may also not have enough surface to apply substantial glue, making PLA welding a more effective alternative to bind them together.
To clarify, PLA welding is not the same as gluing two pieces of PLA together. The idea of PLA welding is to bond separate pieces of PLA together using also PLA as a binding agent. Theoretically, this should create a bond that is strong and also looks clean and seamless.
Another benefit of PLA welding is that it allows your 3D print to retain the thermal characteristics and physical properties of PLA. This is ideal for projects that are uniquely designed to use PLA. An adhesive, in these cases, is considered a contaminant that is best done away with.
Methods for PLA welding
Friction welding
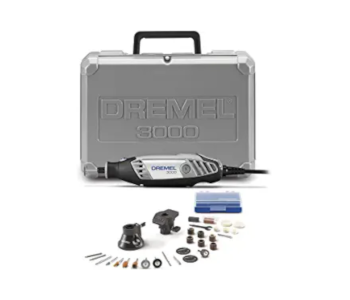
The best method for PLA welding will require that you have either a Dremel tool, cordless drill, or any similar power rotary tool. You will also need a collet or any mechanism for clamping a piece of PLA filament to the tool’s rotary component. The size of the collet will depend on the diameter of the filament that you have.
Start off by sticking a piece of filament into the collet. Make sure that the filament is short enough to stay upright – about 2 to 3 centimeters should be perfect. With the filament in place, you can then run the drill or Dremel tool.
The goal here is to place the rotating filament against the seam that you want to repair. Ideally, the friction from the rapid rotation will produce just enough heat to melt the filament very gradually. This molten PLA filament will then penetrate into the seam, forming a strong bond and creating a mask that will keep the seam concealed.
The main challenge of this method is to find the proper rotation speed for your tool. If it’s rotating too fast, you may end up melting the filament too quickly and end up having molten plastic splattering around your work area. Too slow and you might not generate enough friction to melt the PLA filament.
If you have experience welding metals, then this method should be pretty easy for you. If not, the easiest technique would be to simply drag the filament slowly along the seam. The direction in which you move the rotary tool will have a huge effect on the appearance of the seam when it is repaired. This is less of a concern if you plan on smoothing the seam after welding and painting over it.
Heat treatment
If you don’t have a rotary tool handy, then you can use the tip of any metal tool (screwdriver) to melt the PLA material along the seam. This will close the seam but will not confer any added mechanical strength. This is not recommended for putting together large parts for assembly but should be good enough for repairing separated layers and cracks.
The easiest way to do this is to heat the tip of a screwdriver on an open flame. The glass transition temperature of PLA is quite low, so heating the metal to the point where you can no longer touch it should be perfect. Slowly draw the hot metal tip over the seam that you wish to repair, lingering no longer than three seconds over each spot.
Ideally, melting a small portion of the plastics will be enough to close any seams. Again, this is only a visual remedy. You can sand the seams smooth after if the process results in any unevenness.
3D pen
If you have a 3D pen on hand, then you can just “draw” over any visible seams in your print. This is a technique worth considering if the gap in question is sufficiently thick that you will need extra material to close it out.
This technique should be fairly intuitive. Just load some PLA into your 3D pen and draw over the seam. You can do as many passes as needed to fully fill in the gaps and to create as smooth an exterior as possible. Take note that you’re still likely to end up with a bumpy external surface even if you’re skilled with using a 3D pen. That’s nothing that a little bit of sanding and polishing cannot fix.
For maximum strength, glue and weld
PLA welding is an excellent solution for repairing small gaps and cracks, but what if you need a fully assembled project made out of smaller parts? Is PLA welding really the best solution?
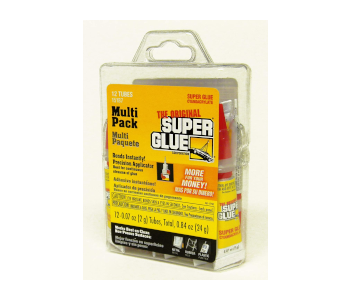
If you’re putting together several PLA pieces with large contact areas, then using super glue for internal joints is still worth considering. Super glue creates very strong bonds, particularly because it can be applied to areas that cannot be penetrated by PLA welding. Application of molten PLA via welding can still be done to improve the aesthetics of seams in areas that are visible.
Final thoughts
“Welding” is a technique for sealing gaps and cracks that uniquely suited to PLA because of its low melting temperature. The best way to do this is to use a rotary power tool with an attached piece of filament. By using PLA to seal the gaps in a PLA print, you an end up with a consistent finish and seams that are almost invisible.
Keep in mind that there is likely no reliable way to seal gaps that does not involve substantial post-processing. In the case of PLA, you would very likely need to sand, polish, and paint over the seams if you want to achieve a flawless appearance.