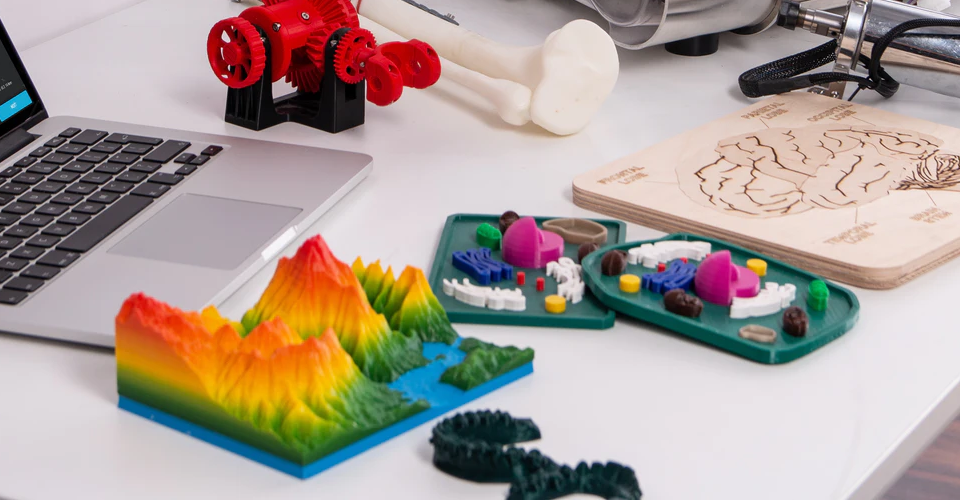
How to 3D Print in Multiple Colors with Just One Extruder

Oftentimes, owning a single-extruder 3D printer feels like you’re missing out on a lot of things. You can’t use HIPS or PVA for support structures, and cannot automatically print multi-colored designs. However, dual-extruder 3D printers can cost quite a bit more.
There still is a way for your 3D prints to have multiple colors – it’s just going to take a bit of extra work. If you don’t mind the extra effort, then check out this guide on how you can 3D print multiple-color models with just a single extruder.
Printing in parts
The simplest way to create a multi-colored print is to separate your 3D model into parts and print these parts separately. This method certainly isn’t for everybody, as you may need advanced 3D modeling skills to pull this off. If you’re just downloading free OBJ files online, you might not even be able to manipulate those freely. Printing in parts is ideal for 3D models that you’ve come up with yourself.
Take note that there will still be limitations to this method. Once all parts have been assembled, you’re going to need to assemble them and glue them together. This may not be possible if your model has odd angles, or if it’s just too complicated.
This may seem like a rudimentary approach to making multicolored 3D prints, but the results are usually good with a bit of creativity and careful planning. If you’re planning to do polishing or post-processing of a multi-part model, it’s best done before assembly.
Use a multicolored filament
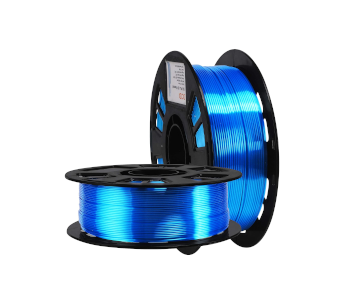
Using a multicolored filament is quite an unconventional approach to 3D printing, if only because it lacks any predictability. It involves using a filament that has a spectrum of colors – such as this Rainbow PLA Filament from DO3D.
There are also ways to make your own multicolored filament either by dyeing a white filament or fusing together several filaments of different colors. How much work you want to do is up to you, but there’s always the options of simply buying the multicolored filament.
Printing with multicolored filament results in a model with zones that transition smoothly from one color to another. As we’ve mentioned, this will be an innately unpredictable process. There’s no way to know in which color every single part of the model will be printed.
Instead of treating this unpredictability as a negative, this is actually one of the best things about this method. If you 3D printed the same model ten times using multicolored filament, they will all come out looking different. This element of surprise and variability makes this method novel and unique. You also don’t need any special method or equipment, aside from the multicolored filament itself.
Filament swapping
The most commonly practiced method in the 3D printing community to print in multiple colors with a single extruder is called filament swapping. It involves pausing the print mid-way and swapping one filament for another. It will take a lot of work as you’ll need to actively monitor and step in every now and then during 3D printing.
There are several approaches to this method. You can either do the pausing of the print manually or include the commands in the model’s G-Code. The latter is a lot more convenient but will require that you know how to write and manipulate G-Code commands. The manual method is still viable if you’re willing to do the work.
The number of times that you’ll need to swap another filament will depend on how complex your design is. Although the method may seem simple, it can be very tedious for models that have to be printed in a lot of colors. You can optimize this process by orienting your model in the slicer software such that color transitions occur neatly on layer boundaries. This may not always be possible.
Manual method
To do manual filament swapping, simply pause the print at the point where you want a color change. Manually raise the nozzle using your 3D printer software by about 20 mm. Retract the filament from the extruder and swap in the new filament.
Extrude the new filament, making sure that all traces of the old filament have been removed. Catch the scrap filament with some cardboard you have lying around. You can then lower the nozzle to the original position and resume printing. Repeat this process as many times as necessary.
Semi-automatic method
If you know how to mess around with G-Code, then you can make this method so much easier. Once your slicer software has generated the G-Code for your model, use the layer preview to identify the layers in which you want to do a filament swap. Write these down as you’ll be referring to this list multiple times.
With the layers identified, you can go ahead and look for the layers in the G-Code and insert a pause (M600) command. It would be best to couple this with a Z20 command, which raises the nozzle by 20 mm. Do this for every layer that requires a filament swap. Make sure to run the layer preview again, just to make sure that the G-Code is functioning as expected.
With the G-Code edits in place, your printer should now know to automatically pause when you need to swap in a new filament. The actual swapping step is still manual, of course, but this method is a lot less tedious and prone to error.
Although filament swapping may also seem like a rudimentary method, a lot of 3D printing professionals practice it. It’s the most common method for overcoming the limitations of the number of extruders in a 3D printer – after all, most 3D printers are limited to just one or two. There is a lot of skill needed to pull off filament swapping, but the results are certainly worth the effort.
Filament splicing
Sometimes, splitting up the colors of a model into distinct layers is virtually impossible. Should this be the case, you can augment a single-extruder 3D printer with an accessory with up to four different filaments. This is the idea behind filament splicing – a method that allows for fully automated filament swapping.
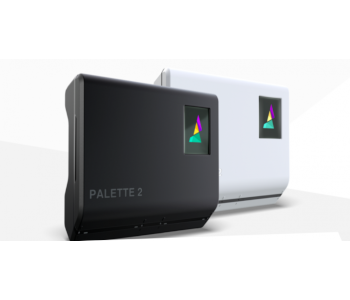
The key to this method is the Palette accessory. The Pallete works by accommodating up to four different filament spools. Inside the Palette is a mechanism that cuts, heats, and splices together any combination of two filaments from the selection. This process is very quick and can be automated using the CANVAS hub. The spliced filament is then fed to the 3D printer as a single, uninterrupted strand.
A great thing about Palette is that they have been in the business for quite some time. The latest model, the Palette 2S Pro, is an extremely streamlined product with a host of quality-of-life features. It’s easy to use, requires no calibration, has tool-free maintenance, and comes with intuitive software. It’s also a really good-looking product and its modern minimalist aesthetics should fit quite well in any workstation.
There is a catch, however – the Palette filament splicer is quite expensive. In fact, you can buy a dual-extruder 3D printer for several hundred dollars cheaper than the Palette 2S Pro. This certainly puts into question the wisdom of investing in a Palette accessory.
Other technologies: PolyJet printing
This may already be outside the subject scope of this article but is still worth mentioning because of how interesting the technology is. One of the most advanced ways to 3D print in multiple colors is via the Multi-Color Polyjet method on the Stratasys J750 printer.
The Polyjet method uses photopolymer resin as raw material. This liquid resin is deposited on a build plate through very small droplets and cured by a flash of UV light. What is unique about Multi-Color Polyjet is that it allows the droplets to be colored before deposition. The result is a full-color 3D print with vibrant hues and an excellent level of detail.
Being able to create multi-colored objects using a PolyJet method may just be the peak of multi-colored 3D printing technology. PolyJet is already a superior technology, capable of reproducing highly detailed models using a rapid and reliable method. Combined with a multi-color option, it’s going to be tough for any other 3D printing method to present a compelling alternative.
The biggest downside, as you would expect, is that you can’t just buy a PolyJet printer. This type of printer is ridiculously expensive and typically only used in businesses or corporations. Instead, you can see the output of Multi-Color Polyjet yourself by having a model printed through a third-party service.
Final thoughts
Most people who are curious about 3D printing start with a simple, single-extruder 3D printer. While this is good enough for practicing, printing with a single color only can feel lackluster after some time.
However, you don’t need necessarily need to upgrade to a dual-extruder model just to print multi-colored models. With a bit of creativity (and a lot of tenacity), you can “hack” your way to multi-colored print with just your humble single-extruder printer.