Non-Manifold Edges in 3D Printing – What They Are and How to Fix Them

A common misconception of 3D printing is that it can be used to recreate any digital 3D model. This is not true. There are many conditions that will make a 3D printer physically unable to print a model. One of the more common examples is non-manifold edges.
This is a problem commonly encountered by those who download free STL files for 3D printing. The good news is that this can still be fixed. Check out this guide on why this error happens and how to correct it with a few simple and free tools.
What are non-manifold edges?
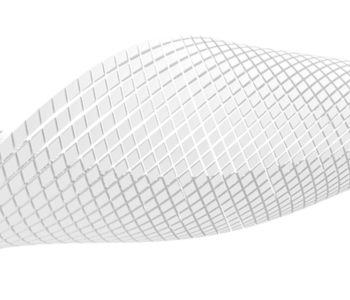
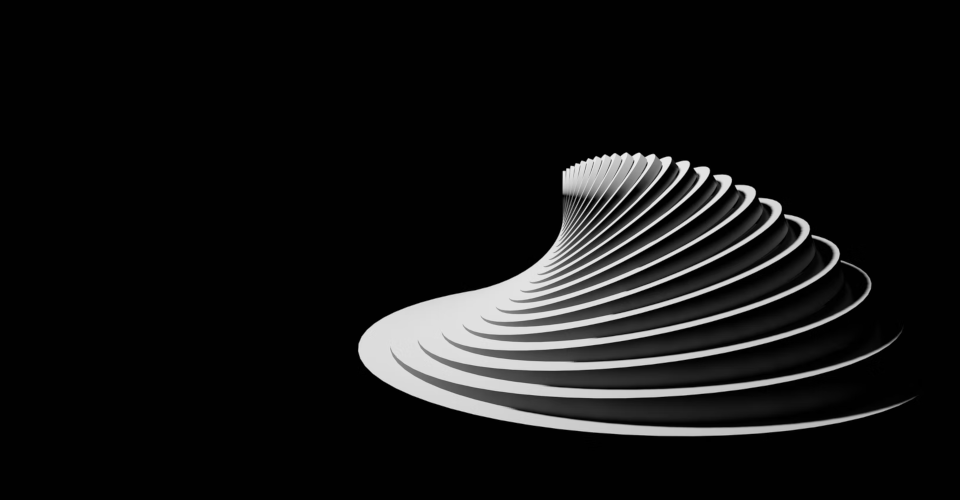
Non-manifold edges refer to the edges of an object that has non-manifold geometry. In simple terms, an object with non-manifold geometry simply cannot exist in the real, physical world. This can be due to several things – voids or holes, surfaces that overlap with each other, areas with no thickness, and internal walls. It is also possible that faces attached to each other are attached only at a single point, not an entire edge. In all these scenarios, there is a non-manifold edge.
As mentioned, non-manifold geometry cannot exist in the real world. However, they can exist digitally. A conflict arises when you attempt to 3D print a model with non-manifold geometry. Most slicers are capable of detecting such an error and will prevent you from proceeding. This is quite a familiar issue that most people in 3D printing have probably already encountered.
How non-manifold edges can be fixed
There are many ways to fix non-manifold edges. How much work it would take depends on what tool you are using and the severity of the problem. Most slicer or CAD software packages will offer an automatic feature that can detect and repair non-manifold edges for you. However, you can also correct these edges manually if you can edit the STL or OBJ file.
Slicer software
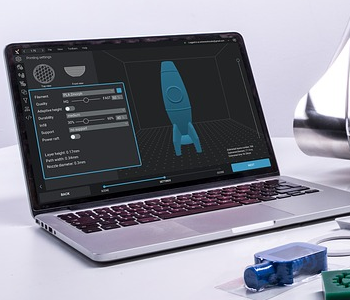
The easiest way to eliminate non-manifold edges is to correct them directly from your slicer. Settings may vary from one slicer to another, but most of the popular ones (such as Cura to Simplify 3D) should have such a feature. These are often quick fixes that do not involve having to fiddle with the model. This will likely be your go-to solution since it does not involve having to use any other software aside from the bare minimum.
CAD software
If you want a bit more control over how non-manifold edges, it would be a good idea to use CAD software you’re familiar with. If you’re not skilled in CAD modeling, then it’s probably not worth the effort to learn this just to remove non-manifold edges.
Again, there is a large variety in how such features are implemented from one software to another. Meshmixer and MeshLab offer functions that can automatically detect and repair non-manifold edges. More advanced design software like Blender have much more powerful tools for correcting non-manifold geometry, but these also require a higher level of skill.
How to avoid non-manifold edges during 3D modeling
Correcting non-manifold geometry in downloaded models is one thing, but if you also make your own 3D models, you would also want to avoid making the same mistakes. The reassuring thing is that it gets a lot easier to avoid non-manifold geometry when you’re aware of when and where they usually happen.
In CAD modeling, Boolean operations refer to the union, subtraction, or intersection of two or more shapes. Boolean operations are also commonly where non-manifold edges come about. The best way to prevent this from happening is to make a check for non-manifold edges every time you do a Boolean operation.
This can get difficult if you’re dealing with large or multiple objects simultaneously. Another worthwhile tip is to check for non-manifold edges in wireframe mode. This makes any unwanted faces or edges more visible.
Whichever method you choose, remember that it’s a lot easier to remove non-manifold edges early on when your model is still small and simple. Having to correct a non-manifold edge that you made several hours ago can really mess up your workflow and may undo and redo the work that you have already done. They also tend to have a snowball effect, in that one non-manifold error will create another.
Final thoughts
Non-manifold edges are just about some of the most frustrating errors you can encounter in 3D printing. Slicers usually do a good job of catching them, but this is not a guarantee. 3D printing a model with non-manifold edges can result in huge troubles.
If you downloaded a model with non-manifold edges, there is not much you can do but try to correct it with your slicer or CAD software. If you’re feeling particularly generous, you can try and get in touch with the owner of the model to let them know that there is an error. This is but a natural part of 3D printing.
If you’re making your own model for 3D printing, then you are in much better control of avoiding non-manifold geometry. Just keep the rules of thumb online, and always do a check whenever you do Boolean operations. Non-manifold geometry is typically a small problem when caught early, but can balloon quickly if ignored.