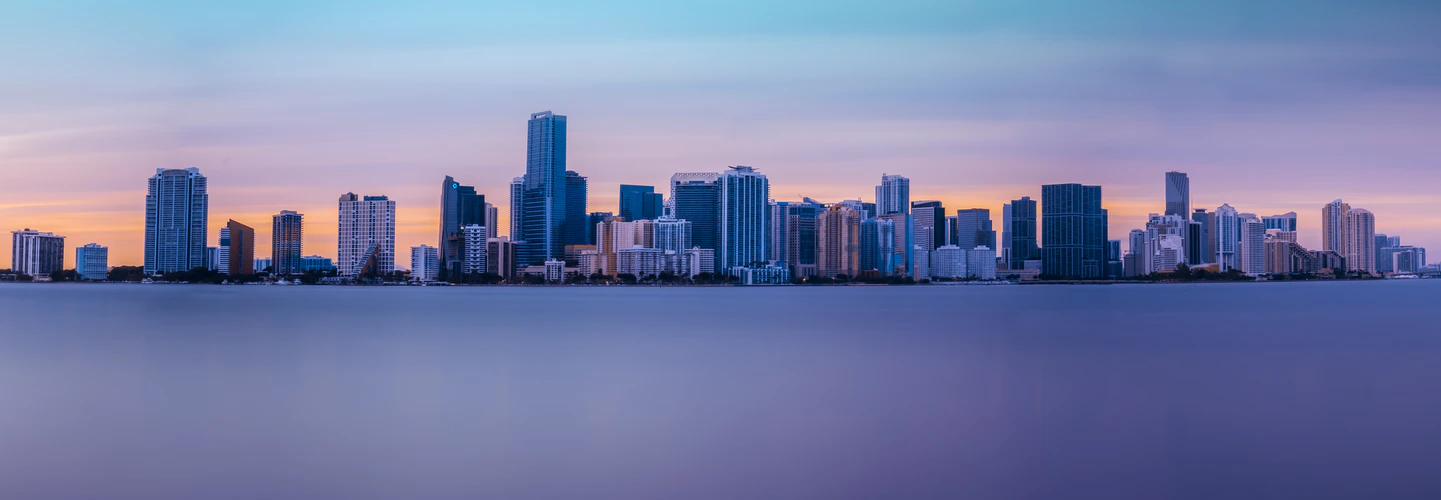
Panorama Stitching Basics – How to Start Shooting Beautiful Panorama Photos

Sometimes a single landscape photo doesn’t come close to doing the scene in front of you justice. There’s just too much detail to the seemingly barren taiga during Siberian spring or the rolling lavender hills in summertime Provence. Awe-inspiring sights like these deserve to be preserved in their entirety, and making a panorama is the most remarkable way of doing so.
This guide takes a closer look at panorama stitching. Reading it will teach you how to set up and create panorama shots, what mistakes to avoid, and how to start working on breathtaking panoramas of your own.
What is panorama stitching?
Panorama stitching is the process of turning two or more photos into one seamless image with a wide angle of view. The resulting image is usually laid out horizontally and has an aspect ratio like 1:2 or more that noticeably favors length. A newer alternative form of panorama stitching is called little planet. It keeps a screen-friendly aspect ratio while fitting a 360-degree view into it. The resulting picture resembles a planet in the middle surrounded by sky on all sides, hence the name.
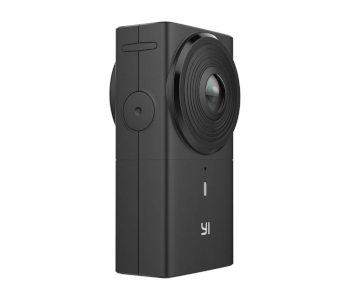
Panorama shots have been around almost as long as photography and can be used to depict a scene with striking effect. How you’ll stitch a panorama together depends on the device you’re using. Smartphones and some 360-degree cameras offer in-camera stitching. The same is present in most standard cameras too, but the cleanest way to stitch together mirrorless or DSLR photos is to use an external program.
How to set up a panorama shot?
Preparation is key for taking any worthwhile photo, but it’s especially important for panorama shots. A lot of foresight needs to go into planning and executing the shot as you have limited time to get everything right.
First and foremost, speed is king. A successful panorama depends on maintaining uniformity between the first and last pics. You can control aspects like light balance and exposure, but a cloud might decide to ruin the image by covering the sun and changing the lighting. Try to get all of your shots in as soon as possible while following other instructions from the guide.
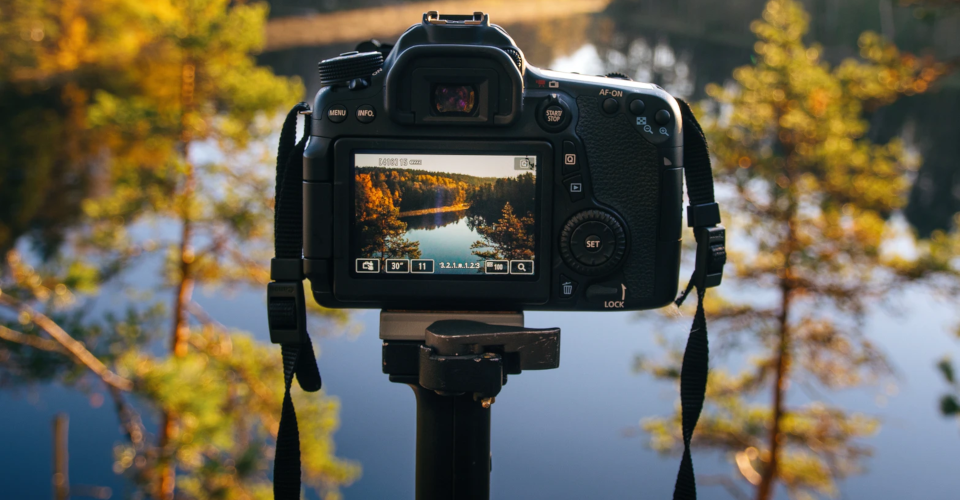
Tripods aren’t necessary for panoramas, but they’re a big help. If you use one, make sure it’s level. That lets you make as many photos as needed without worrying that a slightly different angle will warp the result. Stitching programs have become adept at compensating for camera shake, so you can take a series of handheld photos and still get a serviceable panorama.
The lens you’re using makes a difference. You might be tempted to go with a wide-angle lens to need fewer pictures, but it’s better to stick with standard primes or short telephoto lenses instead. Wide-angle lenses are prone to barrel distortion that becomes much more noticeable during stitching. Primes and telephoto lenses might increase the necessary picture count, but they’ll capture more detail.
It’s also a good idea to turn the camera 90 degrees. The images you’ll get that way have more negative space to work with during editing. Lastly, make sure to remove any polarization filters as they can cause inconsistencies in lighting.
What camera settings should you use?
You are putting together a whole from many smaller pieces, so these pieces must look as similar as possible. You’ll accomplish that by locking in the camera’s settings beforehand. This is especially important for the focus, exposure, and white balance settings.
Always switch to manual focus mode for pano work. Automatic focus may hone in on different parts of the scene as you rotate the camera, and that can cause blurry or inconsistent pics. Don’t let the camera determine white balance automatically since this can cause color consistency issues as the light angle changes. The same is true for EV compensation.
It’s easier to create panoramas with RAW than with JPEG images. A series of RAW files will retain more information that you can use to achieve a consistent look in post-processing. This gives you some breathing room and allows for the correction of noticeable inconsistencies. Using JPEG is viable, but you have to keep closer attention to camera settings and strive for uniformity while shooting.
How to create a panorama shot?
Taking the series of photos necessary for a panorama is straightforward if you’ve prepared accordingly. You have to set up a baseline before selecting the optimum settings for the panorama. You do this by going into aperture priority mode and snapping a test shoot pointed at the brightest part of the scene.
The foreground will need to be as sharp as the background, so you’ll need a narrow aperture like f/11 or f/16. You’re ready for the real deal if the brightest colors aren’t blown out. Making adjustments to EV compensation or increasing the shutter speed will help if they are.
Give yourself some wiggle room by starting a frame away from the point at which your panorama will begin. Continue taking as many shots as you need to encompass everything. Rotate the camera after each shutter release so that between a quarter and a third of the shots overlap. Your program of choice will need this identical information to make the stitching smoother.
How to merge individual photos into a panorama?
The last thing your panorama needs is to be stitched together. Standalone programs like PTGui, AutoStitch, and Panoweaver feature in-depth settings for the best image customization. However, programs like Adobe Photoshop and Lightroom have effective built-in pano stitching, so you don’t need to purchase separate software if you already have them.
The panorama stitching workflow is similar regardless of software. The first step is to import the photos that will make up the panorama. Now is a good time to think about a naming scheme and to stick with it. You might know what order the images are supposed to appear in now, but you’ll want to standardize file and folder names if you’re going to be working with many panoramas in the future.
Selecting all required photos brings you to a screen with output settings. It’s important to note that you shouldn’t crop or edit single images at this stage. Here you get to decide the cropping method and choose among projection like cylindrical or spherical.
No series of photos will be perfectly aligned, so the pano preview will have lots of jagged corners and white spaces near the edges. There’s no need to worry since you can let the program get rid of them or crop manually. That’s where all those extra images and negative spaces come in; manually cropping will let you get rid of the excess and fine-tune the perfect pano shot. Autocropping can lead to distortion, so it’s better to do everything yourself.
Finally, you get to choose a file type and save the pano. That’s when you want to start making adjustments if the images were shot in RAW. Once you’re satisfied, you can save a final copy of the panorama and post it for the whole world to enjoy.