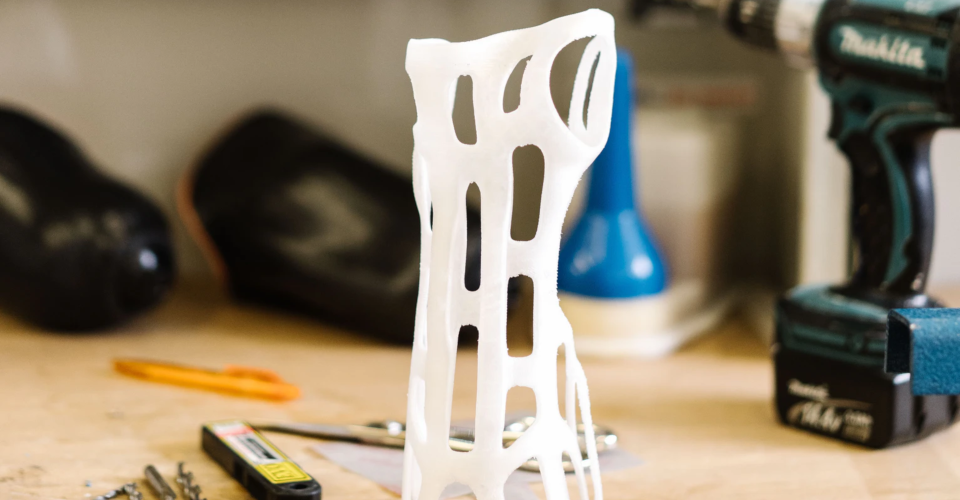
Post-Processing of PETG – How to Get the Best Results

ABS and PLA have long been the top materials in filament-based 3D printing, but PETG is quickly becoming a top contender. PETG offers mechanical and chemical resilience similar to ABS but is not as hard to work with. It’s also a fairly cheap filament material despite its seemingly premium performance and quality.
PETG may be an excellent 3D printing material but it still needs some post-processing if you want to get rid of those unsightly layer lines. Smoothing PETG is tough but not impossible. Here are some of the best tips and techniques:
Sanding
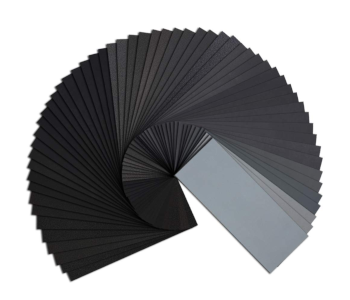
The go-to method of post-processing is sanding. This also applies to PETG although its extra flexibility may make the task a bit more challenging. Although there will be a bit more physical effort and patience involved, the technique remains fundamentally the same.
Just as with any heavy sanding job, it is best to do sand PETG using multiple steps. You will want to start with low-grit sandpaper (around 200-grit) for faster removal of large surface imperfections. If your print ended up with zits or residual marks from support removal, this will the perfect time to get rid of those.
Remember to sand using broad and circular strokes. Refrain from sanding too fast, as the friction can generate excess heat. PETG is quite heat-resistant but that is no excuse to not treat it with care.
Once you’re satisfied with how the PETG print looks after sanding with 200-grit sandpaper, you can move on to the next higher grit number. It’s best to do this in small steps. For instance, 200-grit can be followed with 400-grit, then progress to 800-grit. Reaching the point where the print looks good should get easier and quicker with each step.
Once you hit the 1000-grit territory, we recommend switching to a wet sanding method. Make sure that the sandpaper you are using is suitable for wet sanding. This involves wetting the surface being sanded with some water to help mobilize whatever solid particles come loose. This should speed up the sanding process and avoid any problems related to heat generation via friction.
Depending on your goals, you can proceed with sanding until you’re satisfied with the output of a 2000 or 3000-grit sandpaper. At this point, the surface of your PETG print should be almost perfectly smooth to the touch and have no visible layer lines.
Polishing
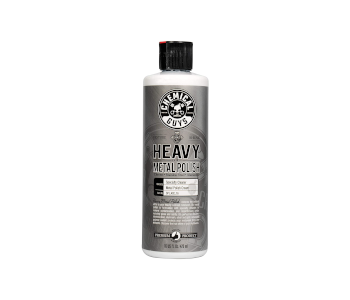
If you want your PETG print to have a glossy finish, then you will have to apply some polishing compound. This is best done after you have gone through the entire sanding process. The polishing compound will fill in any small surface imperfections and can be buffed to give a mirror-like shine.
Any liquid metal polish should work well for this purpose. You can also use metal polishing bars for a slightly cheaper option. In any case, it’s best to apply the polishing compounds in very small amounts and adding only when necessary.
To start, dab a small amount of metal polish on the surface of the PETG print. Using a clean piece of cloth, wipe the polishing compound all over the surface. This will fill in any gaps or surface imperfections while leaving a very thin surface layer. Continue to wipe the surface of the print to buff the polishing compound and develop a mirror-like sheen.
If you’re not satisfied with the results yet, add some more polishing compound and repeat the entire process. Remember to use buff the surface using large circular strokes for a more even distribution of the polishing compound. Pay special attention to fine details and tight spaces.
With some patience, you can buff a PETG print to a point where it has mirror-like sheen and smoothness. This also gives PETG some moisture protection that could be ideal if the project is going to be exposed to the outdoor elements.
Heat treatment
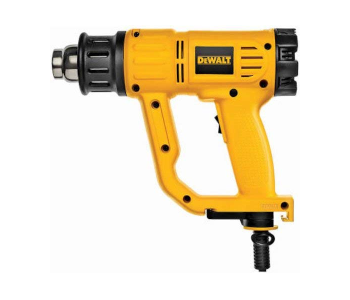
While sanding and polishing are fairly reliable and simple methods, they also take a lot of time. You can easily spend two or three hours just to get a mirror-like finish on a single project. If you don’t have the luxury of time, then you can consider using a heat gun instead.
Using a heat gun, you can melt the outermost surface of a PETG print to eliminate any imperfections, zits, and layer lines. The advantage of this method is that it’s very quick – if you aren’t done in a few minutes, then you’re probably doing it wrong. However, it also requires some skill and experience in handling a heat gun.
When going the heat treatment route, it’s best to go at it as slowly as possible. Set the heat gun to about 230 C – this is the lowest melting temperature for PETG. Position the heat gun about a foot away from the PETG print and move it around constantly. Make sure to cover all parts of the print while moving the heat gun and to not stay at one spot for too long.
If a surface of your print starts to have a wavy appearance, then that’s a sign that improper heat treatment. Unfortunately, this defect is almost certainly irreversible. Make sure to stop heat treatment just before the point where you think you’re done, as any residual heat is still doing its work. You can also several stages of heat treatment post-processing just to play it safe.
Is chemical smoothing an option with PETG?
Chemical vapor smoothing is probably the most preferred post-processing method in 3D printing. It’s quick, requires minimal effort, and almost always delivers good results. The unfortunate news is that it’s really only a viable post-processing method for ABS. For all other 3D printing plastics (including PETG), chemical vapor smoothing is more trouble than it’s worth.
Theoretically, there are certain solvents that should work for smoothing PETG. Three specific solvents come up in these discussions most frequently – methyl ethyl ketone (MEK), toluene, and cyclohexanone.
The problem with these solvents is that you cannot just buy them off Amazon or even your local drug store. These chemicals are heavily regulated for being highly toxic, among a few other reasons. MEK and cyclohexanone can be used to manufacture illegal drugs, while toluene is one of the essential ingredients of explosives.
Considering the hoops you’ll have to jump through to buy any of these solvents, we cannot recommend doing chemical vapor smoothing on PETG prints.
There have been some accounts of users smoothing PETG print using ethyl acetate vapors. Ethyl acetate is not as heavily regulated as the three other solvents mentioned above. However, the reliability of ethyl acetate for vapor smoothing of PETG is still questionable. We would not expect it to fare as well as acetone for ABS. It’s worth a try if you can get your hands on some ethyl acetate – just don’t expect too much from it.
Final thoughts
As more and more people regularly 3D print with PETG, we also encounter different ways to optimize how it is used. When it comes to post-processing, PETG is not exactly the easiest material to work with. It’s difficult to sand smooth because of its ductility and cannot be smoothed by vapors because of its chemical stability.
We find that the best post-processing method for PETG is still the good old-fashioned sanding and polishing combination. It might be a long process but it’s the most reliable option we have right now.