Best Upgrades for Original Prusa i3 MK2S and MK3
The Original Prusa i3 MK2S and its official successor, the MK3, are two of the best and most popular desktop 3D printers on the market. The former is a tried-and-tested product with a well-established reputation for being an absolute workhorse while the latter offers more convenient features, including a removable magnetic build platform. But despite being top-tier products, both still have room for improvement in some areas, especially the older model.
In this guide, you’ll find the best and most important mods and upgrades for the MK2S and MK3, from a new spool holder and a filament guide to frame braces and an enclosure. Most of the upgrades are for user convenience, considering both the MK2S and MK3 are already fantastic machines out of the box, capable of producing clean and detailed prints with a low failure rate. That’s not the case with cheap desktop 3D printers like the Anet A8, which often require a significant amount of performance upgrades to produce the kind of quality the MK2S and MK3 can produce with their stock components.
While some are store-bought, many of the upgrades you’ll find in this guide are printable on the MK2S and MK3, which is good news for your wallet. The items are arranged alphabetically and are marked whether they are for the MK2S, the MK3, or both.
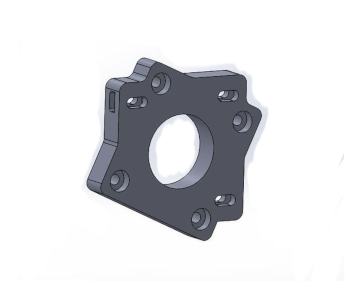
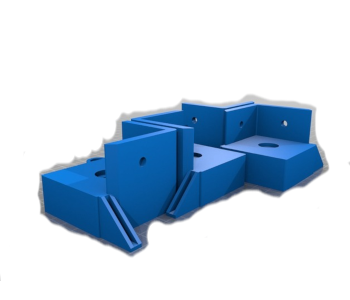
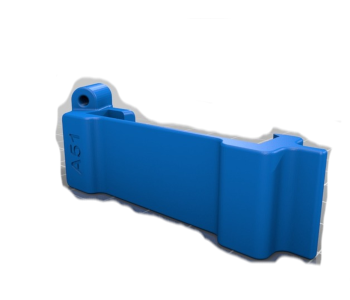
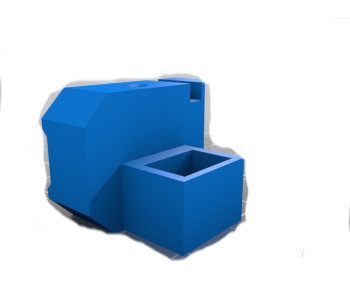
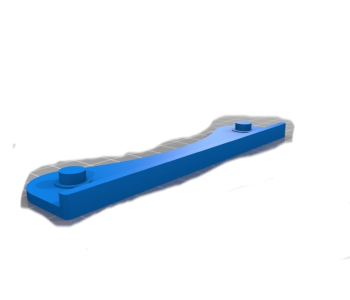
1. Belt Tensioners (MK2S, MK3)
When the belts on the X and Y are loose, the overall print quality takes a hit. That’s why it’s important to make sure the belts are always in optimum tightness. Although the MK2S/MK3 is not as prone to loose belts as cheap 3D printers made with low-quality components, it won’t hurt to install a belt tensioner, if only to make adjusting the belts easier.
2. Enclosure (MK2S, MK3)
An enclosure is one of the most important upgrades for the MK2S/MK3 because it improves the print quality of certain materials. Some materials are more sensitive to temperature changes than others and work best when the print area is covered. An enclosure also doubles as protection against dust and prevents accidental contact with the heated components, especially in a household with a bunch of curious fingers (read: kids).
Building an enclosure is relatively easy, with the cost depending on the materials you use. Since there’s more than one method when creating an MK2S/MK3 enclosure, you can be creative with the design. But make sure the structure won’t get in the way of the motion components and at least one side has a see-through window for easy monitoring.
Some users remove the integrated LCD interface from the base and place it outside the enclosure, which allows for quicker access to the controls. Others keep the setup as it is and simply rely on remote control and monitoring via Wi-Fi (more on this later). Go for the setup that works best for you.
3. Filament Guide (MK2S, MK3)
A filament guide is a small but useful mod for the MK2S/MK3. It will keep the filament in position, regardless whether the print head is at near-max height or just starting out at the bottom. There are a number of filament guides on Thingiverse, from filament guides with a small circular hole to ones with a wide opening to give the filament more wiggle room.
4. Filament Sensor (MK2S)
A filament sensor is a useful tool, especially when printing large-scale, high-resolution 3D models, the ones that take forever to finish. With a filament sensor, a 3D printer will be able to detect when it’s out of filament, automatically pausing the print to allow you to load a new spool. The MK3 comes with a filament sensor; the MK2S does not. The good news is that it’s relatively easy to install a filament sensor on the MK2S.
5. Hardened Steel Nozzle (MK2S, MK3)
The MK2S and MK3 are known for their impressive material compatibility out of the box, due in large part to their well-designed extruder and hotend. (Both come with an E3D V6 hotend, one of the best hotends on the market.) But the stock nozzle is not ideal for too-abrasive filaments, such as glow-in-the-dark filaments and carbon fiber reinforced filaments. Going all out on such materials is a quick death sentence for the stock nozzle.
For materials like glow-in-the-dark, metal-filled, and other abrasive composites, a hardened steel nozzle is recommended. It’s a simple upgrade that will prove to be a wise decision in the long run, especially for those who love to experiment with all sorts of materials. For beginners, this upgrade is obviously not a priority, considering the stock nozzle can handle ABS and PLA just fine.
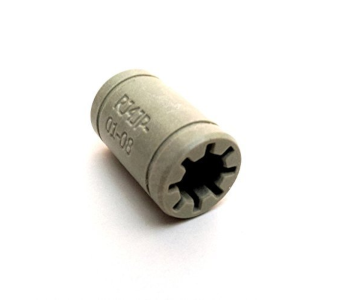
6. Igus Drylin Bearings (MK2S)
For a smoother and quieter operation on the MK2S, consider replacing the stock bearings with the Igus Drylin bearings, which are self-lubricating. But make sure you know how to install the bearings correctly, as going in blind can make things even worse. The MK3 is already a quiet 3D printer, and the stock bearings are great, so there’s no need to switch to Igus Drylin bearings. Unless that “self-lubricating” part is too good to pass up for you.
7. LCD Knob (MK2S, MK3)
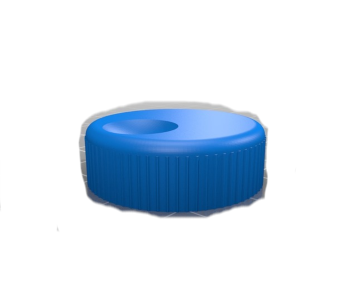
Users are divided over the stock LCD knob on the MK2S/MK3. Some like it as it is and don’t have issues when navigating the user interface. Others hate it and find it unsuitable for quick and precise navigation. If you belong in the latter camp, then make replacing the stock knob a priority.
There are different knob designs out there. Go for the design that looks the most comfortable. Our favorite is the simple round knob created by JPgxuAHFR22RQo on Thingiverse. It’s a no-nonsense knob that gets the job done. If you want to be more glamorous and, more importantly, own a multi-material 3D printer, then check out the sexy multi-color LCD cover and knob created by cipis.
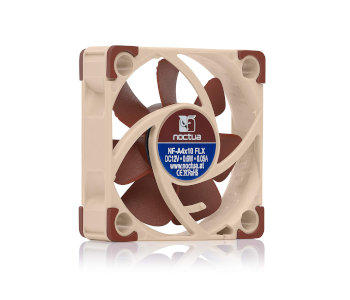
8. Noctua Fans (MK2S)
The MK2S cooling fans can be really loud while printing, especially at high power. The solution to this problem is easy but, unfortunately, will cost you some money. We recommend that you commit to a Noctua fan to significantly reduce the noise level. You’ll need to build a mount for it since the stock cooling fan mount can’t accommodate it.
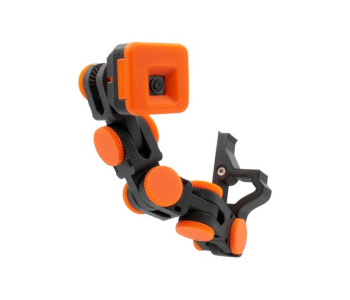
9. Raspberry Pi + OctoPrint + Camera Module (MK2S, MK3)
Being able to control and monitor the MK2S/MK3 wirelessly is extremely convenient. Going for the full wireless setup will be expensive and will require a bit of tinkering, but the rewards are definitely worth it. With OctoPrint and a camera module, you can start prints and watch the print progress from afar, among other cool things. There are several camera mount designs on the net, one of the best is the adjustable mount created by sneaks on Thingiverse, which allows you to quickly adjust the camera angle without removing the entire camera mount.
10. Silicone Socks (MK2S, MK3)
E3D’s silicone socks are made specifically for the V6 hotend, but both the MK2S and MK3, despite being equipped with genuine V6 hotends, don’t come with it. Apparently, Prusa Research fears the silicone socks are not secure enough and will fall to the print bed, ruining the print. But as users have confirmed, these small covers are excellent add-ons. E3D’s silicone socks help stabilize the hotend temperature and keep the nozzle and heater block free from filament residue. It’s cheap, easy to remove, and fits snugly on the V6 hotend.
11. Spool Holder (MK2S, MK3)
One of the most common complaints about the MK2S is the stock spool holder’s quality. It’s not as sturdy and secure as you might expect. Sadly, the same issue is still present in the MK3. That’s the reason new owners of the MK2S/MK3 often go for a different spool holder as their first project, and we advise you do the same thing.
There are a couple of ways to approach this issue: build a standalone spool holder or switch to a more secure frame-mounted spool holder. Of the two, the former is often the recommended option since it removes mass from the top of the frame. But for both approaches, a filament guide is still recommended to keep the filament in check and prevent it from interfering with other components.
For a standalone spool holder, check out the TUSH, which stands for “The Ultimate Spool Holder.” A popular mod, the TUSH is easy to use and is compatible with some of the most common filament brands on the market. For a frame-mounted spool holder, there are dozens of options you can check out; the most important thing with this setup is to make sure the clamps won’t get in the way of the print head when it’s at max height.
12. Steel Core Belts (MK2S, MK3)
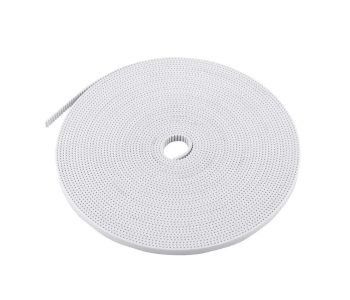
Unlike cheap 3D printers, both the MK2S and MK3 come with high-quality parts, even the printed ones. But you can always go overboard and replace the already great parts with even better ones, as long as you have the time and funds for it. If the stock belts of the MK2S/MK3 are still not good enough for you, go for steel core belts, which are more durable than regular belts. Fiberglass reinforced belts are also excellent options and are often cheaper than steel core belts.
13. Titan Extruder (MK2S)
The MK3 is equipped with Bondtech drive gears, making it better equipped to handle TPU, one of the trickiest materials to deal with, even for high-end 3D printers. The MK2S, on the other hand, has issues with flexibles even with a direct drive filament feeding system.
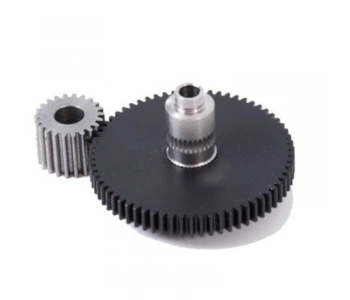
For those who plan to print with flexibles or simply want a better extruder, we recommend an upgrade to the E3D Titan Extruder, one of the best and most popular extruders on the market. It’s easy to use and maintain and works with the other products in the E3D ecosystem. Bondtech extruders are also excellent options, with the MK3 obviously being proof of that.
Compared to other upgrades, switching to a Titan Extruder can be expensive, but the rewards are worth every penny. While there are cheap knockoffs on the market, we don’t recommend those since … well, you know how things go when it comes to such products.
14. Tool Holder (MK2S, MK3)
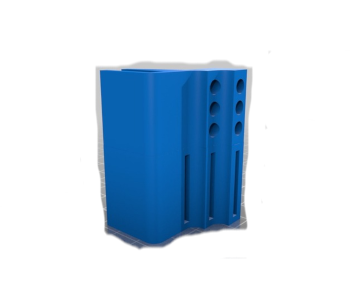
For those who have poor organization skills, a mounted tool holder is a recommended mod. A tool holder is exactly what it sounds like. It’s an organizer that can be clipped on the frame. Some can hold the most common tools used for repairs or maintenance, such as a screwdriver and a hex key, while others have a dedicated space for a few SD cards.
15. Uninterruptible Power Supply (MK2S, MK3)
With a UPS connected to the MK2S, you don’t have to worry about losing 30-hour print jobs due to a sudden power failure. Although the MK3 is equipped with a power panic function, connecting it to a UPS won’t hurt, especially since the feature is not yet 100 percent reliable as of this moment.
16. Vibration Damper (MK2S)
Installing vibration dampers on the MK2S is another creative way to reduce the noise level. While some users still have doubts, specifically with regard to wobbling and misalignment issues, these vibration dampers have been proven to be effective at what they do. They are easy to print and work like a charm on the MK2S. The MK3 doesn’t really need these add-ons due to its already quiet operation, but there are MK3 vibration dampers out there in case you’re still interested.
17. Y and Z Braces (MK2S)
While the MK2S is rigid enough in its stock setup, securing the Z with braces is a good idea. We recommend the Z brace created by pekcitron. It’s easy to print and fits nicely on the frame. For the Y, the excellent MK2 and MK2S Y brace created by changfrancis is a solid option. The MK3 doesn’t really need additional braces because its frame is already rock-solid by default, featuring more secure and stable axes.




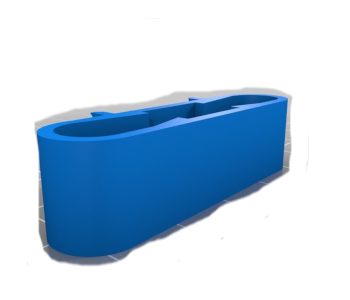
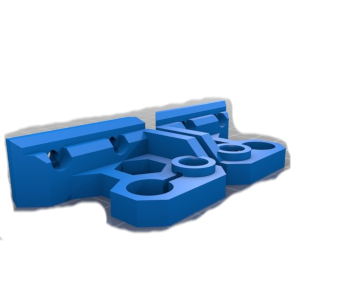
Please all note the X Tension-er is not compatible with the new adjustable X end on the new MK3’s