Raspberry Pi Vs Arduino in Plain English

This article solves the Raspberry Pi Vs Arduino discussion once and for all. Keep reading if you’re not sure which of these popular platforms is right for you. Both are excellent products for those enthusiastic about creating interactive environments and or objects. That can include DIY hobbyists, designers, artists, and student assignments, etc. Let’s begin with a simple breakdown.
| Arduino is | Raspberry Pi is |
|---|---|
| A microcontroller board | A mini computer |
| Used for | Used for |
| Software applications | Hardware projects |
The reason Raspberry Pi and Arduino confuse the novice is because they look similar. They each have the input/output (I/O) pins used to control added parts. So, Raspberry Pi and Arduino let you control various electronic components. That’s where the similarity ends since these boards are quite different from each other. The following sections describe their usual functions.
Arduino Defined
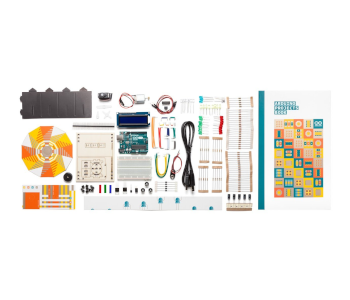
Arduino is an affordable battery-powered microcontroller that can store, run, and execute programs. It’s the board to choose if your only purpose is to control electronic components. Examples are tiny motors, Bluetooth, wireless modules, and light sensors. You can find Arduinos in a variety of different shapes and sizes. It’s the ideal tool for those who want to build and control robots or robotic parts.
Arduino Shields
The great thing about Arduinos is that you can expand their functionality with shields. A shield is a premade modular circuit board that simply attaches to the Arduino. Some shields are stackable too, which gives projects even more creative flexibility. Each module serves a specific purpose. For example, motor shields control motors, and an Ethernet shield connects to the internet.
An Arduino microcontroller is self-contained, but it needs connecting to a computer for programming. You can disconnect it once you’ve uploaded the new code. It then becomes a working standalone device ready to serve whatever function you designed it for. It’s great fun and quite easy to write the code that programs these boards.
10 Uses for an Arduino Board
There are a lot of fun and practical things you can achieve with an Arduino board. The 10 below should get you thinking. Add anything else to the list that you can think of.
- Build a small weather display system
- Build a colorful AMBI Light (Ambilight) sensor
- Create a fingerprint scanner for use with garage doors
- Mute words and phrases on TV with “The Enough Already” project
- Soft, motion-sensitive night lamp for under the bed
- DIY robotic arms controlled by a smartphone
- DIY Robot cars
- Create a computer Control Panel (CP)
- Make a hand gesture controller
- Develop a personalized security alarm system
OK, let’s now look at Raspberry Pi and some of its uses.
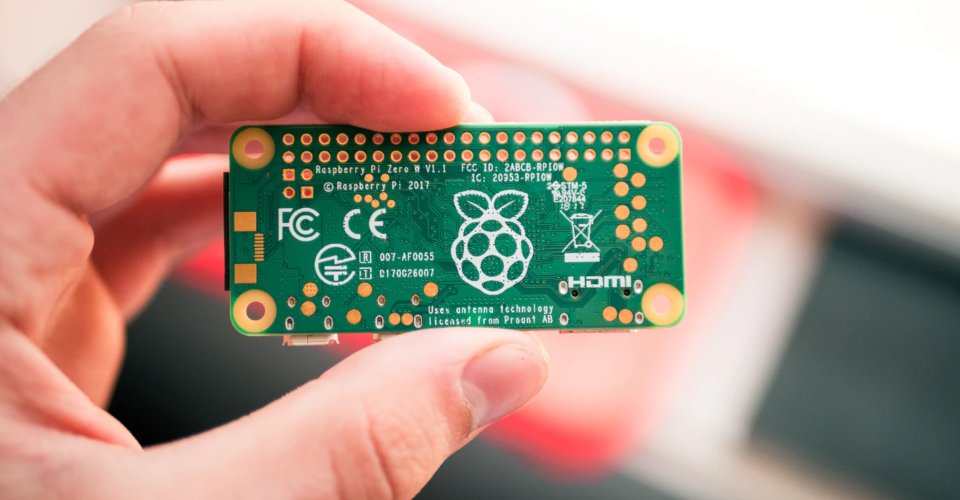
Raspberry Pi Defined
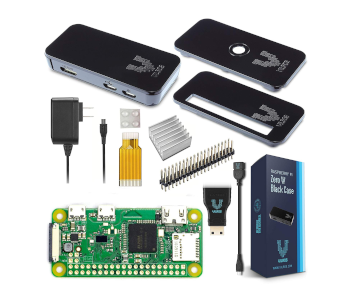
The best way to describe the Raspberry Pi is a credit card-sized standalone computer. It’s a simple circuit board with a central chip and I/O (inputs/outputs). The microprocessor can only function with help from individual chips. That’s how it stores, runs, and executes computer code. The Raspberry Pi has built-in USB, audio, graphics, Bluetooth, and wireless. It runs on the Raspbian OS.
A Raspberry Pi needs more power to function than Arduinos. It’s also a lot more complicated in design and use due to the layers of chips and software. You don’t need to attach the Pi to a separate computer to program it because it is a computer.
Anyone of any age who wants to explore the world of computing should consider the Raspberry Pi. You can learn how to program it using Python and Scratch languages.
Raspberry Pi HAT
The Pi equivalent of an Arduino shield is the HAT, which stands for Hardware Attached on Top. A stackable HAT is a rectangular add-on module with 4 mounting holes. The Raspberry Pi B+ is explicitly designed for use with add-on boards. The Pi B+ identifies newly connected HATs and configures drivers and GPIOs. That makes things so much easier for the user—too easy, some may argue.
10 Uses for a Raspberry Pi Board
You can use a Raspberry Pi in so many entertaining, practical, and exciting ways. Below are 10 fun approaches to experiment with using these fascinating mini computers.
- Learn to program
- Build a laptop
- Build an automatic plant waterer
- Build a Raspberry Pi-powered Alexa-type speaker
- Create a network-attached storage drive
- Explore robot car kits for Raspberry Pi
- Get a Kid’s Kano computer kit
- Turn your Pi into a set-top box
- Turn your Pi into a WiFi extender
- Make a wireless security camera
I’ll finish this guide with a simple comparison table to sum up the two boards.
| Raspberry Pi | Arduino |
|---|---|
| A miniaturized computer board supported by Raspbian OS. Pi can run multiple programs simultaneously. | Part of a computer called a microcontroller. Arduino runs only one program at a time. |
| Costs $35–40 depending on the version | Costs $10–25 depending on the version |
| Steeper learning curve for novice users | Smaller learning curve, novice-friendly |
| Raspberry Pi is more power hungry and not good with batteries. Better solutions are micro USB or the GPIO pins. | Arduino is not power-hungry and can run off a simple battery pack. |
| Connects easily to the internet via USB WiFi dongles and Ethernet. | Needs additional hardware (Ethernet shield) and coding to connect to the internet. |
| No onboard storage available | Onboard storage available |
| Raspberry Pi is equipped with 4 USB ports | Arduino is equipped with only 1 USB port |
| Uses ARM processors (CPU) | Uses Atmega328 processor (CPU) |
| Needs safely shutting down after each use | Plug-n-play simplicity |
| Pi programming language is python | Arduino programming language is C++ |
That concludes this no-nonsense Raspberry Pi Vs Arduino article. You now know that this is not an either-or choice, but one based more on your project needs and expectations. Both boards are excellent learning tools and lots of fun to experiment with.