How to Remove 3D Printing Supports, Rafts, and Brims

Ideally, a 3D printed project will come out perfect fresh off the print bed. In reality, this is something that rarely happens. Without any finishing, a 3D printed part will have an imperfect surface, visible layer lines, and bits of extraneous filament hanging off various sections.
To make your print look as good as possible, the finishing process typically starts by removing the bits of extraneous filament. Whether this is because of support structures, rafts, or brims, this is also a step which could end up ruining your finished print if done incorrectly. What’s the best way to remove the supports, rafts, and brims that come with your finished 3D print?
Why are supports, rafts, and brims necessary?
For those who have not encountered this problem before, it might make sense to ask the question – why not just do away with them entirely? Unfortunately, there is simply no way to completely avoid having to use rafts, brims, and – especially – support structures.
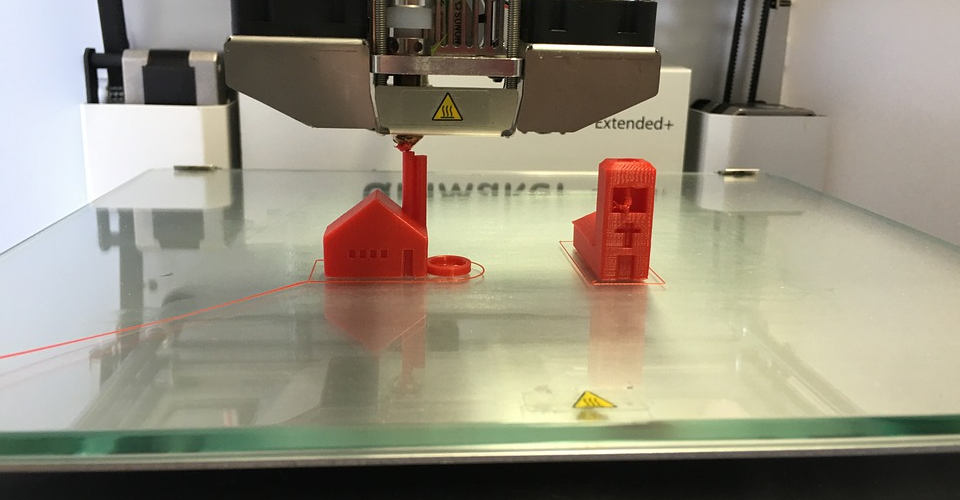
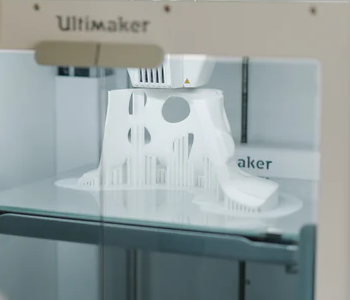
Let’s start with supports. As the name implies, a support structure provides mechanical support to features of the model that are overhanging. Not all models will require support structures, but most that have complex geometries will need them to keep from collapsing. As your skills in 3D printing become more advanced, you will naturally gravitate to these complex models that will need to be supported, no matter how many times you change how they are oriented in 3D space.
Rafts and brims serve an entirely different purpose – to prevent warping. One of the most frustrating problems encountered in 3D printing, warping is a phenomenon caused by the deformation of the plastic material as it cools down. This is often manifested as “curling” or the lifting of the corners of a print’s base layer off the print bed. The loss of bed adhesion is ultimately indicative of severe deformation of the rest of the project.
The fact that they help prevent some of the most commonly encountered issues in 3D printing has made supports, rafts, and brims a “necessary evil.” Not only do they consume more filament material, but they also have to be removed after the printing process. This creates an added step to the finishing process, particularly one that risks damage to the finished print if not done correctly.
Try and avoid them or minimize their use
Just because they can’t be avoided completely does not mean that they can’t be made less problematic. In most cases, there’s probably a way to reduce the dependency on support structures. If you’re designing your own model for 3D printing, you can probably make the model in such a way that supports are part of the design. There are dozens of ways to do this if you’re willing to be a bit more creative with your model.
As for rafts and brims, we consider them the last resort in addressing a warping-related issue. This is because there are several other measures we can take that are much less problematic. If you’re having problems with warping, we suggest adjusting your printing temperature and bed temperature first, as well as applying an adhesive aid to the print bed. You can even consider getting a print chamber enclosure if your 3D printer does not come with one. Any of these alternative solutions will be less of a hassle than dealing with a raft or brim.
Use a dual extruder 3D printer
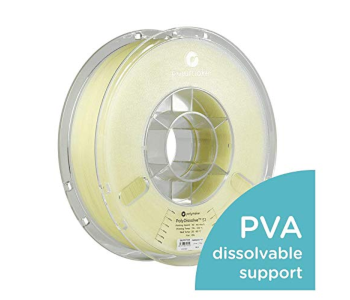
This feels like cheating, but if you find yourself printing with a lot of support structures frequently, then you should seriously consider getting a 3D printer with dual extruders (if you don’t have one already). This will allow you to print support structures using dissolvable filament like HIPS or PVA. This reduces the work of removing support structures to simply submerging your finished print in water or in the appropriate solvent for a few hours.
Of course, easy support removal isn’t all that a dual extruder is good for. You can also start exploring 3D printing with two different filament colors or even two different filament materials.
At this point, some of you may be wondering if HIPS or PVA filament can also be used for rafts and brims. The answer is a resounding yes. Printing rafts or brims with dissolvable filament is the perfect way to lessen the work of removing them. List this down as another good reason to get a dual extruder 3D printer.
How to remove supports, rafts, and brims
Despite your best efforts, you still ended up with a raft, brim, support, or any sort of extraneous material. Now comes the task of removing them. Here’s our best tips in making sure that you don’t end up ruining that model you spent several hours printing.
Use the right tool
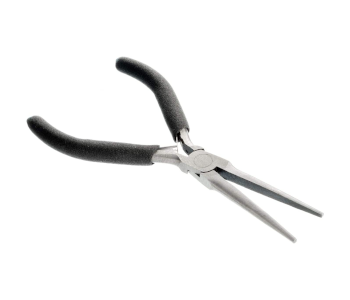
There are about half a dozen different tools that people like to use to remove support structures, but we find that an X-acto knife and a pair of needle-nose pliers is more than enough for the task. Tools that can get into those small spaces will certainly come in handy.
If you’re working on a huge model, then the job might be faster if you used a Dremel rotary tool. Take note that a Dremel rotates rapidly even when set at the lowest speeds. This can create a lot of friction. To keep your print from deforming, it’s best to use the Dremel in short bursts and to not keep it in contact with the material for too long.
Keep in mind that snipping off the extraneous parts of your finished print will likely result in small pieces of plastic flying around in your working area. This can be quite dangerous without the proper safety equipment. Do your eyes a favor and put on a cheap pair of safety goggles whenever you’re removing support structures, rafts, and brims.
Take it slow
Even when you’re working with the right tool, it’s still easy to do something wrong and cause irreparable damage to your finished print. This whole process can be particularly frustrating when there is a lot of material to remove.
As this frustration and fatigue builds up, you tend to become more careless. This is a very likely cause of making errors. If there’s a lot of work to be done, you might be better off doing it in several sessions.
Play it safe
Sometimes, there are brims or supports that cannot be accessed without trimming off some other nearby material first. In this case, it’s better to gradually snip off the extraneous material rather than try and remove it all in one piece. In fact, this slower but less risky approach is recommended for the entire finishing process.
When it comes to cutting off extraneous parts that are very close to the body of the finished print, it is better to be on the safe side and try to avoid cutting too much. If you need to leave very small nubs on the surface of the print, then do so. Those can be sanded off later. Cutting too close may also leave stress marks on the material, typically characterized by the plastic turning white.
Smooth out the kinks
If you’re really going for that professional look, then you need to sand down any imperfections left on the surface of your 3D print. These include any nubs left over from the removal process, as well as the inherently visible layer lines. It’s theoretically also possible to achieve this goal using a heat gun, but we prefer the control that old-fashioned sanding provides.
In any case, you are unlikely to be able to smooth out all the imperfections on the surface of your print, whether you use sandpaper or heat treatment. For the best aesthetics, recommend going all the way and applying either an epoxy resin or polishing compounds to fill in all those small gaps on the print’s surface. This is ideal for models printed with a raft as they tend to come out with very rough surfaces on the bottom side.
Final thoughts
As inconvenient as they may be, supports, rafts, and brims are just a usual part of 3D printing. We would even go as far as to say that they are unavoidable. With this in mind, it would be prudent to know how to handle them other than try and avoid them deliberately.
A good set of tools is key to the easy and proper removal of support structures, rafts, and brims. It may seem simple, but this is a process that requires both patience and experience. Just remember to take it slow and to not be too aggressive.