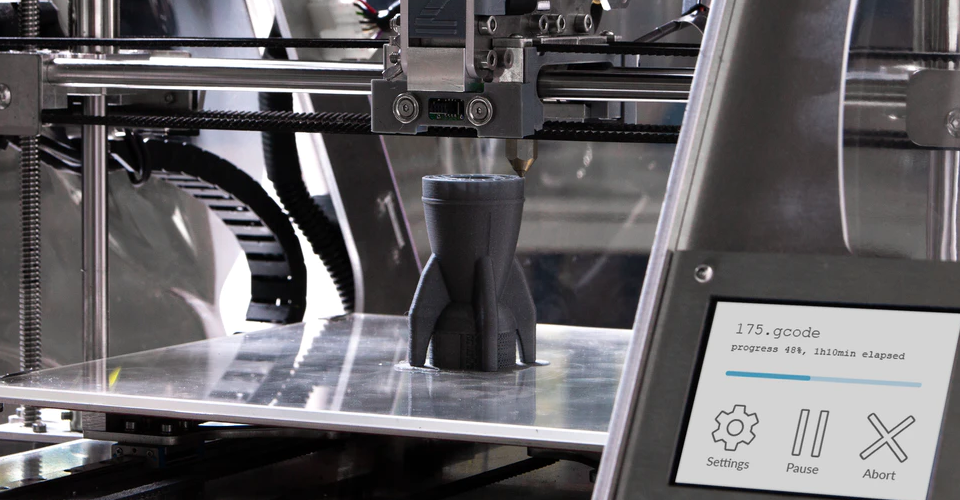
How to Safely Remove your Finished 3D Print

You’ve spent hours looking for the perfect 3D model to print, cleaning up the file, and printing it. Here comes the final step – removing the finished print from your build platform. Do you know how to do it properly? In most cases, removing your finished print in the wrong way can end up ruining either the print itself or your precious build platform.
The proper technique depends on a lot of things, including the type of print bed you’re using, the adhesives you applied, or if you have any handy tools available. We’ll try and cover all possible scenarios in our guide on how to safely remove your finished 3D print.
Before printing
Use a clean glass bed

Before you start working on any project, the first accessory you need to get your 3D printer is a glass print bed. Glass provides a perfectly flat and smooth surface for your prints to stick to, therefore ensuring perfectly smooth bottom surfaces. It’s cheap, easy to clean, and heats more evenly than an aluminum print bed. There are a lot of glass print beds available online – just make sure that you buy one that fits your build platform.
Whenever you start a new print, make sure that you clean your glass bed thoroughly with some isopropyl alcohol. This gets rid of any oils from your fingerprints as well as any residual adhesive from your previous printing jobs. This simple act of preparation will serve to improve bed adhesion and make it easier to remove the print once you’re done.
Adjust Z-setting
When adjusting your printer’s settings, the goal is to make your print stick to the build platform so that it remains stable while printing. However, you don’t want it to stick TOO well, lest you end up with a print that’s too hard to remove.
The initial Z-setting of the printing nozzle plays a significant role in determining how well the base layer sticks to the print bed. As a rule of thumb, you want to keep the Z-setting between 70% to 80% of the height of the first layer. This applies just enough pressure to the first layer to help with bed adhesion.
Use a flexible print bed
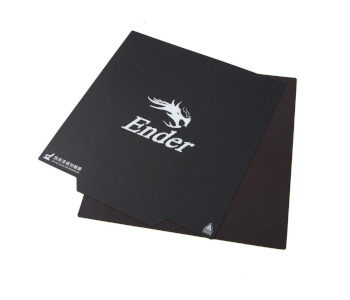
Yes, we said that you should be using a glass print bed. Glass is cheap and reliable but doesn’t exactly help much when it comes to print removal. In the past few years, flexible print beds have started to become popular because of how easily prints can be removed from them. This flexible print bed from Creality 3D attaches to your build platform magnetically, so taking it off and putting it on is hassle-free.
The beauty of using a flexible print bed is that you can simply bend or twist it and your print will pop right off. So far, a flexible print bed has proven to be the easiest print removal tool available today.
You’ll have to spend quite a bit more on a magnetic print surface than an equivalent-sized glass bed. It’s also quite delicate, so you might need to be careful when twisting or bending it. You will also want to avoid using a spatula to pry off anything from a flexible print bed.
After printing
Let the print cool down
After you’ve finished printing your model’s top layer, the first thing you need to do is to wait. Let the print cool down to room temperature. Depending on the size of your project and your printing temperature, this could take as long one to two hours. Be patient, as letting the print cool down is the most important step of removing it from the print bed.
If you’re lucky, the contraction of the plastic material as it cools down could be enough to make it pop off the print bed without you having to touch it. If this isn’t the case, then you simply move on to the next steps.
Try to force it off
Even if the cooling process didn’t result in your print popping off from the print bed, it still should have dislodged the print partially and weakened the adhesive forces between the print’s bottom surface and the print bed. You just might be able to overcome this adhesive force by applying a bit of force yourself.
The best way to do remove your print is to try to push, pull, or twist your print near the base. Be very careful when we do this. The amount of force you can apply without damaging your print will depend on how big it is and the thickness of its shell. This is an exercise in intuition, but you need to err on the side of caution.
Use a spatula

If that still doesn’t work, then you’ll need to bring out your ever-handy spatula. You should ALWAYS have a spatula in your arsenal for this purpose. This uniquely shaped spatula from BuildTak was specially designed for 3D print removal. You can also get this pair of 3D print removal tools from foreasy which could have more versatile uses.
To remove your finished print, simply place the spatula at a corner of your 3D print and give it one sharp tap on the handle. Oftentimes, this is enough to lift off a huge portion of the print. If this still isn’t the case, try and do the same for the other corners. You can continue repeating the cycle if you can observe progress with each attempt.
The problem with this approach is that you could easily end up damaging your print surface. If you use a special print surface like BuildTak, you might end up having to replace it sooner than planned. Even a glass print bed could suffer from micro-scratches if you end up having to scrape off your finished prints all the time.
Cool it down further
If cooling your print down to room temperature didn’t do the job for you, then there’s another rarely used trick that you can do: place the whole print bed inside your refrigerator. Leave it there for about an hour and your print should have hopefully loosened enough to be removed with no special tools.
If your print bed is too big to placed inside a fridge, then simply remove it from your 3D printer and dump a bunch of ice packs. This should have the same effect.
Rinse with water
If you used a water-soluble adhesive on your print bed, like a glue stick or hairspray, then it only makes sense to wash it off afterward with water. Simply submerge the whole print bed in some water until the adhesive melts off.
Lukewarm water is best for this process but be careful not to get it beyond 50 °C, else you might end up with a badly disfigured print.
Rinse with alcohol
For adhesives that aren’t water-soluble, a smattering of isopropyl alcohol may be just what it takes. Blue painter’s tape or Kapton tape are two common adhesives that call for some alcohol treatment.
To remove a print with alcohol, you’ll need to douse the edges of your print with a liberal amount. Keep in mind that the tape needs to be soaked with alcohol for effective removal. Hopefully, this would be enough for you to remove the finished print with minimal effort.
Final thoughts
Removing your finished print from the print bed is the very last step of the printing process. Unfortunately, you can still mess up with this last step if you’re not careful or if you hadn’t made some preparations. Few things could be worse than finishing an entire print only to ruin it because you forced it off the print bed.
We hope that the methods we have listed here provide you enough print removal options no matter what print bed, filament material, or adhesive you’re using. Is there a combination of 3D printing materials that are proving to be particularly difficult for you? Let us know in the comments and we’ll try to figure out a solution.