A Comprehensive Guide to Sanding your 3D Prints

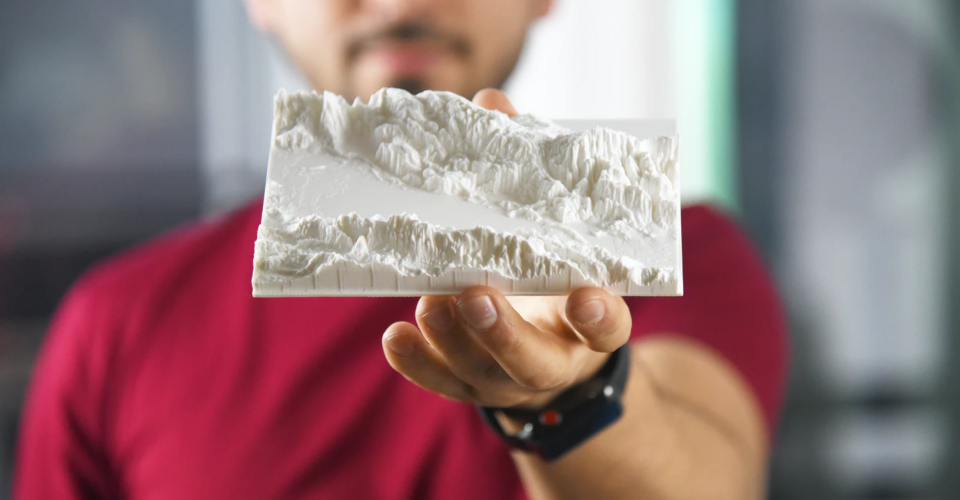
A project fresh off a 3D printer may look great from afar, but a closer look will likely reveal an uneven surface characterized by visible layer lines. Removing these rough details is practically a requirement if you’re looking for 3D prints with a more professional finish. This is going to take a bit of work.
One of the simplest options for post-processing, albeit tedious and labor-intensive, is sanding. Simply put, you take a piece of sandpaper and go to town on the surface of that finished 3D print. You’ll have to be a bit more refined, however, depending on what type of filament material you’re working with. Before you start sanding your 3D print, check out this detailed guide that we have prepared.
Which filament materials can be sanded?
If you’re looking for that professional look, the first thing you need to know is that not all filament materials take kindly to the mechanical smoothing process of sanding. Sandpaper basically grinds the surface of the print, removing a good deal of the plastic to produce a smooth surface. Thus, the hardness and density of the material play a role in how easily it can be sanded. Here are some of the filament materials that are good candidates for sanding:
PLA
Sanding is the go-to option for smoothing PLA prints, mostly because there really are no alternatives. It’s also one of the easier filament materials to sand because of its low strength characteristic.
The main challenge when sanding with PLA lies with its low glass transition temperature. Since the friction produced by sanding can generate significant amounts of heat, it’s possible to sand PLA so vigorously to result in deformation. The best way would be to take it slow and apply very light pressure.
PETG
PETG is a bit more flexible compared to ABS and PLA. This ductile or flexible nature means that PETG is a lot harder to sand. Still, sanding of PETG prints is easier than any of the alternatives – either heat treatment using a heat gun or a solvent bath using toxic solvents.
In terms of quality, sanded PETG prints are at par with any other filament material. PETG is a bit more heat-stable than PLA, so you won’t need to treat it as carefully during sanding.
ABS
Despite the acetone vapor bath method being the preferred technique for smoothing ABS prints, ABS actually reacts to sanding very well. ABS is known as a high-strength and wear-resistant material, so it’s going to take quite a bit of effort to grind down its rough features.
The best thing about sanding ABS is that it’s very stable when exposed to high temperatures. If you’re sanding by hand, it would be near impossible to generate the amount of heat that would lead to the deformation of ABS. This is fortunate because you’re likely going to need a lot of pressure to succeed in sanding ABS.
Composite PLA
By far, the easiest material to sand is composite PLA. These are basically PLA filament infused with solid materials such as wood, metals, marble, or carbon fiber. Composite filaments are extremely popular because of their unique visual appeal and appearances the defy the typical ‘plastic’ look.
What makes composite PLA filaments easy to sand is the fact that they retain the ease with which PLA can be sanded but are much less prone to deforming. Some of the composite filaments look downright gorgeous when sanded, especially those infused with wood powder.
If there’s a filament that’s impossible to sand, it would be the truly flexible ones like TPU.
A step-by-step guide to sanding 3D prints
Regardless of the material, the basic sanding process will take you through the same steps. You may have to adjust how much time you spend on each step as necessary. The idea is for you to move on to the next step only if you’re already satisfied with the results of the step you are currently in. All in all, expect to spend anywhere between two to five hours sanding a single 3D print depending on its size and the filament that you used.
Step 1: Prepare your materials
Much like any DIY project, you can save yourself a lot of headaches by preparing all the materials you are going to need before you start. You might not need all of these but it’s always better to over-prepare.
- Needle nose pliers
- Cutting pliers
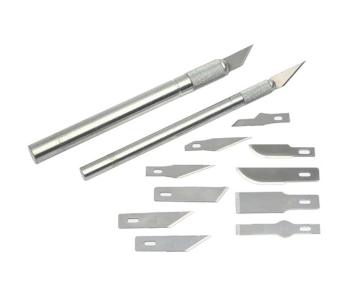
- X-acto knife
- Chisel
- Goggles
- Gloves
- Respiratory mask
- Sandpaper (120, 220, 400, 800, 1200, 2000, 3000 grit)
- Plastic bin large enough to submerge your print
Step 2: Prepare your 3D print
Before sanding your 3D print, you need to remove any extraneous features on the model from the printing process. This includes support structures, mouse ears, or any rafts or brims that you had to use to help with bed adhesion. There’s also the fact that you have to be able to remove your finished 3D print from the bed.
The safest way to lift your print from the bed is to simply allow it to cool down to room temperature. In most cases, this cooling effect is enough to help the base layer pry off from the print bed with a moderate amount of force. You can also try to very carefully insert a flat chisel between your print’s base layer and the print bed. This is going to be harder if your print has a large contact area with the print bed or if you used a lot of support structures.
Speaking of support structures, removing them will probably take your whole arsenal of cutting tools. From experience, the two types of pliers and the X-acto knife should be more than enough. Take care not to cause any damage to your print while removing support structures – this happens more often than you would think. As a rule of thumb, it is better to leave very small nubs from the supports as you can sand them off later than to risk cutting off too much and leave visible indentations on the surface of your print.
Step 3: Rough sanding
Once you’ve removed most of the support structures, it’s time to start with the sanding proper. Before sanding, wear all your protective gear – gloves, goggles, and mask. Sanding can release particular matter in the air which you can either inhale or get in your eyes. The gloves are there to help you avoid friction burns.
You will start with the sandpaper with the lowest grit number. In our case, this will be 120-grit. Start with sanding any leftover nubs from the support structures, although you will have to go over the entire surface of the print anyway. Sand using slow and circular motion, making sure not to focus on one spot for too long to avoid heat buildup.
When starting with rough sandpaper, you will notice that the surface of the finished print will turn white. This is a result of the surface of the plastic undergoing a huge amount of stress. Don’t worry – this problem will get resolved later on.
Continue sanding with 120-grit until you can see no noticeable improvements, or you are satisfied with the results. The longest sanding session will always be the first one so be patient and know that the proceeding steps will be easier.
From here on, you will be progressing by sanding with sandpaper with the next higher grit number. Continue with 220, 400, and 800 using the same procedure. Remember to be gentle and use sand using circular and slow strokes. The process should be easier once you get to the higher grit numbers and you should see a noticeable disappearance of the white residue that was produced during the first sanding step.
Step 4: Wet sanding
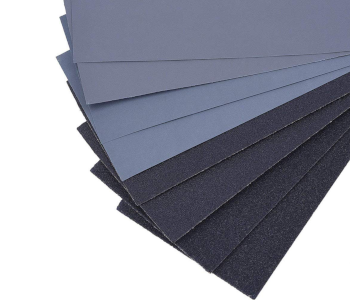
Once you move on the fine sandpaper (1200, 2000, and 3000-grit), we will have to employ the wet sanding method. You will need to use your plastic bin and fill it with enough water to submerge about half the height of your finished print.
Basically, wet sanding paper will require you to wet either the print being sanded or the sandpaper periodically during the sanding process. There are two reasons for doing this. The first is to mobilize the plastic particles that come loose during sanding, preventing them from gumming up the sandpaper and speeding up the sanding process.
The second reason is to reduce the overall temperature of the print being sanded. As you move on to finer grit sandpaper, heat buildup becomes more apparent on account of the greater friction being generated by the fine grain of the sandpaper.
At this stage, you should start seeing a more polished appearance on the surface of your 3D print. The color of the surface will also go back to the color of the original filament. At the 3000-grit level, it’s perfectly possible to produce a mirror-like finish.
What else can you do after sanding?
The results of sanding are often stellar on their own. With the technique we have outlined above, it’s possible to create perfectly smooth surfaces with no perceivable rough edges or uneven features. However, there are several ways to take the finish quality to the next level. Here are some options:
Apply a polishing compound
If you want to retain the color of the filament but would like it to have metal-like luster, then you can simply apply any standard metal polish. The polishing compound will permeate into any remain crevices on the surface of the print, thus enhancing an even smoother finish.
Apply a thin and even layer of the metal polish using a piece of cotton cloth. Again, use small circular motions to make sure that all the polish gets into the microscopic crevices on the surface. To polish the surface and develop some luster, get another piece of cloth (without the metal polish) and vigorously rub the surface of the print using the same circular motions. This should buff up the surface and produce an exceptionally shiny finish.
Apply wood stain
If you used the sanding method to finish a print made with wood filament, the most sensible next step would be to apply a wood stain. The sanding process should expose a lot of the wood particles on the surface of the print. These wood particles would readily absorb the stain, giving the finished print a color that more closely resembles real wood. This is a great way to add contrast to your composite wood print and highlights its contours.
Apply epoxy coating
Epoxy coating is an easy-to-apply compound that will help in achieving a smooth surface and provides a measure of protection for the 3D print against humidity and other erosive factors. As with a polishing compound, the epoxy coating will permeate into any micro-striations on the surface of the 3D print, thereby improving the surface finish to a degree that is not achievable by sanding alone.
Paint
Of course, it’s perfectly possible to paint your finished 3D prints if you don’t like the look of the original filament or you want your print to have multiple colors. Painting is often a two-step process that involves applying a layer of primer in preparation for the paint.
Once you have finished sanding the print, apply an even layer of filler primer. Just like a polishing compound, this will even out the surface of the print by filling in any minor imperfections. Upon drying, the filler primer also protects from the damaging effects of humidity and improves the adhesion of the surface to paint.
Just about any type of paint, applied in any of the usual ways, can be applied to a 3D print once filler primer has been applied. Spray paint is recommended for the application of a thin and even coat, but you can also use a brush if you are confident with your skills.
Ultimately, the goal of each one of these techniques is to enhance the visual appeal of your 3D print beyond what sanding can achieve. However, sanding is central to every one of them – there are simply no shortcuts unless solvent-based finishing is an option.
Final thoughts
3D printing a model is one thing, but the proper post-processing technique makes a huge difference in giving your 3D prints that professional look. By far, the most versatile post-processing method is sanding – it’s applicable to just about any filament material except those that are exceptionally ductile.
Sanding is the foundation on which all other post-processing techniques are built on. It doesn’t take a lot of skill to do sanding right, but you’ll have to be patient and well-prepared. With some time and effort, you’ll be well on your way to making better-looking 3D prints.