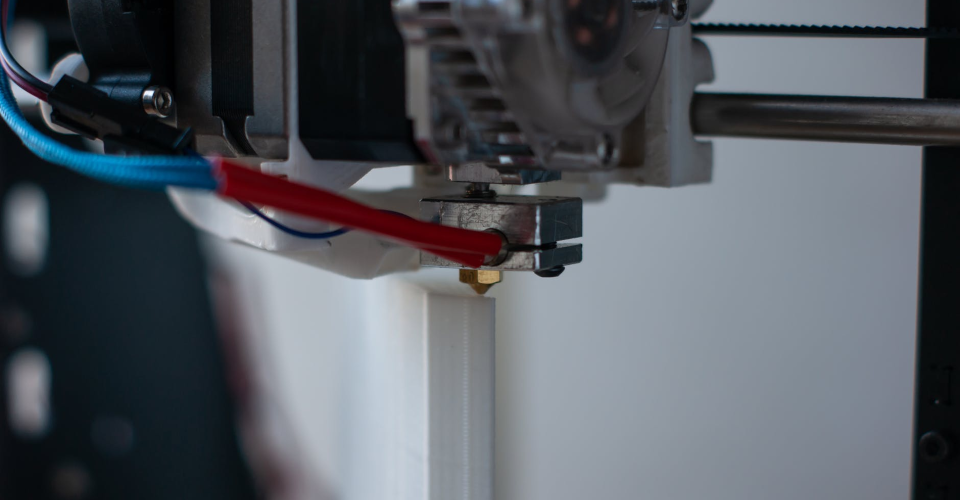
Smoothing and Finishing Techniques for PETG Filament

We’ve often said that learning how finishing techniques is how a person turns 3D printing from a hobby into a viable profession. With the right finishing process, you can turn that raw 3D print with its uneven surface to something that resembles a product made using casting methods.
In this article, we’re tackling the third-rate plastic filament PETG. It’s not quite as popular as the top dogs of the 3D printing world, ABS and PLA, but it’s still pretty widely known. What makes PETG so special and how do its special characteristics influence the type of finishing techniques that are suitable for the material?
What is PETG?
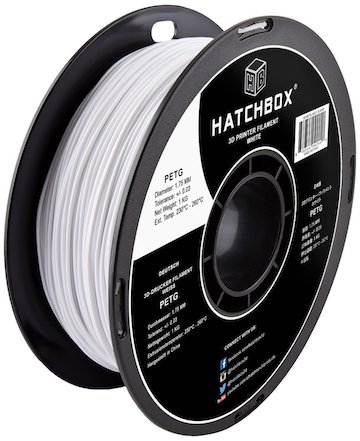
PETG stands for glycol-modified polyethylene terephthalate, a variant of the ubiquitous PET, which is one of the most common plastics in the world. The addition of a glycol group makes PETG a little more flexible and less brittle than standard PET, while also making it clearer and more suitable for printing. Because of its durability and chemical resistance, PETG has been widely used for outdoor signages, medical applications, good containers, and prosthetic devices.
What are the unique characteristics of PETG?
Many consider PETG as a combination of the best characteristics of ABS and PLA, which easily makes it stand out from many other 3D printing filaments. It’s both tough and easy to work with – clearly an incredible combination of desirable characteristics.
1. Flexibility and durability
The extra flexibility of PETG due to the addition of a glycol group makes it more suitable for applications where it will sustain sudden impact or constant pressure. In terms of impact resistance, PETG is superior to both ABS and PLA. However, its overall durability and scratch-resistance fall just below ABS.
2. Chemical resistance
With a chemical structure full of aromatic rings and double bonds, PETG is considered one of the most chemically resistant plastics ever developed. This makes PETG an excellent material for food containers, chemical containers, and medical prosthetics. PETG is impervious to degradation by most acids, bases, and solvents. While this property is desirable in the for industrial and commercial end-users, it is also a reason for why smoothing a PETG print is challenging (as we shall see later).
3. Heat resistance
The printing temperature of PETG is around 230 °C, which is just slightly below that of ABS. In addition to its heat stability, the glycol groups in PETG prevent it from crystallizing when exposed to high temperatures. What this means is that PETG does not easily become brittle when exposed to heat, unlike many other plastics. With this combination of properties, PETG is exceptionally suitable to high-temperature applications such as in food containers or outdoor signages. A lot of medical equipment that has to be autoclaved regularly are also made of PETG.
4. Does not emit an odor
One of the worst tradeoffs of printing with ABS is that it emits a very noxious odor when printing. This is not the case with PETG. The lack of odor when printing with PETG is one of its biggest advantages over its similarly heat-stable counterpart.
5. Easy handling
Another advantage of PETG over ABS is that it’s not as prone to warping as it cools down. This outcome is a result of two factors: a small shrinkage factor and better layer adhesion. In fact, PETG sticks so well to the build platform that it’s considered a terrible material for support structures.
Why is solvent finishing no longer an option with PETG?
One of the easiest and most reliable ways of finishing an ABS print is to give it an acetone vapor bath, resulting in a consistently smooth surface. If PETG is so much like ABS in many characteristics, then why can’t it be finished using a similar technique?
The truth is that it’s possible to finish a PETG print using a solvent. Acetone isn’t an option because it does not dissolve PETG. If you’re looking for a solvent that can dissolve PETG, you’re left with three alternatives: toluene, cyclohexanone, and MEK (methyl ethyl ketone).
The problem with all three of these solvents is that they are not as readily accessible as acetone. For a variety of reasons, these solvents are heavily regulated. Toluene can be used as an ingredient for explosives, while both cyclohexanone and MEK are precursors to the manufacture of illegal drugs.
For the humble 3D printing professional, obtaining these chemicals will be virtually impossible. Even if you did have the license to acquire them, you will have to submit proof of how you plan to use them. It’s simply not worth the effort, considering that are much easier alternatives to finishing PETG.
Best smoothing and finishing techniques for PETG
With solvent-based methods out of the way, we can shift our focus to more traditional and mechanical processes. We suggest getting some of that elbow grease ready – you’re going to be doing a lot of sanding.
1. Sanding
Sanding is a tried and true method of finishing 3D prints and is pretty much your only option for finishing filament materials that do not dissolve in any solvent. The same can be said for PETG. However, the more ductile and less brittle properties of PETG make sanding a little harder than PLA or other similar plastics.
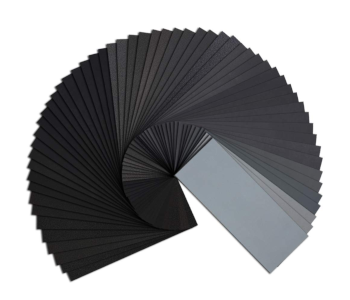
The techniques, however, remain the same. You will want to start with low-grit sandpaper, gradually making your way to their finer counterparts. We usually like to start at 400-grit and finish at either 2000-grit or 3000-grit. Determining the point where the print looks good enough is entirely up to you.
Again, you’ll want to sand using a circular motion so that your print doesn’t come out with a visible directional bias. Heating up the material because of rapid sanding is less of a concern with PETG since it’s much more heat-stable. As with PLA, you can use a wet sanding method once you hit the higher grit grades (around 1000-grit) to mobilize all those plastic particles and make your job easier. Sandpaper is pretty cheap, so we like going all-in with this 90-piece pack of sandpaper from Verones with a variety of grit numbers.
2. Sanding and polishing
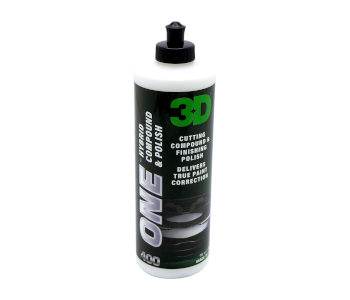
Sanding alone won’t create a perfectly smooth finish, as there will still be very small pockets that are simply too small to be removed by sandpaper. If you want to get rid of these irregularities, the best way would be to apply a polishing compound. You can use either a liquid polishing compound (such as this metal polisher from 3Done) or this more traditional wax-based polishing compound from BeaverCraft.
To use a polishing compound, simply take a soft cloth, place a dab of the polishing compound on it, and rub it gently over the PLA print. The polishing compound will fill in all the microscopic holes to help create an even surface. After application, continue rubbing the surface of the PLA print with the cloth to buff the polishing compound and develop a nice sheen.
If you find that the surface isn’t perfectly smooth, you can simply reapply another coat of the polishing compound and buff it again. Remember to maintain a circular motion with the cloth to help keep the application of the compound fairly even. With enough buffing and application of the polishing compound, it’s possible to a mirror-like finish in your PETG print using a combination of sanding and polishing techniques.
3. Heat treatment
Just like PLA and ABS, finishing via heat treatment is also an option with PETG. The high melting temperature of PETG means that you’ll need to ramp up the settings of your heat gun. In any case, this is a technique that requires a good deal of finesse and technique. If you’re not familiar with using a heat gun, then this isn’t an option that we can recommend for you.
The idea of heat treatment is to melt a very thin layer on the surface of the print to remove any of its impurities and leave an even finish. With the right execution, you should be able to get rid of all those uneven features – even the microscopic gaps.
We recommend setting a heat gun to the lowest melting temperature of PETG (230 °C) and increasing it as necessary. Make sure to be constantly moving while you have the heat gun pointed to the print. Heat treatment at low temperature may be slower, but it’s also easier to control. It may take a bit of experience to know when to stop. Excessive heat treatment can result in “wavy” features on the surface of a print where the material has started to droop down. At worst, you may end up with distorted features.
Final thoughts
PETG is a pretty tough filament material, which is partly the reason why it’s one of the more popular materials for 3D printing next only to PLA and ABS. It’s flexible, heat-resistant, and chemically resistant, making it an excellent choice for thousands of commercial and industrial applications.
The same characteristics make PETG a particularly difficult material to polish and finish. Chemical methods are out of the question, so the best options left are sanding, polishing, and heat treatment. It’s hard work, but it’s worth it.
Have you tried working with PETG yet? Tell us about your experience in the comments.
I tried MEK on PETG. PETG does not dissolve in MEK. I also tried Dicloromethane. This dissolves PETG a very little bit. Not suitable for finishing.