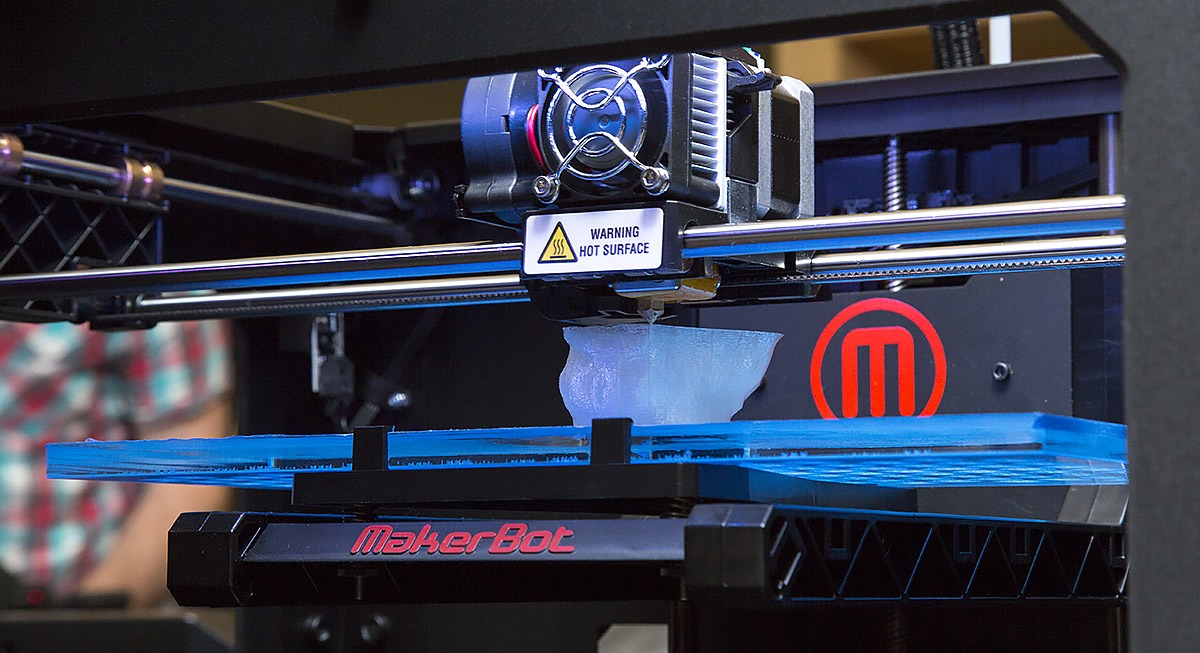
5 Beginner Tips to Speed Up Your MakerBot Printer
Picking up 3D printing as a hobby is an exhilarating decision for anyone. From the first research you do on choosing a 3D printer, to finally receiving your package at your door, that duration of time will be filled with anticipation. The dream of creating something unique for either your personal use or as a gift to family and friends is that anticipation which will drive you throughout your career as a creator of things.
The ability to design digital 3D models and develop them into 3D objects using a 3D printer is a form of art and as with all art-forms, learning new techniques is the surest path to success. In that vein, included here will be some timeless tips on using a MakerBot printer—MakerBot 2, MakerBot 2X etc.—I wish I had known during my first foray into the exciting world of additive manufacturing.
Keep Your Firmware Updated at All Times
Like all hardware devices—smartphone, computer etc.—you are conversant with, 3D printers function through applications and MakerBots are no different. Updates are needed to ensure all functionalities work without stability issues coming up. The updates to look out for with the MakerBot series, is the desktop and firmware updates. These are responsible for ensuring that USB functionalities (i.e. support for the discs you use) remain functional while the MakerBot desktop upgrades fix existing bugs in older versions.
Understand the Importance of Z-axis Offset and How to Adjust Yours
The Z-axis offset can simply be defined as the space between your printers nozzle—the end that extrudes filament—and its build plate—the base supporting your prints. When the offset distance is too near the MakerBot produces filament that won’t stick on the base. When it’s too far your 3D printer simply makes a clicking noise without extruding filament. Therefore, to print perfectly, Z-axis offset must be accurately managed. To do this, simply access your MakerBot Desktop and navigate to ‘Devices >Device Preferences’, open the Z-axis Offset tab; locate the ‘Manual Z-axis Offset Adjustment’ section located at the bottom. Here, you will be able to view the picture of your nozzle in relation to its build plate. Now you can proceed to increase or decrease the offset space with 0.1mm adjustments. Click ‘apply changes’ when satisfied and your changes will automatically be applied.
Create Custom Profiles for Different Printing Speeds
The repetitive nature of 3D printing means that in some cases, creating a printing profile will reduce the amount of work you need to do. This tip is particularly important to beginners printing small items like a smartphone case. The custom profiles for these items should be based on printing at a reduced speed which allows you print great objects with enhanced stability and without removing a raft—the supporting layers for a broader exterior object surface. To set profiles, simply navigate to the settings in MakerBot Desktop and click the ‘Custom tab.’ Next type in the name of your custom profile and the printing material it is been created for. Once saved, this profile can be applied anytime the next time you need to 3D print something similar.
Navigating between Speed vs. Quality
As with most products, MakerBot printers come with user instructions on how to ensure you develop quality prints. As a beginner, these instructions will totally be above your head and this is understandable. Now, it is important to note that there are alternative ways to ensure quality and one important technique, is using these settings; choose 10% infill and a layer height of 0.1mm while slowing down the print speed lower than MakerBots recommendations. Doing this stabilizes your 3D printer and ensures that your print does not collapse during the printing procedure.
Conversely, if you need to print at a really fast pace, there are also alternatives to increasing the extrusion speed of your extruder. Simply setting the infill to 0% will ensure that your printer works super-quick. The only downside to this is that a 0% infill should be used on projects with thin exteriors.
Keep Your Computer Awake for Longer Periods
When slicing large files—changing digital 3D models into code that MakerBot understands—it is important to recalibrate the settings of your computer to eliminate its pre-set sleep time. This is because of the uncertainties which may lead to interrupting your slicing or 3D printing project while you are away. Also, if your computer does go to sleep during any of these processes, it is recommended that you restart background services when you wake up your computer. This ensures that proper connectivity is retained with your MakerBot 3D printer.
3D printing is fun and like your other physical hobbies, continuous practice using your printer will definitely lead to perfection.


