What is the Strongest Infill Pattern in 3D Printing?

In 3D printing, creating a strong part often compromises other factors such as material consumption and printing time. A good way to strike balance is to use infill patterns – internal structures that deliberately some porosity to a 3D printed part.
If strength is the most important characteristic for your project, then a honeycomb pattern is probably your best bet for providing omnidirectional strength. There are a few other noteworthy options and factors to consider, especially if you want to optimize your 3D printing process. How can you customize an infill pattern to get the most out of your 3D printed project?
What is an infill pattern in 3D printing?
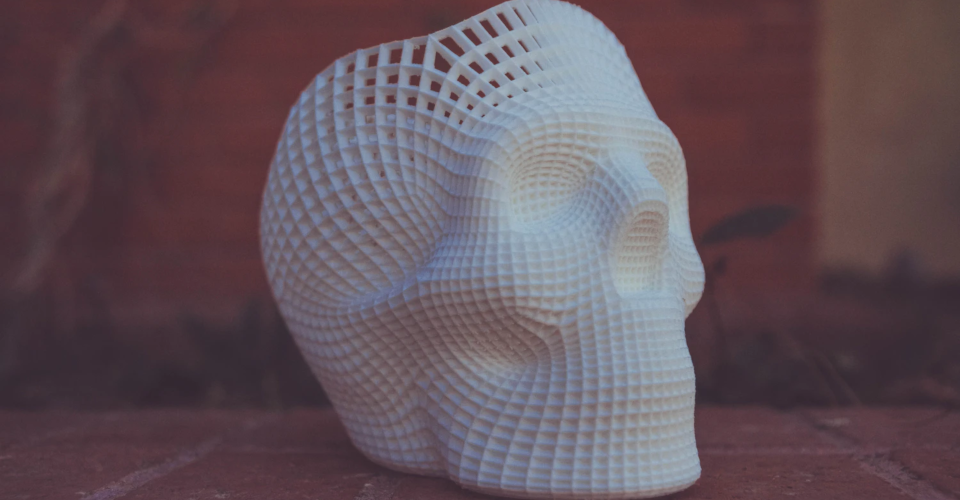
If you have ever seen a 3D printed product, then there’s a good chance that it has a pretty well-hidden trait – it’s mostly hollow inside! Through the use of infill patterns, 3D printed parts can be designed with a highly controlled degree of porosity. This makes 3D printing a much more economical manufacturing method by reducing the amount of material that goes into the product. It also reduces the weight of the finished part and the time it takes for the actual printing process.
However, a seemingly solid 3D printed part isn’t completely empty inside, either. Inside the part’s outer walls (or shell) is an interior structure that gives the part some degree of mechanical strength. The physical appearance of this interior structure is what is referred to as the “infill pattern.” The pattern can be tweaked as well with different density values.
What are the strongest infill patterns?
3D printing technology has matured a lot in the last several years, allowing for options to customize a print according to strength, flexibility, weight, and printing time. The wide range of infill patterns has contributed greatly to this degree of customization.
If you want strength to be the main focus of your 3D printed part, then here some of the best options for infill patterns:
1. Honeycomb

Patterned after the natural honeycomb structure, this infill offers the best strength-to-weight ratio. While other infill patterns rival or surpass the honeycomb pattern in terms of sheer strength, a honeycomb infill is preferred by many because of how little material it consumes. For this reason, a lot of parts used in aircraft and space travel use honeycomb interior structures.
A nice benefit of a honeycomb infill pattern is that its strength is equal in any direction. This is ideal if you cannot afford to have a part with a prominent weak point.
However, the honeycomb pattern is not the best in terms of printing time despite the relatively low amount of material needed. FDM printers, in particular, can take a long time to print a honeycomb infill because of how much the print head needs to move for a single layer. SLA and SLS printers are less affected by this limitation.
2. Rectilinear
The rectilinear pattern is one of the simplest infill options. Also referred to as the “linear” pattern, a rectilinear infill merely consists of parallel lines in directions that alternate with each layer. From the top, a rectilinear pattern looks similar to a finely spaced grid.
The biggest benefit of the rectilinear pattern is that it massively speeds up the 3D printing process. By relying only on straight lines, a rectilinear infill requires minimal shifting of movement direction by the print head. Although faster, the rectilinear pattern uses up more material than the honeycomb.
The rectilinear pattern is strongest in the vertical direction, on account of the regular stacks of parallel lines. However, it is very weak in the horizontal direction, especially against forces that do not perfectly align with its parallel lines.
It can be argued that the strength of the rectilinear pattern is one-dimensional. It’s great for supporting a load in the vertical direction but not for any other application.
3. Gyroid
A gyroid infill pattern is one of the most visually complex options and is a pattern that is arguably only possible with 3D printing. Using a series of curved surfaces oriented across different axes, a gyroid infill provides resilience and shear resistance across all directions while preserving the part’s flexibility.
The strength-to-weight ratio of the gyroid pattern is also commendable, producing lightweight patterns comparable to those printed using a honeycomb structure. In terms of printing time, the reliance of gyroid on continuous lines gives it a very slight edge over honeycomb but still ranks it below rectilinear.
Much like a honeycomb structure, a gyroid pattern provides support equally across all directions. Looking at it based solely on this characteristic, the gyroid pattern can go shoulder-to-shoulder with honeycomb as the strongest 3D printing infill pattern.
The biggest problem with the gyroid pattern lies in its complexity. Slicing a model with a gyroid infill can take a long time and will create large files. Some 3D printers may not even be capable of printing a gyroid pattern because of how the complexity of G-Code commands that the model requires.
Other factors to consider when creating strong 3D printed parts
Creating a 3D printed part with high strength isn’t just about the choice of infill pattern. To really maximize the strength of your print, here are some other factors you may want to consider:
Infill density
Infill density goes hand-in-hand with infill pattern. A higher density only means that the repeating patterns of the infill will be spaced more closely together. Naturally, this comes at the cost of higher material usage and a longer printing time.
Infill density can range from 0% to 100%. The general rule of thumb is that the higher the infill, the stronger the finished part. However, the additional strength benefits become marginal at around the 50% mark. We suggest playing with the values at around this range (40% to 60%) to find what works best for you.
Shell thickness
Almost equally important to the strength of a 3D printed part is the thickness of its shell or outer layer. Unlike the infill, increasing the strength of a shell is a simple matter – you simply need to add layers to it. According to experts, an additional shell layer is equivalent to around a 15% increase in infill density.
Just like with the infill, making a thicker shell strengthens a part but comes at the cost of added material usage and longer printing times. The standard value for shell thickness is about 2 millimeters. You may have to adjust this value to make it a multiple of your nozzle diameter. Increasing the shell thickness by one or two layers will massively improve the strength of your 3D printed part.
If you’re planning to sand a 3D printed part during post-processing, then adding extra shell thickness is probably a good idea. The whole sanding process will inevitably remove a large portion of the material in the shell, making it significantly thinner.
Print orientation
Any form of additive manufacturing or 3D printing relies on the concept of building a three-dimensional object layer by layer. No matter the technology you use, the boundaries of these layers are a natural weak point of any 3D printed part.
If you know exactly how your part will be used, then you can plan where you want to place this natural weak point. The layer boundaries are particularly weak to two types of forces – a tensile force perpendicular to the layer lines and a shearing force parallel to the layer lines.
By changing the orientation of your model in the slicer software, you can effectively ‘hide’ its weak points from the forces that the 3D printed part will withstand. Knowledge of how different infill patterns behave can also be instrumental in this strategy.
Filament or resin quality
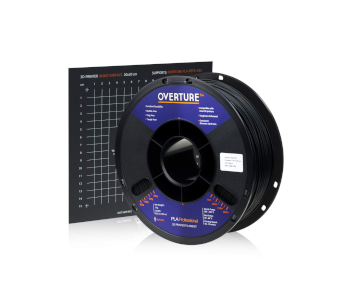
When you put garbage in, you also get garbage out of any process. This is a good rule to keep in mind when 3D printing. If you want your project to come out with professional-grade strength, then make sure to buy good-quality filament or resin. There are also some 3D printing filaments designed specifically for toughness, such as the PLA + filament from Overture.
Different 3D printing materials also react in different ways to external conditions. UV radiation, excess heat, and exposure to solvents or acids can all accelerate the deterioration of a 3D printed part. No matter how you reinforce an object with the best infill patterns, the material itself can fail when used in unsuitable conditions.
Final thoughts
Playing around with infill patterns is one of the most fun things about 3D printing. Seeing just how rigid or flexible an object becomes with different infill patterns is a great demonstration of how physics and material science works.
A good infill pattern is also one of the key components for creating a strong 3D printed part. Not all infill patterns are made equal. Not all of them can even be described as strong, as some of them prioritize speed or conservation of materials. Choosing the right infill pattern is just a matter of using the right tool for the job – an essential skill in 3D printing as in other fields and industries.