Best Practices for Testing a New 3D Printing Filament

3D printing is easy when everything proceeds according to routine and no unpredictable factors come into play. However, sticking to just a single model of filament type pretty much invalidates the benefits of 3D printing. Printing with different materials from different brands is part of what makes 3D printing fun.
This isn’t always easy as it sounds. Using a completely new filament is always a bit daunting, as you will have to figure out how to optimize it with your 3D printer. To make this process as painless as possible, check out the following tips on fine-tuning the performance of that 3D printing filament you’re using for the first time.
Ensure the filament is dry

Any testing or fine-tuning that you do will be good for nothing if you’re working with a filament that is in less-than-ideal condition. Keeping your filament dry is the first step in ensuring good printing performance. This is particularly important for more hygroscopic materials like ABS or Nylon.
If your filament has been out of the original packaging for quite some time, you may want to throw it into a filament dryer or an oven set at low temperatures.
Measure the filament diameter
Another metric of filament quality is the consistency of its diameter. This may not be necessary if you’re buying filament from a brand you have had a lot of history with. A consistent filament diameter helps avoid extrusion-related issues in 3D printing.
A micrometer is the most practical tool to measure the diameter of your filament. Some people have made filament diameter sensors that are much more sophisticated, but spot measurements using a micrometer also work.
Ideally, you will want the error to be below the declared tolerance of the filament manufacturer. In most cases, the tolerance is at +/-0.5 mm. This means that the actual diameter can be up to 0.5 millimeters below or above the declared filament diameter. Many reliable filament brands can achieve as low as +/- 0.2 mm based on actual measurements.
Determine bed adhesion requirements
There is not much of a test that you can do if the filament does not stick to the print bed. For this reason, it is good to prioritize the bed settings and parameters for optimal adhesion. Remember – you want the print to stick well, but not too well that it becomes difficult to remove.
Read up on the best practices for bed adhesion that correspond to the material you will be printing with. At the very least, you may need to apply glue stick or Blue painter’s tape on your print bed. You can also get a flexible PEI sheet, which helps in both adhesion and print removal.
Bed temperature also plays a huge role in adhesion. A heated bed is absolutely necessary if you’re printing with material that prints at higher temperatures than PLA. You will also want to make sure that the temperature of the top of the print bed actually reaches your target temperature – a thermometer will go handy here.
If you are having issues with bed adhesion, you can consider increasing the bed temperature. However, bed adhesion can be a complex issue when you’re printing with material that tends to warp. Other parameters can come into play, and we will be tackling these moving forward.
Fine-tune printing temperature and cooling fan
Selecting the best printing temperature is a compromise between several different factors. A higher printing temperature better adhesion and overall print quality, but can also introduce issues like stringing or curling. A lower printing temperature is generally easier to manage but will mean also reducing the printing speed and increasing the total printing time.
A simple trick is to set the printing temperature to the lowest possible recommended value and manually feed the filament to the extruder. You can then gradually increase the printing temperature until the extrusion is smooth and consistent. This is a good starting point for further tweaking, but this may still need to be adjusted to fine-tune the printing speed.
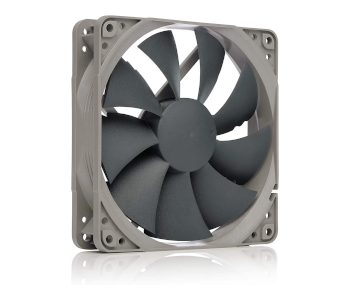
The optimal setting for the cooling fan depends largely on the characteristics of the filament. Some filaments react poorly to rapid cooling, such as ABS or Nylon. On the other hand, rapid cooling can improve the bridging capabilities of flexible filaments.
Fine-tune the flowrate
Each filament interacts differently with the extruder gear of your printer, so some tweaking may be needed every time you use a new filament. Again, there will be some experimentation needed.
For this step, you will want to take note of the obvious signs of either over-extrusion or under-extrusion. Over-extrusion may create stringing or blobs in all steps of the print. Under-extrusion may result in holes and gaps that are most apparent in the top layer of your print.
There really is no absolute rule when it comes to flow rate, except that you mostly have to do it by eye. Most people will try to increase the flow rate to as high as possible unless they run into quality issues. 3D printing test cubes is a brilliant way to test different flow rate values.
Optimize retraction settings
If you’re printing at high speeds, then you likely will need to enable retraction to avoid stringing problems. This can be more apparent in high-temperature filaments and flexible filaments.
When fine-tuning retraction, it’s worth a shot to increase the travel speed setting without enabling retraction. If there is visible stringing, you can use the recommended retraction speed while gradually increasing the retraction distance. If this still does not help, then consider increasing the retraction speed. Be careful not to go overboard here, lest you end up with holes and gaps in your print.
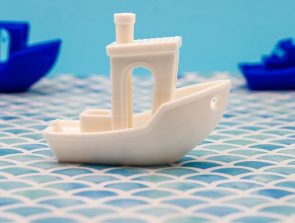
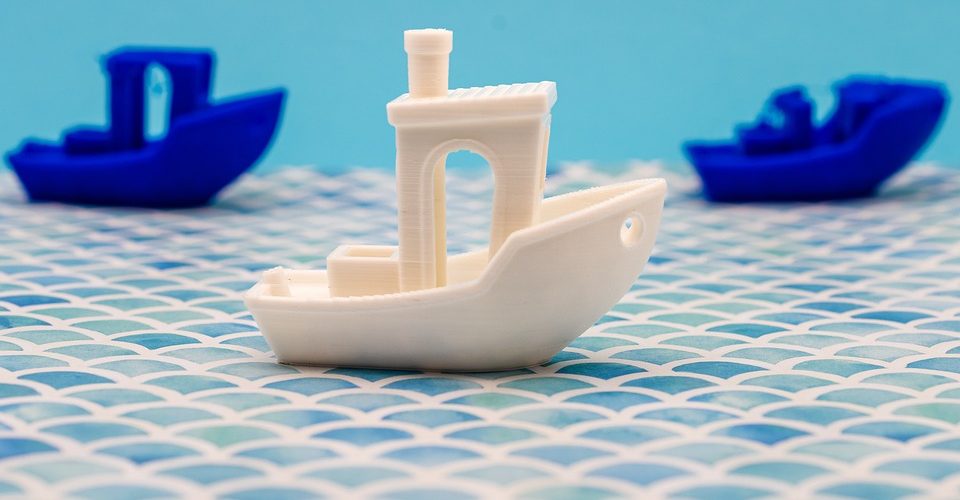
Make test prints
A test print is the best confirmation of your fine-tuning efforts were correct. There are two specific models that we recommend – the temperature tower and the calibration cube.
As the name implies, the main goal of the temperature tower is to “torture test” your 3D printer based on its print temperature settings. This is a great way to see the bridging performance for every temperature setting and to spot artifacts like stringing or blobs.
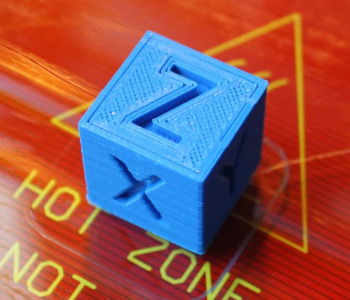
A calibration cube is a tool designed to test the dimensional accuracy and tolerance of your 3D printer. However, it also doubles as a check for under-extrusion or over-extrusion. You will want to pay special attention to the flat top layer, as gaps here can be indicative of under-extrusion or poor infill density.
Temperature towers and calibration cubes are functional but it’s also perfectly fine to do a classic Benchy. This remains a good all-around test print for print temperature, bridging, tolerance, and performance in printing curved surfaces. It’s also nice to have a Benchy collection representing all the different filaments you have worked with.
Final thoughts
3D printing has always involved a healthy dose of trial and error, particularly when using new and untested filament material. This does not mean that you have to go through many rounds of failed prints. Taking a systematic approach to testing new filaments can help you avoid wasting too much material and understand how different materials react to temperature and mechanical stress.