How to Clean Your Headphones – Simple Tips

Are your headphones dirty, but you have no idea how to properly clean them? Cleaning your headphones correctly ensures you do the job right without damaging them. It also ensures that you clean all the dirt so you can go for longer without having to clean the headphones again.
This article will share how to clean earbuds and headphones alike. A different approach needs to be taken for each type of audio device to ensure you don’t leave any dirt behind. We will also cover the importance of cleaning your headphones.
You’ll find this article valuable if you have never cleaned your headphones and want to get it right. Once you learn how to do it once you’ll remember how to do it correctly in the future. Therefore, read until the very end to learn this simple yet important maintenance tip.
Why it’s important to clean headphones
Closely inspect your headphones or earbuds and you’ll probably find a build-up of dirt, earwax, and grease. If we were to find this on your clothes we would simply place them in the washing machine to be washed. The same should go for headphones, but most of us neglect this maintenance task.
Using unclean headphones makes your ears dirtier and can lead to an ear infection. You’ll find that your ears are getting clogged with earwax, but you may not realize that’s it’s actually coming from your headphones.
Think of cleaning your headphones as part of looking after your personal hygiene. It’s a maintenance task that should ideally be completed once per week. You’ll get into the habit of cleaning your headphones once you’ll see how easy and quick the process is.
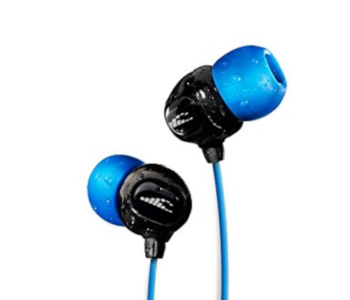
How to clean earphones
To clean earphones you’ll need a small cloth, rubbing alcohol/hand sanitizer, Q-tips or cotton buds, soap, water, and blu-tack. You probably have these items lying around your home. Follow these steps to get the job done right every single time:
Clean driver unit
Start off by cleaning the audio driver unit, which is the physical component that produces the sound. Firstly, hold the earphones with the wire mesh facing downwards and using a soft toothbrush brush the wire mesh gently. This should dislodge any dirt or clogged ear wax. Furthermore, tap on the non-mesh side of the earphones to help knock out any dirt that wasn’t picked up by the toothbrush.
Next, use a bent paperclip and some blu-tack to remove the last bits of dirt. The blu-tack does a great job of picking up small dirt particles that might still be stuck. Finally, use an alcohol dampened small cloth to quickly wipe the metal mesh and wires. This last step should be executed carefully to avoid damage as too much moisture can damage the audio drivers.
Clean eartips
You could buy new eartips once the old ones have accumulated a lot of dirt. However, that is not necessary when you can clean the current ones and return to a new condition. Most earphones come with detachable eartips that allows for easy cleaning. Keep in mind that this step should only be done for silicone eartips. Avoid this cleaning advice if you have foam eartips as they are not waterproof.
To clean silicone eartips soak them in warm water for about 5 minutes. Then rinse the silicone eartips by giving them a good wipe. Place them on paper towels until they are completely dry before attaching them back on the earphones.
How to clean headphones
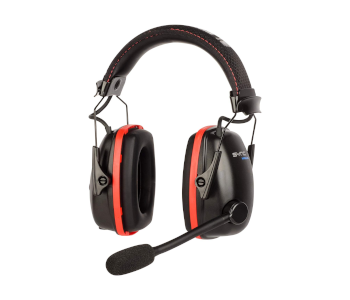
Headphones are more difficult to clean because they have delicate components like earpads that can tear if you aren’t careful. Therefore, if you don’t want the frustration of having to order new earpads follow the next steps carefully.
- Take the earpads off and wipe the outside with a warm/damp cloth. Now wipe off the moisture with a dry towel and leave to air dry.
- Repeat step 1, but this time use a small cloth with hand sanitizer or alcohol. Now soak the cotton buds or Q tips in alcohol and use them to clean the earcup crevices and nooks.
- Next, lightly dab alcohol over the earpad mesh to kill bacteria that might have accumulated during use. Gently rub over the mesh to help remove dirt and grime.
- Attached the ear pads once they have sufficiently air dried.
Conclusion
As you can see from this article cleaning your earphones or headphones is a straightforward process that should take no longer than 5-15 minutes. After you’ve done it the first time you’ll remember how to do it again without having to look at instructions.
It’s important to clean your audio device periodically to avoid too much dirt building up. Think of this maintenance task as part of your personal hygiene. Get into the habit of doing it once per week and you’ll enjoy a clean audio experience.