Autodesk Inventor Tutorial – Making Holes

We’ve already shown you how to create a simple cube in Autodesk Inventor and in this tutorial we’re going to explain how to make holes. There are a number of methods to create holes in Autodesk Inventor; in this tutorial we show you the two most basic examples.
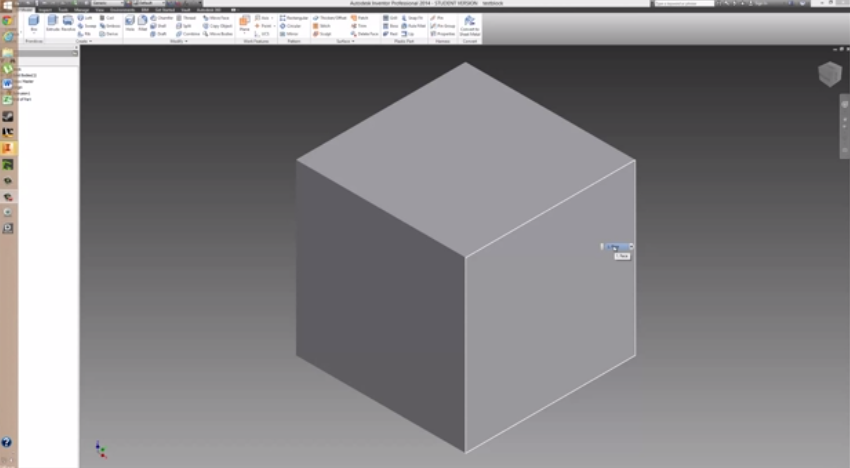
Step 1: Creating a 3D Object
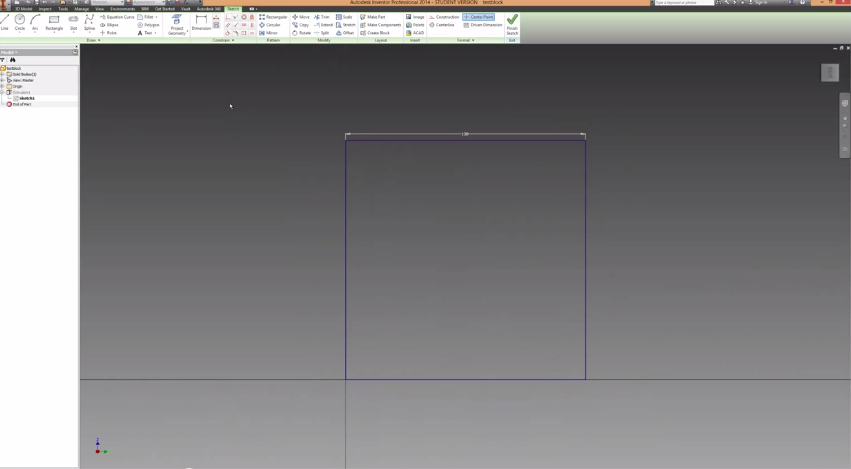
The first step is to have a 3D/extruded model ready to go. In this tutorial we use the same cube that was created in our ‘Autodesk Inventor Beginners Tutorial’.
Once you have an extruded model, it is time to make a new sketch or edit an old one. Making a new sketch is easy, just select the ‘create 2D sketch’ command and then click on one of the sides of the cube. A more efficient way is to edit a pre-existing sketch. In Autodesk Inventor sketches disappear from view when they are extruded, but you can bring them back to view by going into the ‘browser’ on the left of the screen. Under extrusion in browser, right click on sketch and select ‘edit sketch’.
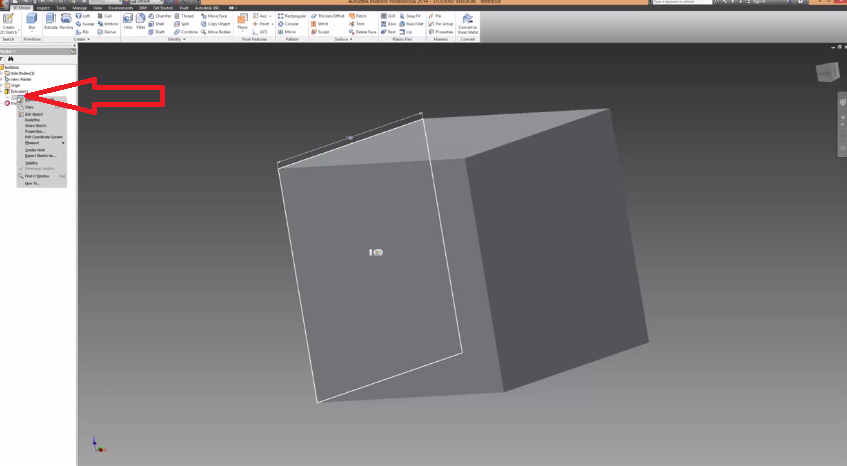
You should now be in sketch mode.
Step 2 – Creating Holes in Sketch
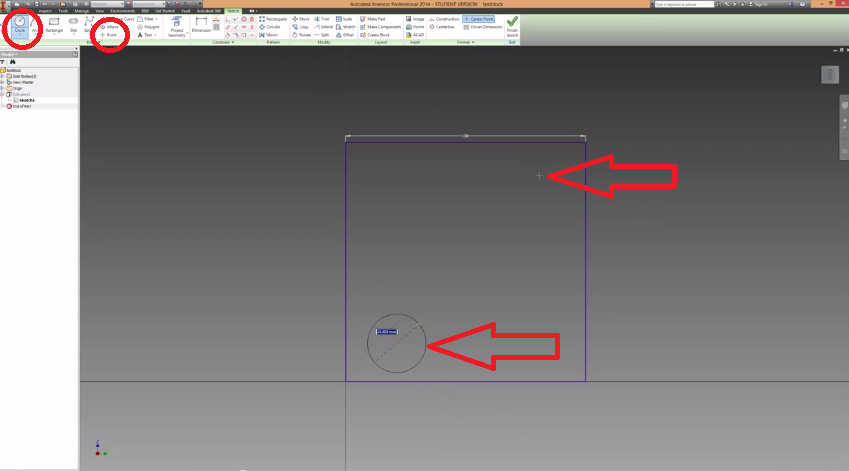
Now that we’ve got the sketch ready to go, it’s time to make some holes. For the first hole we are going to use the point command. In the top taskbar select point and then place the point inside of the square/sketch you are creating. The second hole will be made by extruding a circle. Create a circle on the sketch.
There should now be a circle and a point on the sketch. Go ahead and dimension the point at 25mm from two sides of the square. Do the same for the circle but make the circle size 30mm in diameter. Finish the sketch.
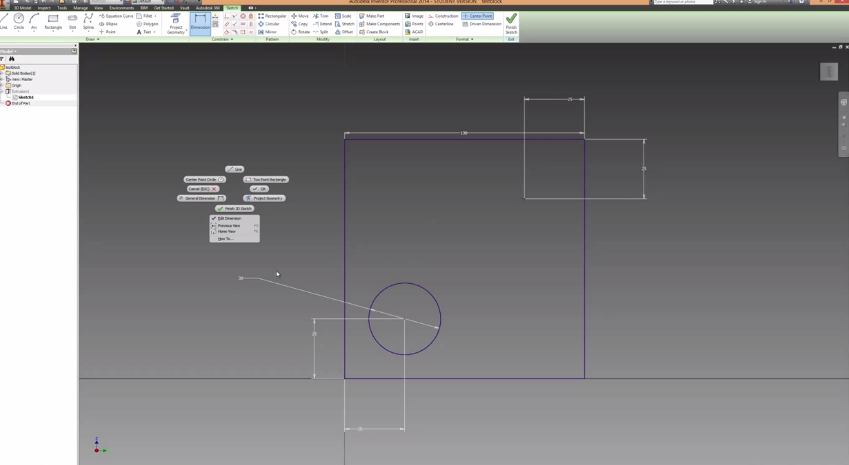
If the sketch doesn’t appear after you’ve edited it, go back into the browser and right click on the sketch you have just edited/created (like step 1). Turn on visibility.

Step 3: Extruding a Hole
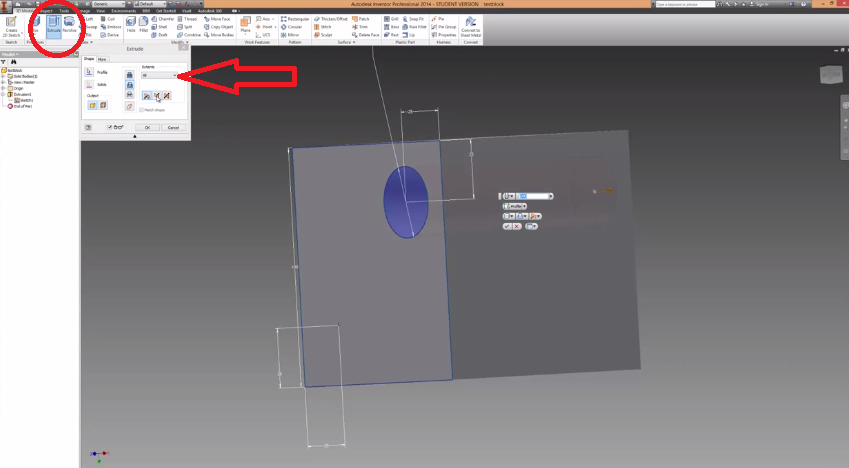
To create a hole with the extrusion command, click on extrusion and then select the circle that was previously made in Step 2. In the extrusion pop up window make sure cut is selected and the extrusion is travelling the correct way (into the object). The red area represents the material that will be removed. Under extents you can chose how far you want to cut/extrude.
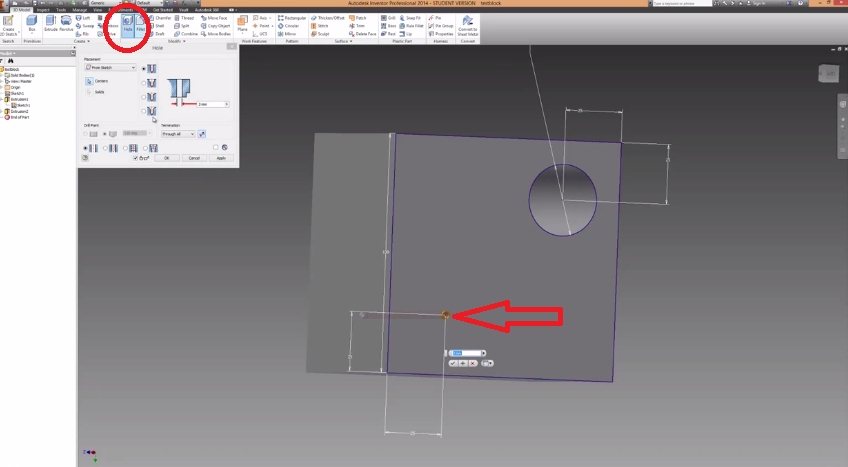
Step 4: Hole Command
The second method we’re demonstrating in this tutorial is the ‘hole command’. Select hole, which is found in the top taskbar near extrude. The point that was created in step 2 should automatically be selected. If it isn’t select the point manually. You can also add a thread to the hole in the hole pop up window.
 Finally, when making holes with the hole command remember that it will select all of the points you place on your sketch.
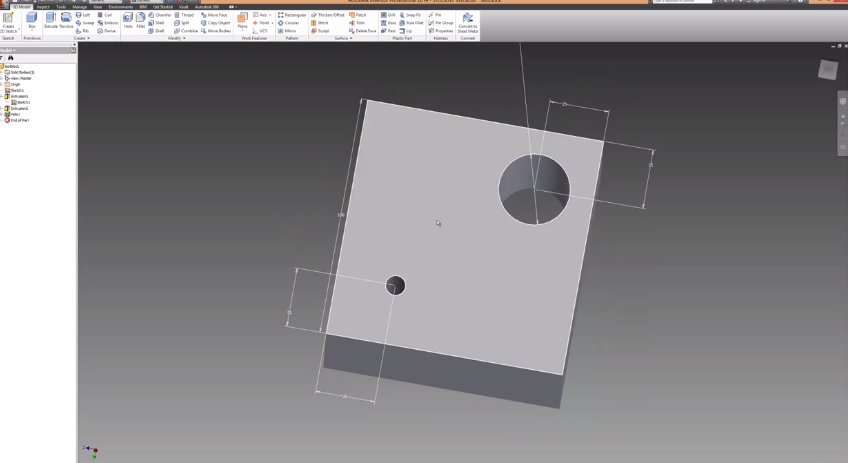
There should now be two holes on your 3D model. In Autodesk Inventor there are other methods to create holes that can increase efficiency however; these two methods are the simplest and should get you started.